Once you’ve got the PHP Coding Standards set up in Visual Studio Code, I think it’s also important to make sure that you have PHPUnit installed so that you get in the practice of writing testable code.
If you wait to start doing this until after you’ve started a project, you’re far less likely to start doing it. I’m saying this both from experience and from working with other developers.
So before I start covering how to handle front-end linting and things like that, I want to walk through the process of setting up PHPUnit. If you’ve not yet read how we’re managing packages or how we’re using Visual Studio Code, I recommend catching up by reading the following articles:
- A WordPress Development Environment (Using a Package Manager)
- An IDE for WordPress Development
- Working with User Settings in Visual Studio Code
Once you’re caught up, head back to this post.
PHPUnit in Visual Studio Code
For the remainder of the content, we’re going to look at:
- Installing PHPUnit,
- Installing the proper Visual Studio Code extension,
- Configuring PHPUnit within our user settings.
And we’ll get started with that now.
1. Installing PHPUnit
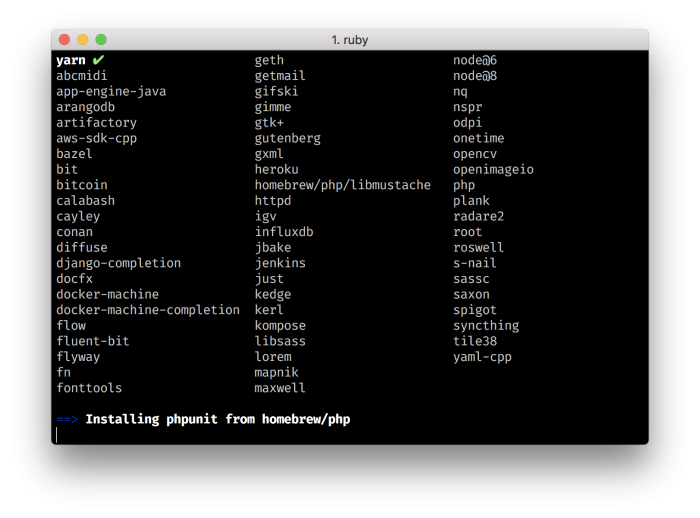
Since you’ve been using Homebrew throughout this series of posts, using Homebrew should be getting easier and easier. To install PHPUnit via Homebrew, simply enter the following command in your terminal:
$ brew install phpunit
It should result in a screen like this:
If you’ve previously installed it via some other means, then Homebrew may prompt you to update it (as it did for me). And if that’s the case, let it do its thing:
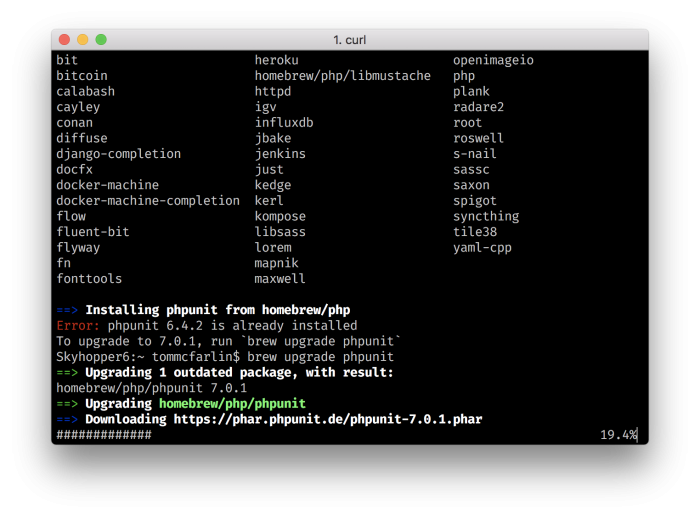
Once that’s done, it’s time to install the proper Visual Studio Code extension for PHPUnit.
2. PHPUnit For Visual Studio Code
Installing PHPUnit in Visual Studio Code is easy given the vast marketplace it has.
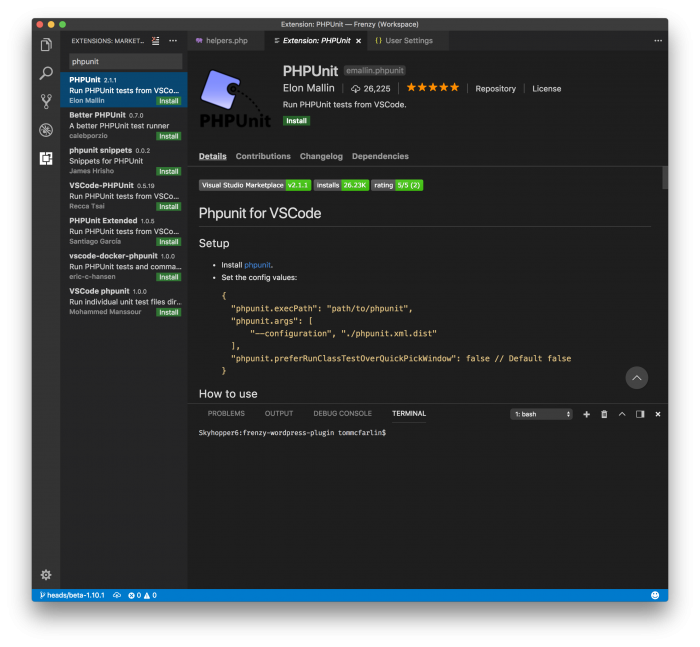
Of course, there’s always the challenge of having to determine which one to select. I’m a fan of the version of the extension via Elon Mallin (which you can also find in the marketplace and which is how I recommend installing it).
Once you’ve found it and installed it, then it will likely ask you to reload Visual Studio Code. If you’re in the middle of your work, go ahead and save the project and reload.
At this point, it’s time to configure your settings.
3. Configuring Your Settings
Updating your settings is easy. As per usual, you’ll open up your User Settings JSON file (which you can find using this familiar screenshot):
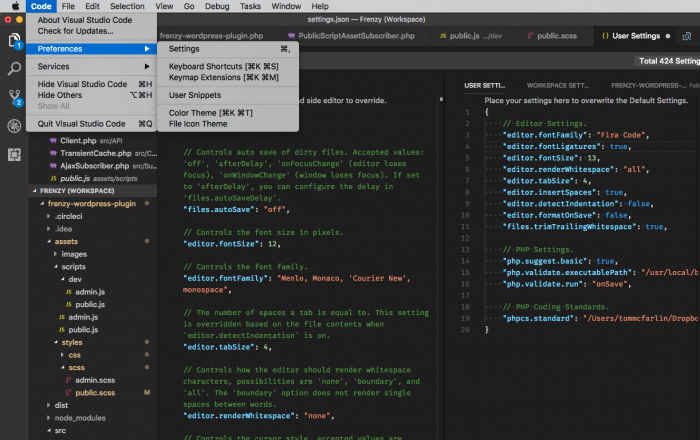
From here, you can then enter the following code at the bottom of the file:
This will tell Visual Studio code the following:
- where the PHPUnit binary is located,
- where the PHPUnit configuration file is located,
- how you want to execute the tests.
We’ll be looking at the second and third points in more detail later in this series as it’s important to make sure we have a proper configuration file (and one that we and transfer from project to project) and how to go about doing so from within the editor.
But we’ll look at that in a future post.
What About Now?
For now, focus on taking care of getting things set up in your IDE. If you opt to proceed with working with configuration files and executing tests, that’s completely fine; otherwise, I’ll be covering exactly how to do that in the next series of posts.