A few years ago, I wrote a post about Setting Up PHP CodeSniffer in Visual Studio Code (and I’ve recently updated it, too).
But it’s been four years since that post was originally written and, in that time, a lot can change in terms of how we write code.
Four years is roughly an Internet Age, isn’t it?
Anyway, the basic points of that article still stand, but if you’re working on a variety of projects and some of them require different configurations, settings, and standards, then the way you go about installing and configuring PHP CodeSniffer may be different than how you configure it on a system-level.
So if you’re in that position, here’s how you can configure PHP CodeSniffer on a per project basis using Visual Studio Code.
PHP CodeSniffer Per Project
This article makes a few assumptions:
- You’re familiar with Composer,
- You know how to handle Workspaces in Code,
- You’re familiar with PHP CodeSniffer (at least at the global level),
- And you know how to work with Code extensions.
If you’re unsure about any of these, review this article and then come back. I’ll walk you through the rest.
1. Install PHP CodeSniffer Locally
Because different projects may require a different set of standards, I find it useful to keep a copy of composer.json and, naturally, composer.lock on a per project basis.
This means that in the root of my project, I have a composer.json file with everything I need for a given project. In the case of this article, I need a copy of PHP CodeSniffer.
To install PHP CodeSniffer and the latest version of the WordPress Coding Standards at the project level, I’ll create the above file in the root of my project and then include the following:
{
    "require": {
        "wp-coding-standards/wpcs": "2.3.0",
        "squizlabs/php_codesniffer": "3.*"
    }
}
In most cases, this file will be much more complex but you get the general idea as to what you need to include.
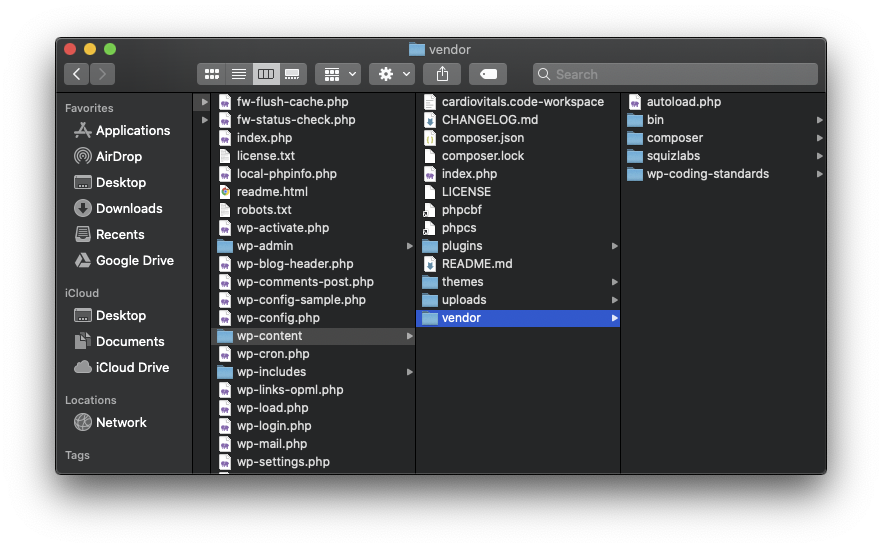
Next, run composer install and this will create a vendor directory in your project that will include both the WordPress Coding Standards as well as the PHP CodeSniffer.

2. Set Up Symbolic Links to the Local Binaries
At this point, you may find it useful to create a symbolic link to the binaries for PHPCS and PHPCBF so not to conflict with whatever you’re running at a global level.
To do this, in the root of the project you can enter the following in your terminal:
$ ln -s /vendor/bin/phpcs phpcs
$ ln -s /vendor/bin/phpcbf phpcbf
This will allow you to run the binaries from your terminal. To test is out, try the following command:
$ ./phpcs --versionAnd you should see output like this:
PHP_CodeSniffer version 3.5.5 (stable) by Squiz (http://www.squiz.net)If so, you’ve everything is set up correctly.
3. Install the PHP CodeSniffer Extension
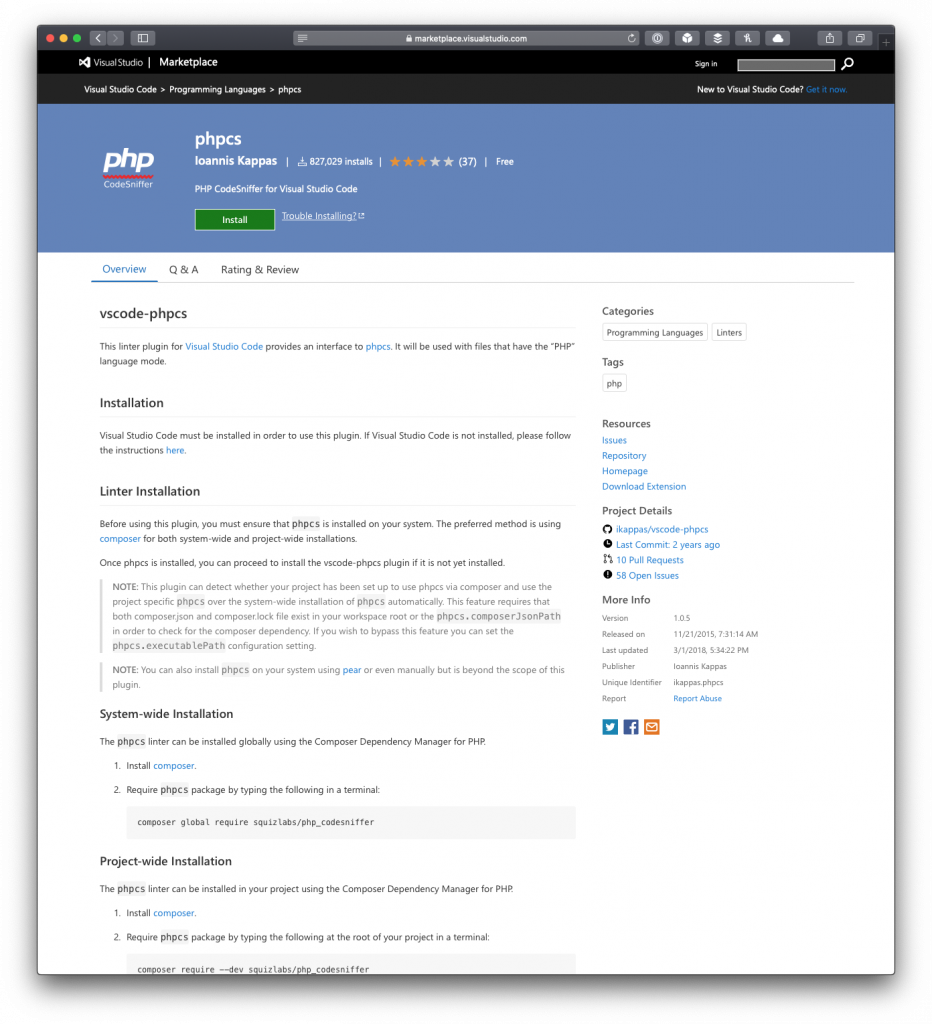
The next step, arguably the easiest, is to set up the PHP CodeSniffer extension in Code. There are a number of options you have but I’ve had a good experience with this particular extension.

Once it’s installed and you’ve reloaded your IDE, then you should be ready to install and configure PHP CodeSniffer on a per project basis.
4. Set Up Your Workspace
In Code, the next thing you’re going to want to do is configure PHP Code Sniffer for your specific project. To do this, it’s easiest to set up a workspace for your project.
You can do this by clicking on the File menu and then clicking on the Save Workspace As… menu item. This will create a project.code-workspace file wherever you opt to include it.
If you’re version controlling your project, I recommend keeping it in the root of your project so you can keep it in version control. Next, if you open that file, you’ll notice that it’s JSON and includes a settings directive. Within that directive, add the following settings:
"phpcs.enable": true,
"phpcs.standard": "WordPress",
"phpcs.executablePath": "./vendor/bin/phpcs",
"phpcs.showWarnings": true,
"phpcs.composerJsonPath": "composer.json",
"phpcs.errorSeverity": 5,
"php.suggest.basic": true
Note above that we’re explicitly telling the extension where the executable path is – that is, in the vendor directory relative to the workspace file.
Once you’ve done that, you should be able to begin writing code and having it actively sniff your code while working.
Want More?
If you’re interested in even more aggressive sniffing and fixing of code smells and issues, I recommend checking out the article on GrumPHP.

