If you’ve read any of my previous posts, you know that I think code sniffing (as funny as that sounds) is something that I believe to be a staple of any WordPress development environment. And this is how you can setup PHP CodeSniffer in Visual Studio Code.

But first, a word about Code.
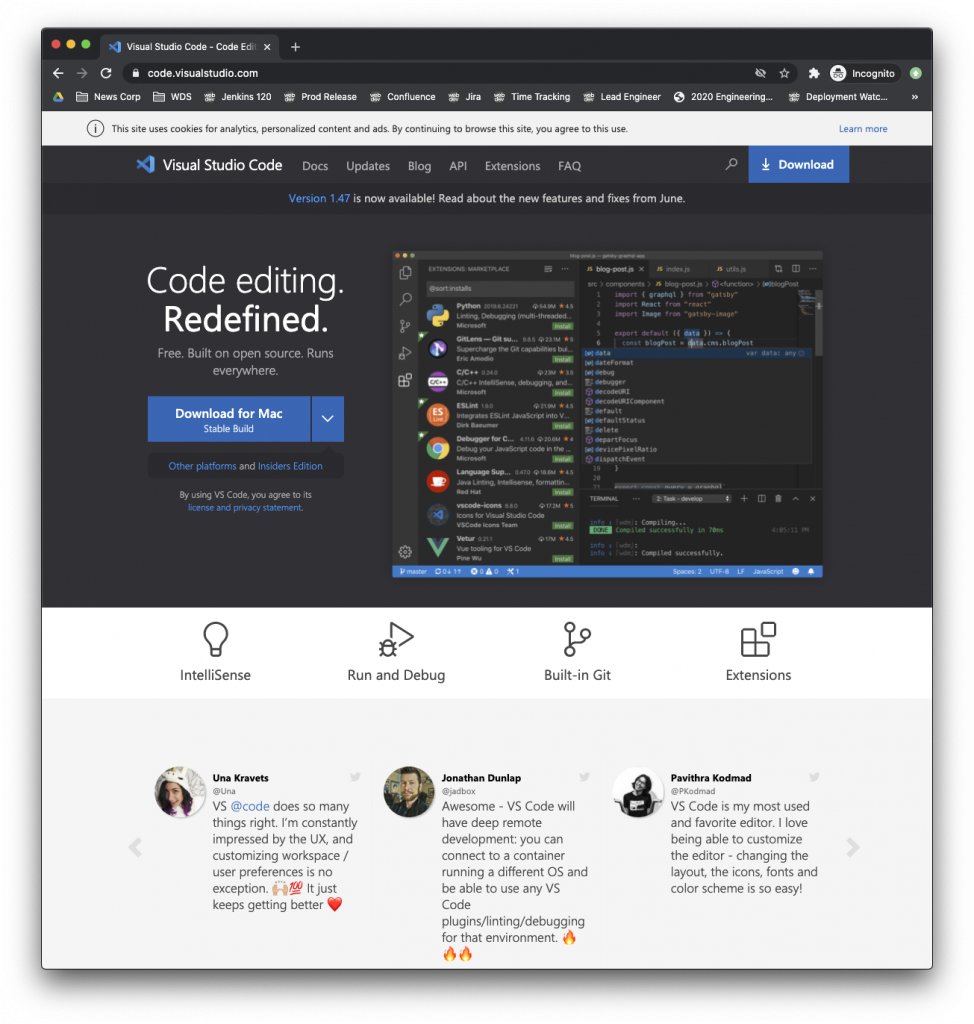
Visual Studio Code is a source code editor developed by Microsoft for Windows, Linux and macOS. It includes support for debugging, embedded Git control, syntax highlighting, intelligent code completion, snippets, and code refactoring.
I’ve been using Code as my primary IDE for years at this point and have been extremely happy with it. I’m not going to belabor the points as to why. I’ve written about them in other posts.
But here’s how to set up PHP CodeSniffer in Visual Studio Code.
PHP CodeSniffer in Visual Studio Code
When it comes to installing PHP CodeSniffer in Visual Studio Code, I’m more of a fan of approaching it in a way that’s independent of the editor. But since there’s an integrated terminal with Code, it makes it just as easy.
So for this post, I assume you’ve got a project setup, and you’re in the working directory, and you have the integrated terminal open.
1. Use Composer
You’re going to need to install Composer. If you don’t already have it installed, that’s fine. I’ve got a detailed post about that, and I have an entire Gist dedicated to setting it up.
But if you’re looking for how to do it quickly, you’re going to need to:
- download it,
- install it,
- make it globally accessible in your PATH (though how you do this may vary).
Once that’s done, you’re ready to go.
2. Install PHP CodeSniffer in Visual Studio Code
In the integrated terminal, enter the following:
$ composer require "squizlabs/php_codesniffer=*"This will define a composer.json file that will instruct Composer to install PHP CodeSniffer into the vendor directory of your project.
You’ll need to set this in your Visual Studio Code settings once it’s done, but I’ll come to that in a moment.
3. Tell PHP CodeSniffer About The WordPress Rules
I’ve also talked about how to install the WordPress Coding Standard ruleset for PHP CodeSniffer. Here are the general steps that I follow:
- Clone the repository into a directory that’s easily accessible (this doesn’t have to be your particular project directory since you’ll likely be using it in other projects),
- Tell PHP CodeSniffer where it is,
- Update the Visual Studio
settings.jsonfile.
Assuming that you have the WordPress Coding Standard rules installed (which is easy if you follow these directions), there are just a few commands to issue in the Terminal.
First, tell PHPCS where the rules are and to configure the installed_paths (note the use of the vendor directory since we’re working out of our project directory):
$ ./vendor/bin/phpcs --config-set installed_paths /path/to/wp-coding-standards/wpcsAnd update your Visual Studio Code settings file:
"phpcs.standard": "WordPress",It should start working immediately, but in the off chance it does not, restart Code and you should be ready to go.
More on Visual Studio Code
As I mentioned earlier, I have more things to share about my experience with Visual Studio Code, but that will come sometime later.

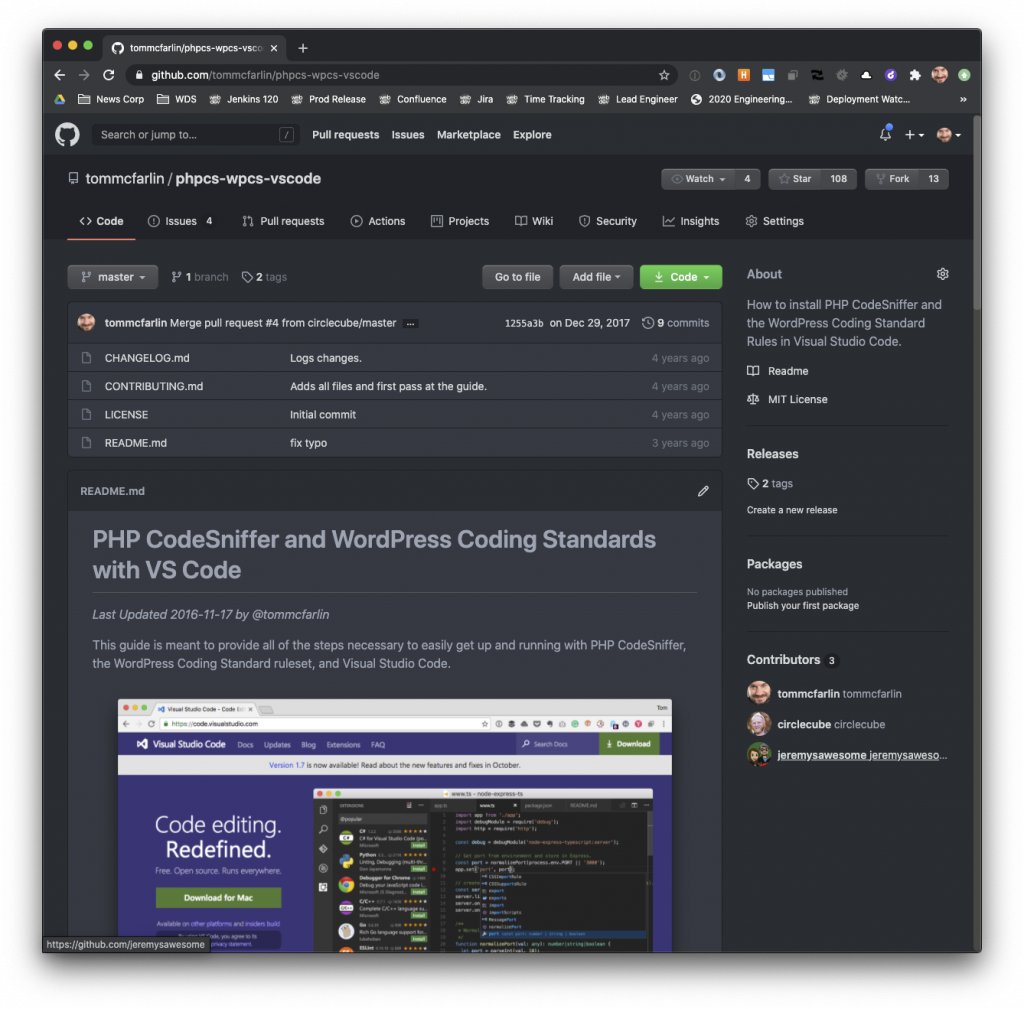
In the meantime, you can also star this repository should you need to walk through these steps for future projects. Note that comments are disabled on this post as I’d rather discussion take place on the linked repository.

