Lately, I’ve been trying to write shorter, more focused on articles on particular topics, but there are times in which a longer article is warranted: Case in point: Using PHP and Composer in MAMP.
Before you get started reading this article, I’m assuming you have a couple of things:
- MAMP installed on your machine (it’s compatible with Windows now!)
- Time to read all that’s below
- Willingness to use the Terminal
- Coffee (or another drink, but seriously coffee) to read through all that’s below
It’s not that any of this is intimidating. I mean, if you’re completely inexperienced, there may be a bit of a learning curve, but I’m going to do what I can to break this down for you regardless of the level of experience you have.
Ultimately, the goal is to make it easier for you to write more modular code using third-party dependencies and with keeping things well-organized on your system and in your projects.
PHP and Composer in MAMP
If you’re working with WordPress, then you’re familiar with PHP at least to some degree; however, Composer is still one of those things that are relatively new to a certain segment of the industry.
In short, as the site suggests, “it’s a dependency manager for PHP.” But what does that mean? I’ll cover this in just a moment. But first, I want to talk a little bit about MAMP.
A Short Digression on MAMP
MAMP is a useful, powerful piece of software for web developers who want to get quickly and easily a web server, database, and several versions of PHP setup on their machine.
It’s been around for a long time (that is, 2012 if I remember correctly) which is practically forever in Internet time. The thing is, a lot of new technologies have been released since then.
- There are new web servers
- There are new ways of building web applications
- There are alternative web servers (such as Nginx)
- And so on
And there is a segment of developers in the industry who are not a fan of solutions like that. That’s fine! I’m very much to each his/her own (as long as we’re staying up to date with what’s out there).
But I also want to balance knowledge and experience of what’s out there with a level of pragmatism. If the majority of my work is going to be built on a LAMP stack, then I’m okay using MAMP. If it uses a different stack, then I’ll set up that environment when needed.
All of that to say, don’t let certain attitudes dissuade you from using particular software because it’s “old” or “feels dated.” Be pragmatic and make smart decisions for you, your clients, and your tools.
Why Composer?
As I mentioned earlier, why should we bother with something like Composer? Why not bring in all of the components into a single project and manage it from there.
This is one answer that could go on for a long time, but I want to keep it as direct and succinct as possible.
- A dependency manager allows you to define what third-party software your project needs without actually having to bring it into your repository. This keeps your repository small and allows other developers, who have Composer installed, to bring it into their system.
- This allows you to set what versions of software you want to be used with your project. Want the latest bleeding edge version? Go for it. Want the latest stable release? Go for it.
- It helps to deploy code into production environments when they have it installed by allows those environments to read the Composer file and pull in the additional software it needs without you having to bundle it with your work.
- And much more.
If you want to read a much longer, well-written piece on this (more than three bullet primer), I highly recommend checking out Andrey Savchenko’s page on exactly this topic.
On to Composer
The rest of this article is going to assume you’re on OS X with MAMP installed and is going to guide you through the process of actually setting up Composer within the MAMP installation directory to give you access to it for your projects without interfering with the rest of the software pre-installed on your system.
This is important because OS X ships with versions of PHP, MySQL, and so on. And if you’re like me, then you like to keep things self-contained while also making it easy to use them from the command line without having to enter in a long string of commands.
To do that, we need to do some initial work to get that configuration setup.
1. Get Comfortable in The Terminal
In order to setup everything, you’ll need to make good use of the Terminal.
Furthermore, you’re going to need to know:
- Where MAMP is located on your system,
- Which version of PHP you use when building projects.
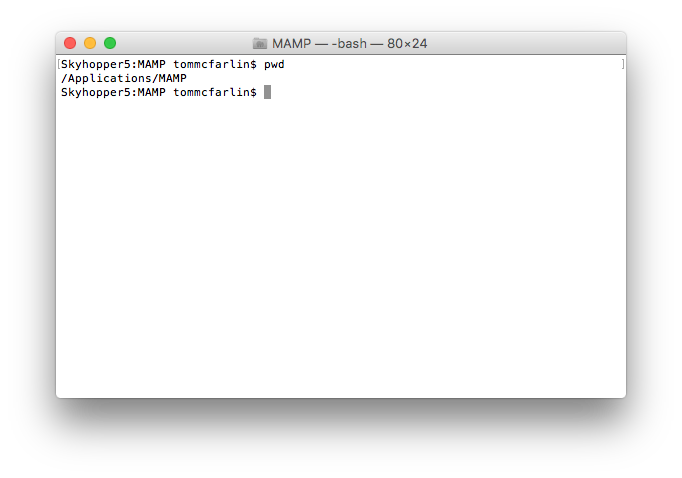
I realize the second one may vary based on your project so you’ll need to adjust some of what I’ve offered here. As far as where MAMP is located, it’s likely in /Applications/MAMP.
What’s the Path and What Is Bash?
Before going any further, know that when I refer to the “path” in the article, think of it like this:
A set of directoriees that applications that run on the command-line used to run applications.
Easy enough to understand, right? So if you add an application included with MAMP and want to run said application from its directory without moving it out of the MAMP directory, then add it to the path. This keeps things self-contained in the MAMP directory but allows system-wide access to it.
To make the upcoming changes that we’re going to make, we’re going to need to update our .bash_profile. This is a file on your system that includes information about your path (among other things outside the scope of this article).
But what is .bash_profile anyway? First, check out Bash:
Bash is a Unix shell and command language written by Brian Fox for the GNU Project as a free software replacement for the Bourne shell. Released in 1989, it has been distributed widely as the shell for the GNU operating system and as a default shell on Linux and OS X.
In short, the .bash_profile contains configuration for the Bash shell. When you try to run a program via the Terminal, it will pass that information through Bash and Bash, using the profile that’s defined, will execute the application as defined.
2. Add Your Version of PHP
OS X comes with a preinstalled version of PHP. That’s a good thing, but if you’re a web developer and, you’re looking to use different versions of PHP then, you’ll likely want to use what’s included with MAMP.
For most of my projects right now, I tend to use PHP5.6.10 though occasionally I’ll use PHP7 if the host supports it. Anyway, given the that I tend to use an earlier version, that’s the one I want to be made available in my path.
To add this version of PHP, add the following to the top of my .bash_profile:
This will take all of the version of PHP that ship with MAMP, list them in ascending order, and then use the second-to-last version (which happens to be PHP5.6.10).
If you want to use the latest version, then modify the command to look like this:
This will give you access to PHP7.
To make sure this works, enter source ~/.bash_profile into the Terminal and then type which php and you should see a path the to PHP version we’ve just defined.
3. Add Composer
Next, we need to install and add Composer to our path. Installing Composer is easy but, it assumes that you have the previous step done correctly. If not, then do not proceed with this step.
After that, navigate to the binary directory of the PHP installation with which you want to be associated with Composer. This may be PHP7, it may be PHp5.6.10, it may be something different.
As mentioned, I went with the latter:
It’s important to make sure that you’re using the proper version of PHP. If you’re go to go then, in the same Terminal session, enter the following command:
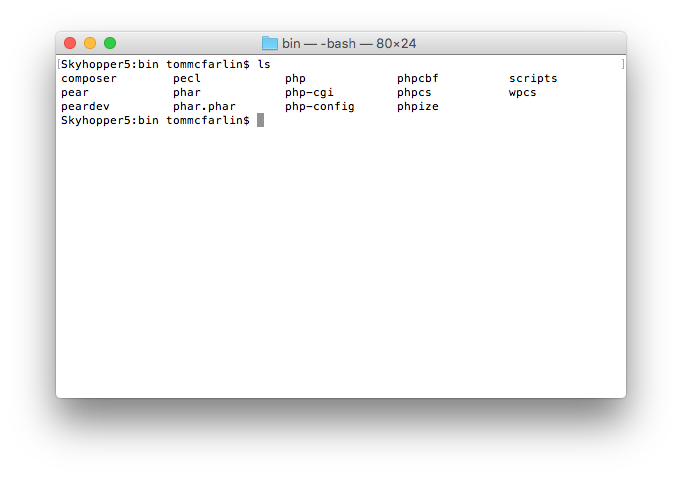
This will download and install Composer in the directory in which you’re running which should be the same directory out of which MAMP is hosted. Notice in the screenshot above, my installation of Composer is simply composer however yours will likely be composer.phar.
That’s okay, don’t worry about the differences as it’s just in the filename.
Next, we need to make sure that Composer is added to the path and it’s associated with the version of PHP you’ve set in your path. To do this, add the following to your .bash_profile under the information we’ve already entered:
Notice here that we’re using an alias for composer that refers to where it’s installed. Also, notice that I’ve used composer.phar. You may need to use composer.phar or composer depending on if you rename the file.
Once again, enter source ~/.bash_profile to reload the profile then type composer -V and you should see information about the current version of Composer.
4. Start Using It
At this point, you’re ready to start using Composer in your profiles. Let’s say for example you want to begin introducing Unit Tests into your profile, so you want to include PHP unit your WordPress plugin.
Now that Composer is installed, you can create a composer.json file in the root of your plugin and then add the following code to the file:
Next, navigate to your plugin’s directory where the composer.json file is located and then run $ composer install and it will create the necessary directories and PHPUnit so that you can start introducing tests in your project.
These should be written from the project outset, but that’s a topic for another post (and it’s something that I don’t always do so why be more incriminating than necessary? :).
Anything Else?
And with that, you should have PHP and Composer in MAMP all set up so that you can use all of the applications within their directory so that you can begin to take advantage of Composer with your work.
I highly urge those of you who are involved in professional development to go this route as it keeps the number of files in your repository down while also allowing other open source developers to install, contribute, and give back to your work by just using the Composer JSON file to install the dependencies your project requires.
Finally, it’s highly likely I’ve forgotten something or been unclear about something. If that’s the case, let me know in the comments and, I’ll address it.
Leave a Reply
You must be logged in to post a comment.