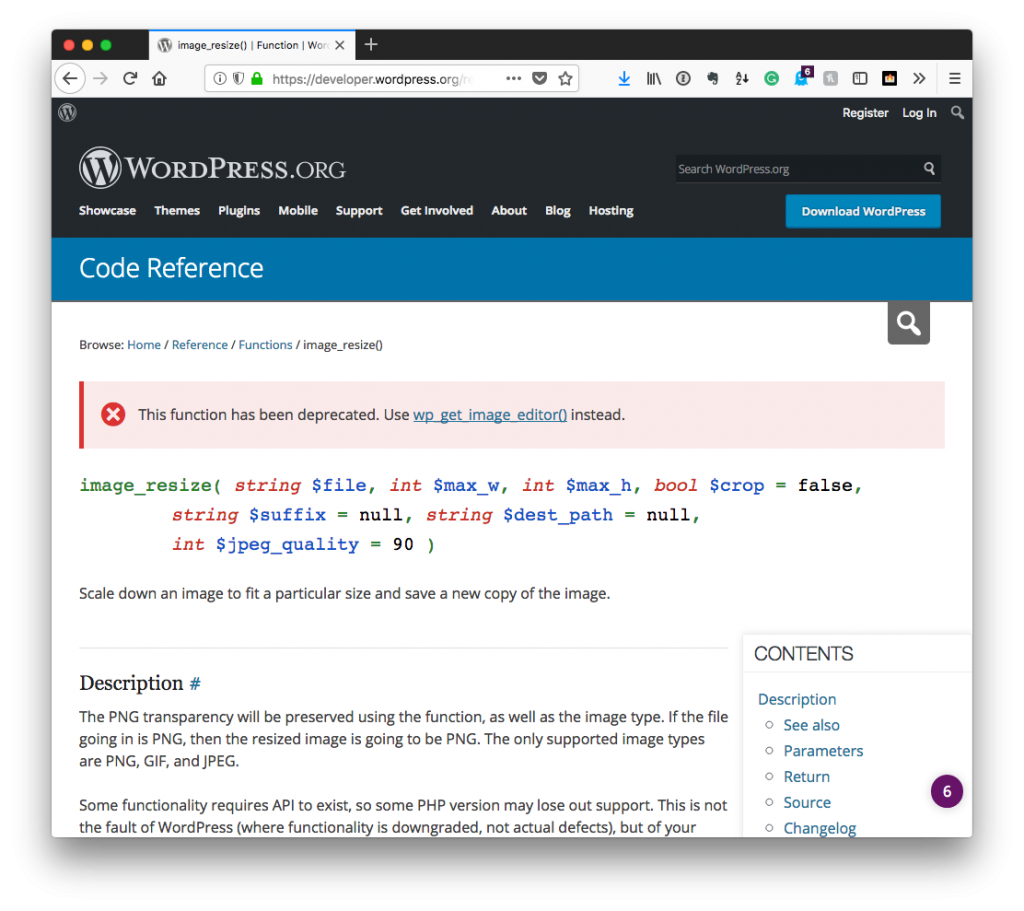
If you’ve ever had to work with resizing images programmatically in WordPress, then you may have come across the image_resize function.

Further, you may know it’s been deprecated (given that this appears at the top of the screen):
This function has been deprecated. Use wp_get_image_editor() instead.
And with its deprecation, as is true of all those who do a good job deprecating functionality, it’s not without its replacement.
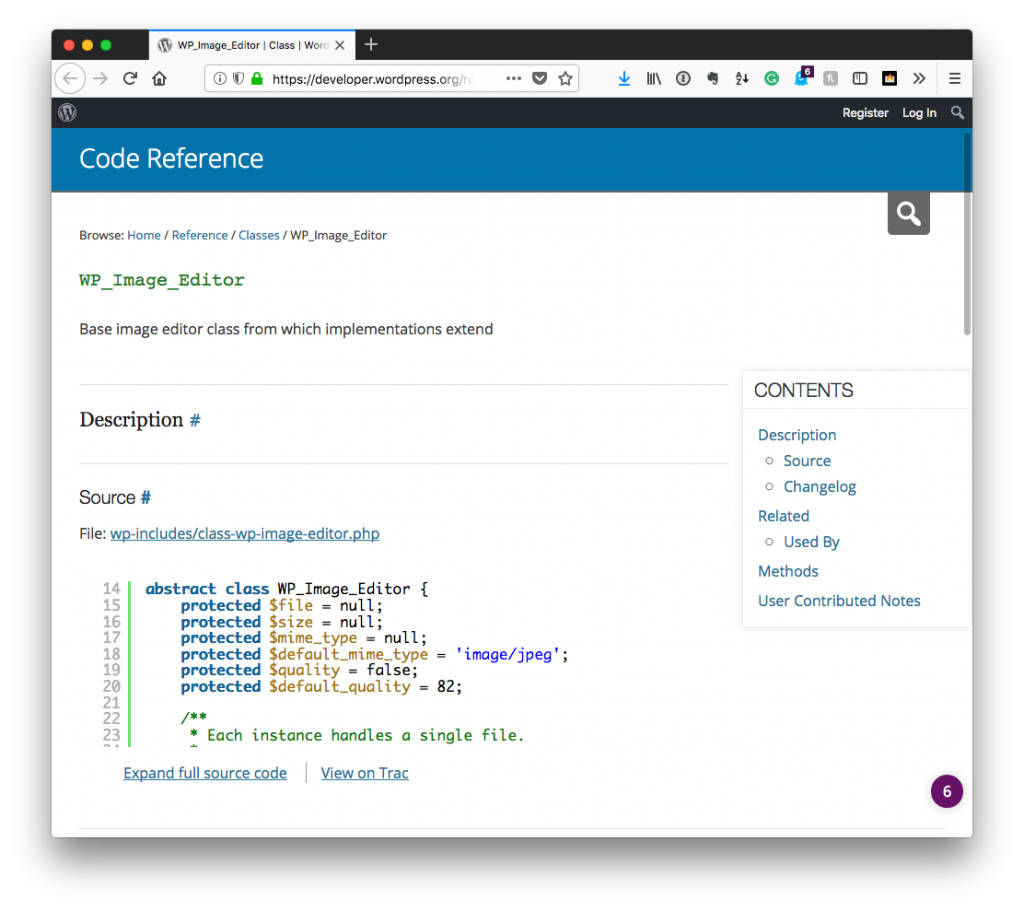
In this case, we’re talking about the WP Image Editor. This is a class in WordPress that we can use to perform the same operations to go about resizing images programmatically that we once could with the original function.
Resizing Images Programmatically
To be clear, this particular post is not a full tutorial on how to use the WP_Image_Editor.

Instead, it’s a simple guide for how to use it to resize images in place of a deprecated function along with some explanations along the way as to how to handle cases where there may be errors.
Finding the Image to Use
Depending on what you’re doing, you may be able to retrieve the filename of the image from WordPress itself; however, for this example, I’m simply going to hardcode the path to a file.
This is the easiest way to explain how to use the class versus going off on a tangent for how to programmatically retrieve an image, get its path, send it to the editor class, and so on.
So let’s assume the given path to the image is something like this:
Using that, we’ll store it in a variable that we can pass into another function in case we want to operate on the original file multiple times.
Getting an Instance of the Image Editor
Next, you have to get an instance of the image editor class so that you can operate on the image located on the path above. In its most very basic form, it’s nothing more than passing a file name into a function and then an array of arguments.
In this post, I’m not concerned with the array of arguments – only with getting an instance of the editor with which I can use to resize an image.
To grab an instance of said editor, simply do this:
This will return either an instance of the editor of an instance of `WP_Error` (along with an error message and other information you can use to determine the problem). It’s always good to check to see if the value returned is an error and halt any future operations.
Assuming that there’s no error, though, you can begin working to resize the image.
Resizing the Image
Luckily, this is something that’s easy to do. You need three pieces of information:
- width,
- height,
- and whether or not you wish to crop the image.
In my experience, cropping the image is almost always better than not because it avoids any weird stretching or distorting at odd aspect ratios.
When resizing the image, I always like to get the current size of the image and then use a multiplier to create the new dimensions by which I want to resize the image.
For example, let’s say I have an image and I want to resize the width by 40% and the height by 30%. To do this, I need to:
- get the size of the current image,
- use the new width and height to resize the image.
Programmatically, this is how you’d do so:
Easy enough to follow, isn’t it?
Saving the Image
Finally, all that’s left is saving the image. In this case, the image will be written out to the uploads directory (and usually the year and month that WordPress provides).
You can then see the final version resized (and named appropriately) based on its output.

