TL;DR: How to uninstall PHP 8.1, install PHP 7.4, why you should do so, and one extra utility to helps manage PHP packages and modules.
When I wrote about how to fix WordPress, PHP, MariaDB, and Homebrew, I didn’t cover some of the other larger issues that I experienced when working backwards into the solution.
I need to give Ihor a hat tip here because he and I spoke about this more on Twitter regarding the relationship between WordPress, PHP 7.4, 8.0, and 8.1.
WordPress meets PHP 8.1 pic.twitter.com/QA1Mxf495t
— Ihor Vorotnov (@ihorvorotnov) December 28, 2021
I’d be remiss if I didn’t clarify the following:
- I was running PHP 8.1.
- WordPress is not compatible with PHP 8.1
- WordPress is compatible with PHP 8.0 but I’ve not tested it or my tools against this version because I wanted to have full compatibility.
- I downgraded my system to PHP 7.4.27 until I get my entire set up configured as I like. Then I’ll start upgrading components.
So if you’ve followed the aforementioned post, here’s a more complete set of things I’ve set up to make sure everything is working well together – including things I’m working on writing about 🙂.
PHP 7.4 and PHP Monitor for WordPress Development
Uninstall PHP 8.1
The first thing I wanted to do was to uninstall PHP 8.1. Since I’d set up everything with Homebrew, this was easy enough. You can do this by:
$ brew uninstall php
Depending on your set up, Brew may instruct you to perform a few other actions. These will likely include:
unlinkany existing installation,rm -rfa handful of directories that it was unable to remove.
I can’t provide explicit instructions here because this is largely specific to your environment. Nonetheless, make sure you follow those instructions.
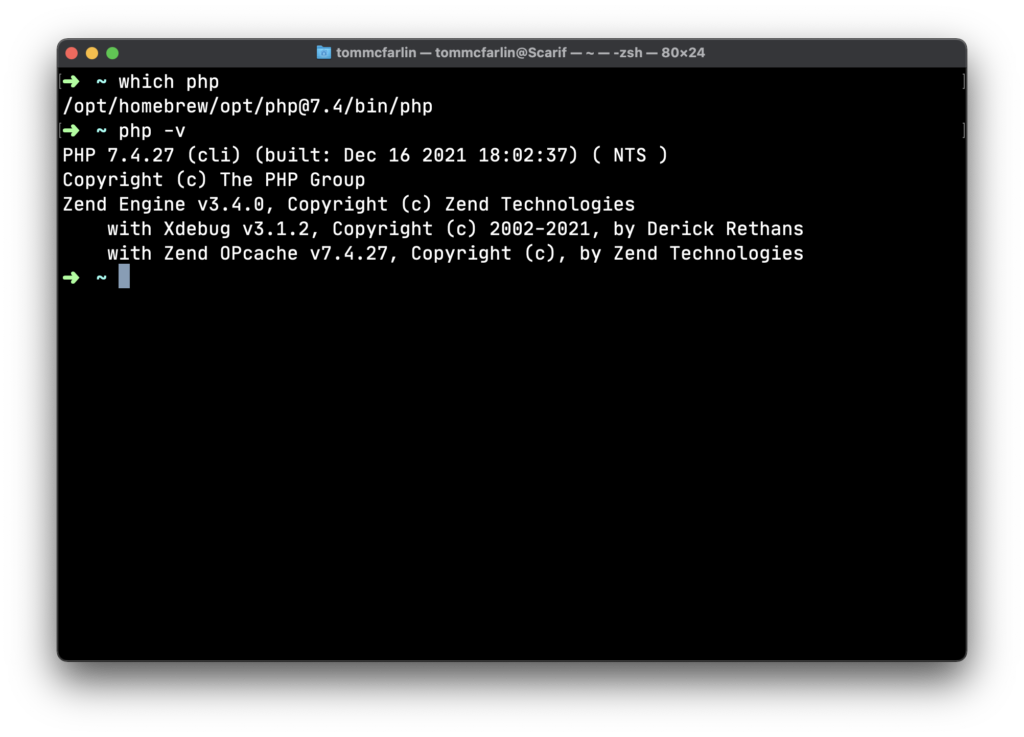
If you’re still curious as to if PHP 8.1 is installed, you can run $ which php in your terminal. You’ll either see versioned output or that PHP isn’t found.
Note: One thing I still recommending is checking your /.zshrc file to make sure that no specific PHP paths are listed. For example, if you see something like this:
export PATH="/opt/homebrew/opt/php@8.0/bin:$PATH"
export PATH="/opt/homebrew/opt/php@8.0/sbin:$PATH"
Then you’ll need to remove those entries, as well. However, they’ll be replaced with updated paths later.
Install PHP 7.4
At this point, install PHP 7.4. If you look at the available packages via Brew, you’ll see that 7.4.27 is the most recent version available that’s not disabled (though it is deprecated).
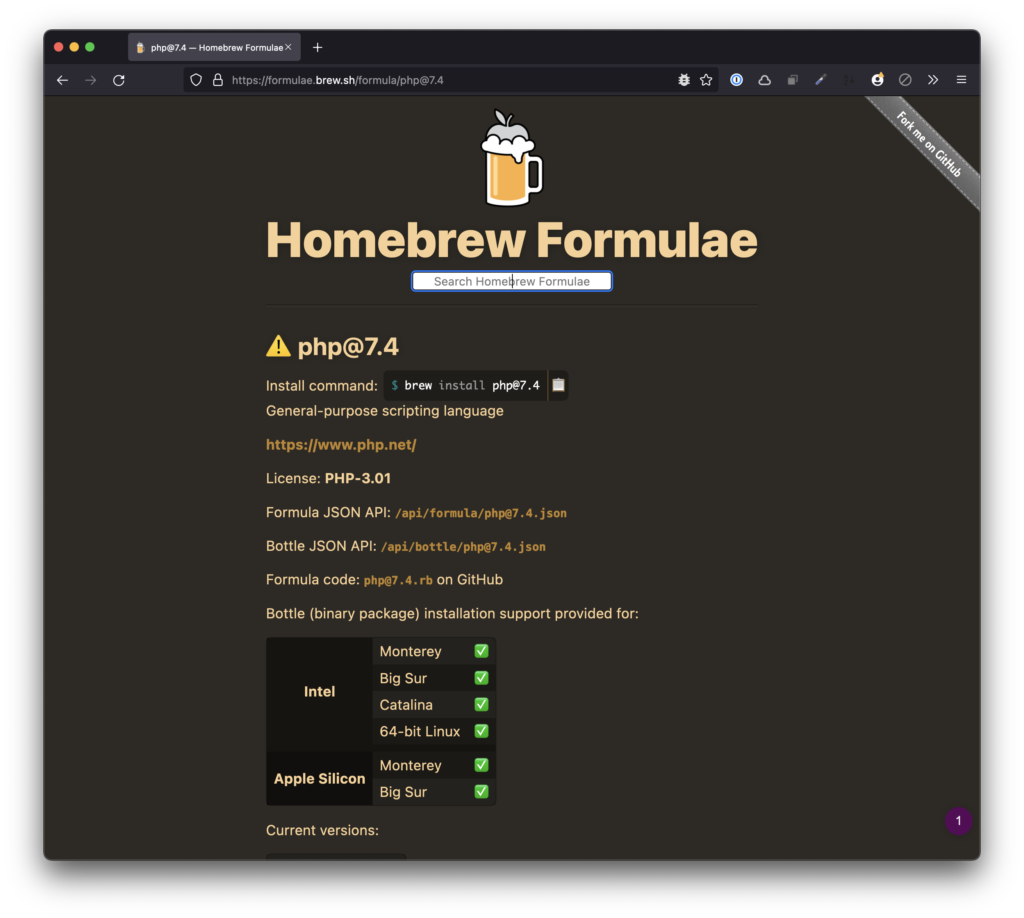
Start with this. To install it, issue the following command in your terminal:
$ brew install php@7.4
Once that’s done, you may need to do the following:
linkthe recently installed package- Update your
~/.zshrcto include the new paths (like shown above)
This would look something like this:
export PATH="/opt/homebrew/opt/php@7.4/bin:$PATH"
export PATH="/opt/homebrew/opt/php@7.4/sbin:$PATH"
You can then test the installation by running which php and see what output it gives. You may need to either source ~/.zshrc or even restart your machine if you have trouble with it.
Install PHP Monitor
Since PHP 7.4 is not going to be supported much longer and we’re inevitably going to move to 8.0 and then 8.1, I recommend installing PHP Monitor. This is utility that’s popular in the Laravel community (which works well if you use Laravel Valet, too 🙂).
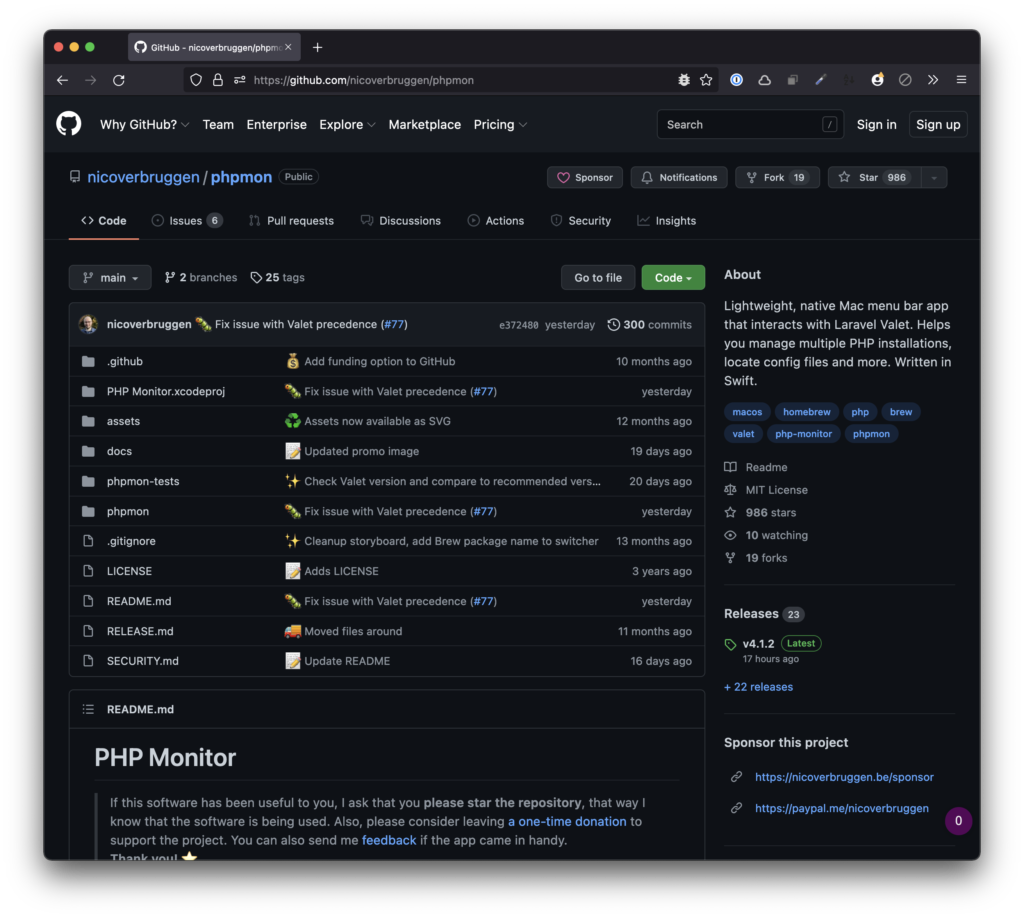
It can be installed with Homebrew but you’ll need to tap the repository before installing it:
$ brew tap nicoverbruggen/homebrew-cask
$ brew install --cask phpmon
Once that’s done, you can launch the application and manage your PHP installation from your menu bar. This is especially useful whenever you have additional PHP modules installed like opcache and Xdebug.
Other Utilities Coming Up
Once this is installed, configured, and set up on your machine, it’s much easier to get additional software and extensions going in your development environment.
And I plan to talk about that in some upcoming articles.
