Though it’s been around longer than Local (or previously Pressmatic), MailCatcher was brought to the attention of many WordPress developers.
In short, it makes it easy to start monitoring local development emails sent from WordPress. And if you’re someone dealing with templates, email customization, and more then you know how tiring it can be to tweak, send, tweak, send, and repeat.
If you’re not using Local, it’s still possible – and easy – to set up MailCatcher. And if you do a lot of work with anything that deals with WordPress emails (especially in eCommerce), then I think it’s worth setting up.
MailCatcher, MAMP, and WordPress
Before walking through the steps, it’s worth mentioning that I currently use macOS and MAMP 4 Pro. The steps should be relatively the same if you have Ruby installed on your system, but that point of clarification is important.
With that said, here are the steps for getting everything set up for MailCatcher, MAMP, and WordPress.
1. Install MailCatcher
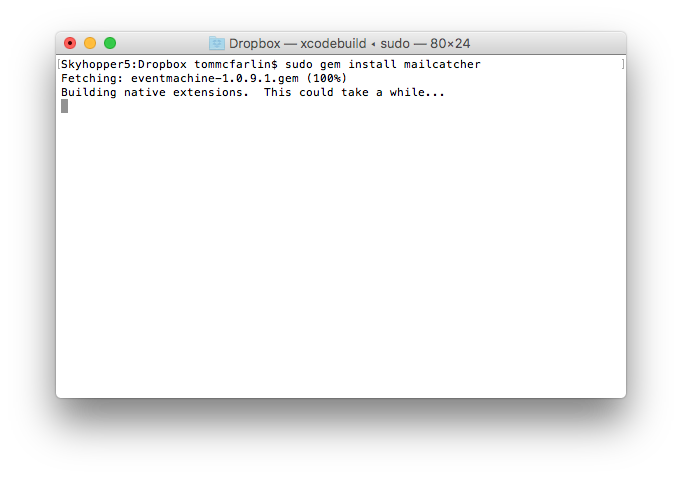
To install MailCatcher, open your terminal (and, remember, you’ll need Ruby) and then install the MailCatcher gem. To do this, issue the following command:
$ sudo gem install mailcatcher
Installing the application will take some time so if it looks your terminal is just sitting there and you’re sure you’ve entered the correct password, then wait for it to complete.
Once it’s done, you’ll be taken back to your usual command-prompt. It’s all installed, too. It’s not really that bad, right?
2. Starting MailCatcher
To begin, ahem, catching email, you’ll need to start the program.
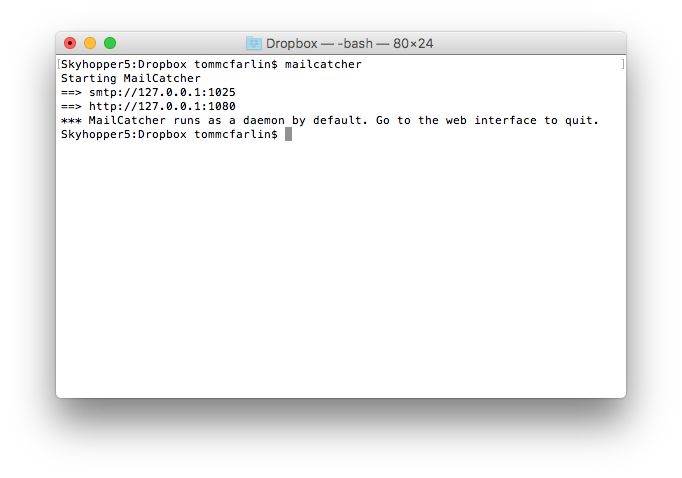
This is really easy to do after you’ve installed MailCatcher. Issue the following command in your terminal:
$ mailcatcher
And assuming all goes well, you should see the same response as what’s above. To test your installation, you can load MailCatcher in your brother by going to http://localhost:1080.
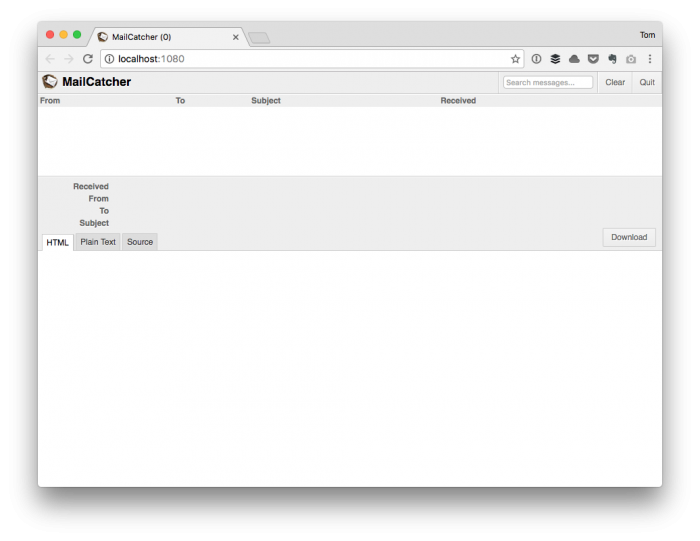 Sure, it’s neat, but it doesn’t do anything yet and it certainly doesn’t do anything related to WordPress.
At least not yet. There are two more steps: one a little more difficult, one incredibly easy.
3. Configuring MailCatcher in MAMP
Before setting up MailCatcher for WordPress, we need to configure the PHP configuration file so it’s aware of the SMTP server that MailCatcher provides.
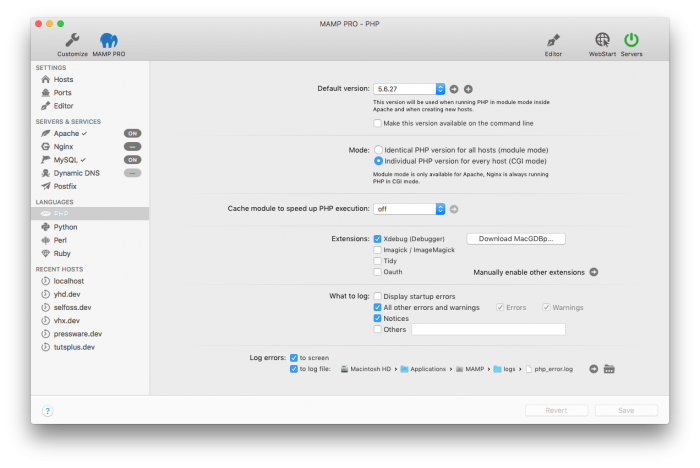
From within MAMP, click on the File menu, then choose Edit Template and choose the version of PHP that you use for your projects
From there, locate the line that reads:
smtp_port = 25
And change it to read:
smtp_port = 1025
This changes values from the default port to the SMTP port provided by MailCatcher. Next, locate the line that reads:
sendmail_path =
And replace it with something like this:
sendmail_path = /usr/bin/env catchmail -f wpdev@localhost.dev
Restart PHP (or your entire web server) and then load up WordPress.
Send An Email
At this point, you’re free to send an email using whatever features are available to send an email.

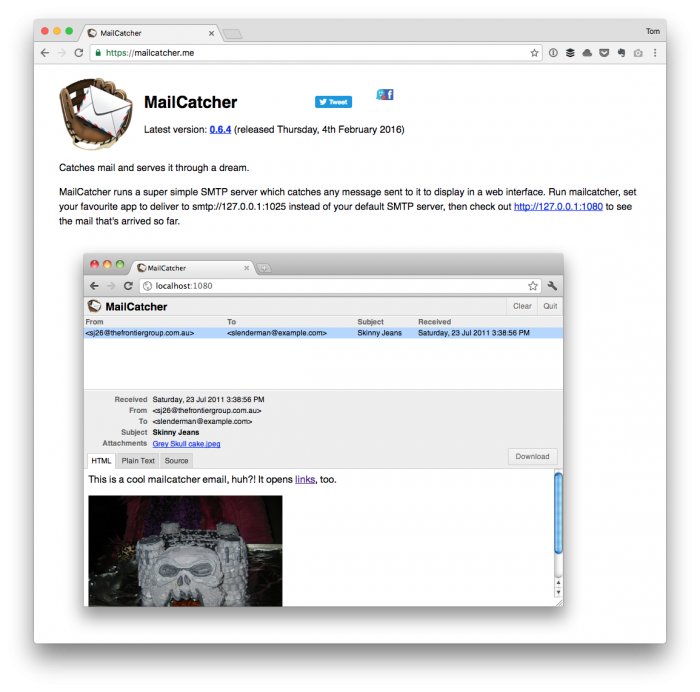
From within MailCatcher, you should be able to see the emails WordPress has sent. You can view the emails as HTML, plain text, or even the HTML source all of which are helpful for debugging.
A Note About MailCatcher For WordPress
After talking with fellow developers Jared Atchison and Josh Eaton, you may need to also install MailCatcher For WordPress. It’s a plugin that, as Josh put it:
If you have a transactional email service running that uses an API rather than
Furthermore, Jared found success in setting up his install like this:
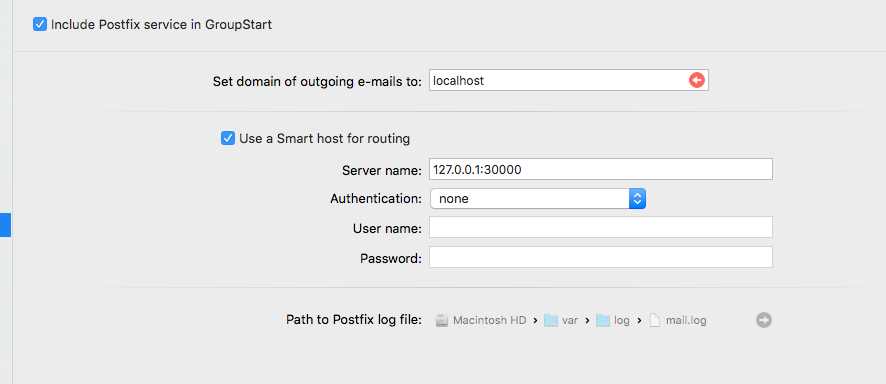
Note that it includes port 30000 rather than 1080. However, he did mention that there are a few issues with the queue of emails not arriving properly in MailCatcher.
That said, here’s what I recommend:
- Install MailCatcher as the instructions in the main set up of the post. This should work for most of you.
- If you’re using a transactional email service, then you may need the plugin linked above, instead.
And if I encounter any problems with the queue of emails arriving in an odd order (or not at all), I’ll either update this post or provide a follow-up.

Leave a Reply
You must be logged in to post a comment.