Last week, I said that I was going to be writing a series of posts explicitly focused on practical tools for freelance WordPress developers who are looking to improve their skills.
Specifically, I will be writing about the tools, processes, and more for the Independent WordPress Developer. Thus, the goal is to provide a series of content geared towards those of you who are freelancers or who work on a team of one but are looking to apply repeatable, solid tools and practices to your workflow.
In other words, it’s about using a set of tools designed to help you create the best solutions possible for your customers (and doing so with next-to-nothing in overhead cost).
The challenge that comes with doing something like this is two-fold:
- It’s a lot of content,
- There’s a [small] learning curve.
So, yes, technically you can go to different sites or areas and learn bits and pieces about these things, but the goal of the upcoming series of posts is simple:
Focus directly on the independent WordPress developer and do so in a practical, easy-to-understand, applicable way.
And that’s what I’m planning to do in the series starting today.
For The Independent WordPress Developer
Regardless of if you’re new to this or if you’ve been doing this for years (maybe even a decade!), I’m going to be writing these posts in a way that will allow you to grow your practices or refine your practices so that you can be better at what you do through the use of tools, processes, and repeatable, practical tasks that translate from project to project.
A Word About Environments
Of course, there’s always the question of where to start, right?
This series assumes that you’re working on a Mac or a Linux-based machine; however, I’m going to make sure I link to anything Windows-specific when possible.
Secondly, when it comes to any kind of web development you always want to make sure that you’ve got three main areas – or environments – set up for your project:
- Development. This is the machine you have – the one on which you start building a project. It has the suite of tools you need to write code, test, and evaluate what you’re doing. That means it doesn’t only have your development tools but also tools like a web server, database, PHP, and WordPress along with other tools I’m going to cover later in this series.
- Staging. This is the area where you share a version of your working code with your customer. It’s normally accessible via an address on the web and it contains only what’s needed to run your code. In this case, a web server, a database, PHP, WordPress, and the code you’ve written. Finally, this area is meant for customers to see progress, to interact with your work, and even to break something.
- Production. This is where the final version of the product is launched. The way it’s set up is similar to staging (which should also be similar to development) except this is the live version of the project where users, customers, and others will interact. It’s the final version and it’s not a place on which development should be done.
I imagine that most of you reading this are already familiar with each above and how the interact with one another. There are, however, ways to streamline the interaction among them. For example, one way to do so is through continuous integration. And that’s one topic that I’ll be writing about in a future post.
This entire series of posts, though, can be pictured as building blocks so we’re going to start at the foundational level and work upwards.
For those of you who have been following me and this blog for sometime, you’ve likely read some content on the above either here or somewhere else. And that’s great! But I don’t want to make any assumptions. Instead, I want to make the de-facto guide for the indepdent WordPress developer.
So I’m starting at the level of the local development environment.
Preparing Your Local Development Environment
Setting up your local development environment is arguably the most complicated aspect of this entire process so I’m going to be spending a few posts talking exclusively about this.
Throughout the series, I’m going to talk about:
- The Web Server
- Database Tools
- PHP and WordPress
- An IDE
- Code Quality Tools
This will be spread across several articles because I want to keep each article at a manageable length. Furthermore, I want to include at least one actionable task to complete throughout the content (sometimes more than one).
The Web Server
The content within this series of articles is meant to be practical, not too technical and certaintly not theorietical. However, I think it’s important to define terms when necessary so that we’re all on the same page when talking about a given topic.
So let’s define a web server. For our purposes:
A web server is a piece of software responsible for handling incoming requests for a page and returning it to the person who requested said page.
In short, when given an address, the web server will return the data associated with said URL.
Set Up Valet on Your Machine
The first step in preparing a local development environment is to make sure that you have a web server available on your machine. There are a variety of tools out there that make this possible; however for the purposes of this series, we’re going to be using Valet.
- it’s easy to setup,
- requires next-to-nothing to manage,
- and plays nicely with WordPress.
To install, Valet there a few prequesties all of which are easy to install. I’ll cover each of them in detail here so that you have everything you need to get going quickly.
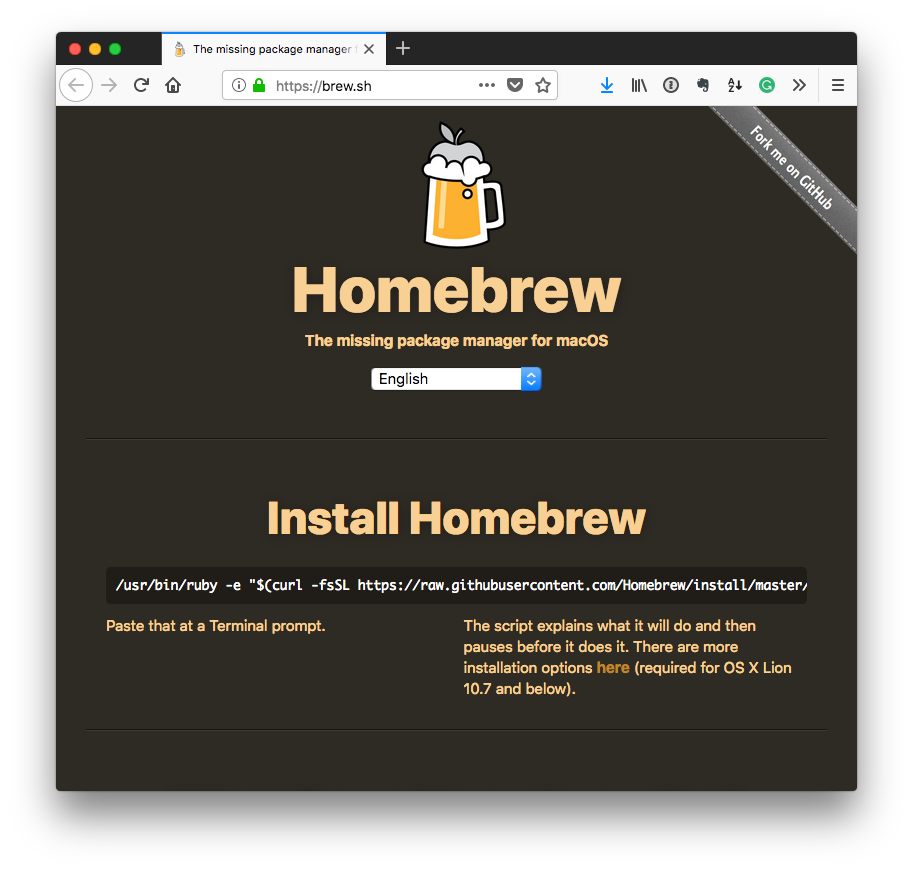
1. Install Homebrew
Homebrew is simply an easy way to manage third-party applications (or packages) outside of the Mac App Store. It’s a great tool for developers and makes it indredibly easy to install and uninstall said applications.
Furthermore, it has tools that help find when problems exist and fix them.
To install Homebrew on your machine, enter the following command into your terminal:
This assumes that you have Ruby installed and that you’re able to access it via the path as specified in the command above. Depending on your operating system, this may vary.
This will install Homebrew and the necessary libraries it needs to run. You don’t really need to worry about the information that the terminal displays as it’s generally outputting information about the packages it’s downloading.
It will tell you when the installation is complete.
2. Install PHP
Once Homebrew is done installing, moving on to PHP is incredibly easy. Though I’ll be using PHP7 for this particular set of articles, there are newer versions of PHP already available (such as PHP7.1, PHP7.2, and so on all of which can be installed via Homebrew).
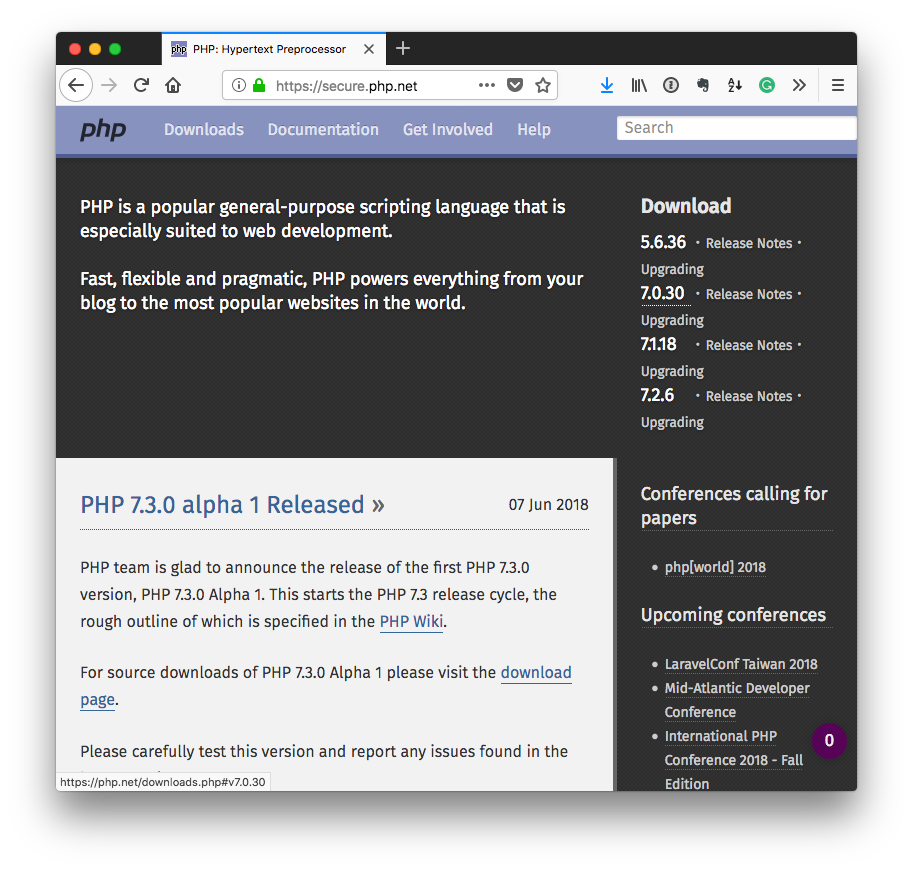
I opt to use PHP7 because it’s a fine middle ground for what most modern hosts will offer in terms of WordPress hosting and that’s being optimistic. Furthermore, PHP7 is fast and it offers a lot of really nice object-oriented features.
If you’re interested in reading about multiple versions of PHP and swapping among them, I’ll cover them in a later article after the bulk of this series is complete.
Anyway, installing PHP7 via Homebrew is as easy as entering the following command into the terminal:
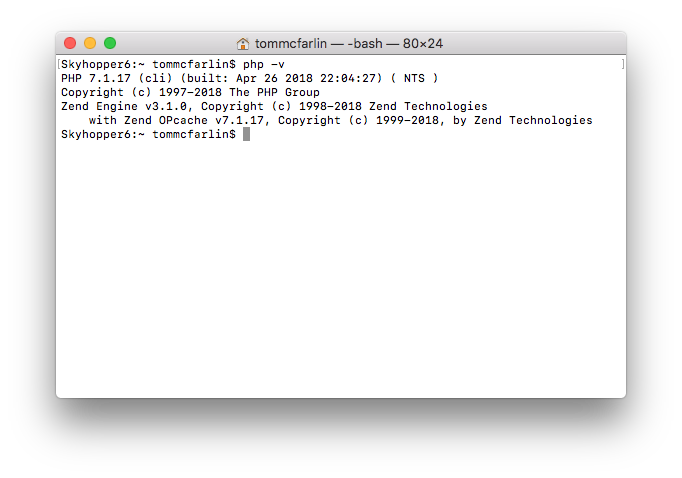
Once done, PHP is installed and you can verify that it’s running by issuing the following command:
And you should see something like this:
With that, it’s time to install Composer.
3. Install Composer
Much like Homebrew is a package manage for applications, Composer is a package manager for PHP applications. This means that you can install third-party tools, libraries, and even full on applications (yes, even WordPress) via Composer.
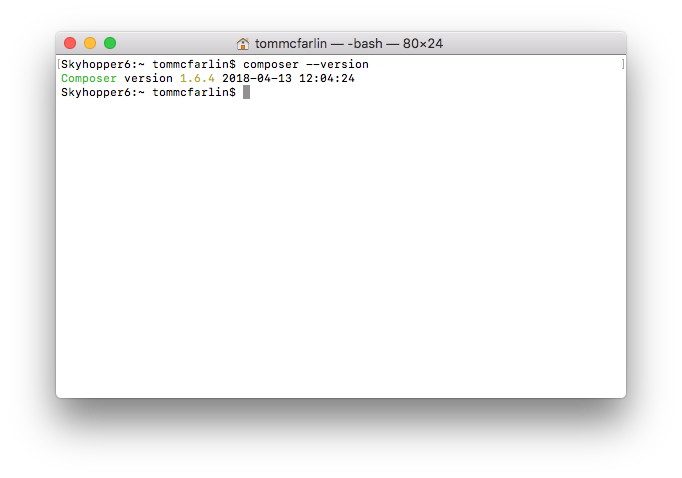
For now, though, we’re going to limit the use of Composer to installing Valet. Before doing that, let’s install Composer. To do so, enter the following command in your terminal:
Once that’s complete, you can test the version that’s installed by entering the following command:
And you should see something like the following:
The hardest part of getting a web server installed on your local machine is done.
4. Install Valet
At this point, it’s time to install Valet which will install the necessary tools to have your machine act as a local web server.
The most important thing to note about this is that when you install it (and it’s done so via Composer) that you install it globally so that it’s accessible everywhere in your system. To do this, enter the following command:
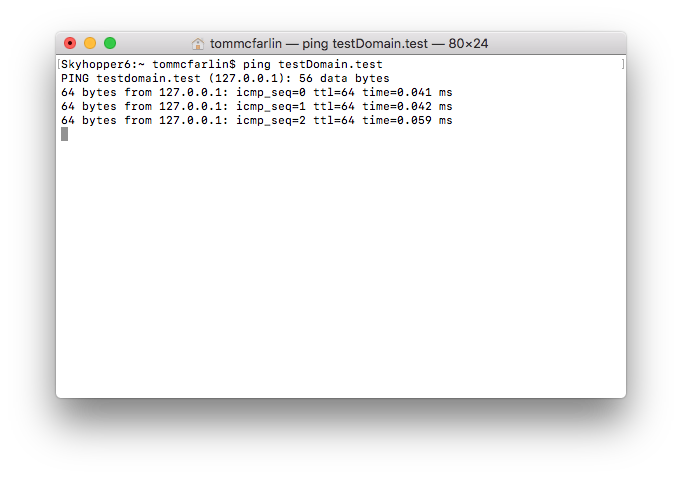
Once it’s done, you can test that the installation is complete by opening a terminal and pinging any URL wth a .test top-level domain. For example, try doing this:
And you should see something like this:
Once we’re done setting all of this up, we’re going to configure various domains on our machines for each of our WordPress projects.
For now though, we’ve done everything we need to do to make sure our web server is installed, up and running, and easy to work with as we move on to the next article.
Actionable Tasks?
I know: Earlier in the post I said that I’d like to have an actionable task per article and this one actually included quite a few.
It will get easier but the initial set up is always a bit more work than some of the content that will come later. So if you made it this far, congratulations. We’re not done yet, though!
Next Up: Database Tools
At this point, we have everything we need to host a website except a database. Because WordPress is a database-backed web application, we need to have a database server, a database, and the necessary tools to interact with it.
In the next article, I’ll cover exactly what it is you’ll need to do to get a database installed, running, and how to browse the information that it