About four years ago, I shared a post about WP-CLI. It wasn’t exactly a new project at the time, but it was far less developed than it is now.

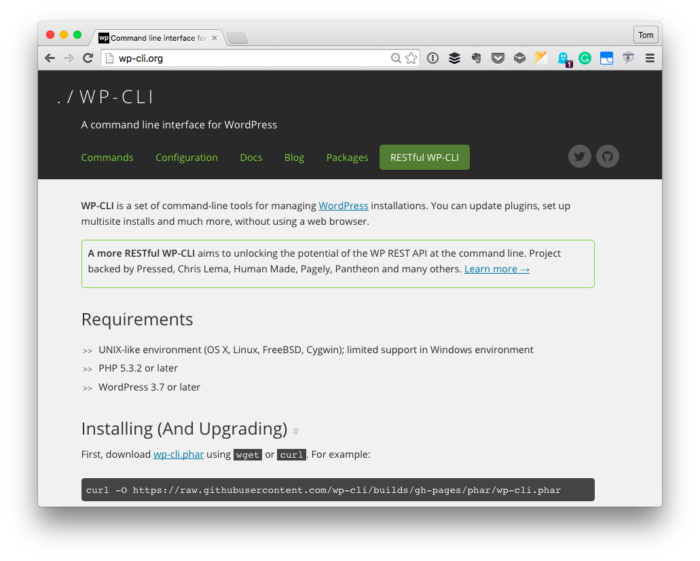
The WP-CLI Homepage
As I mentioned in yesterday’s post, one of the things that we’re doing with is making sure that all of our work is unit tested from the initial version.
And when it comes to unit testing in PHP, many of us are familiar with PHPUnit; however, when it comes to unit testing plugins that are integrated with WordPress, it helps to have a test environment set up.
Sure, it’s possible to set aside a test database, test content, and then defined mock objects based on interfaces (and I’m not here to dissuade anyone from doing that). But WP-CLI offers a much easier way to go about doing just that in a more automated manner.
But first, it’s important to make sure that it’s correctly installed on your system.
WP-CLI with MAMP
First, the WP-CLI homepage offers instructions for how to install the program. I’m not out to say it’s wrong, that I have a better way, or to repeat the information.
Instead, I’m providing a way of installing the program in the context of your system that may be a bit different from what the standard set of instructions offer.

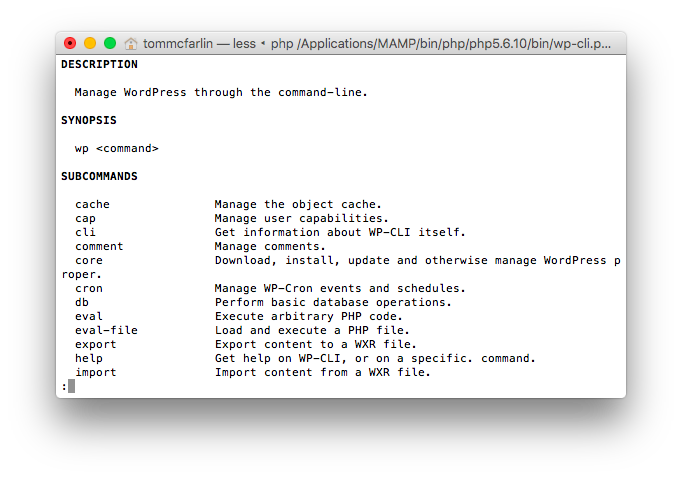
WP-CLI in the Terminal
Specifically, if you have your environment running (through something such as MAMP or another stack), then you may wish to keep all of your files self-contained within their directories so not to interfere or conflict with other software on the system.
If you’re interested in doing that, then follow along. For this post, I’m assuming that you’re running MAMP and that you’ll be installing it in the directory corresponding to the version of PHP you’re using the most.
1. The Most Recent Version of PHP
To get the most recent version of PHP, you can enter the following line in Terminal:
$ ls /Applications/MAMP/bin/php/ | sort -n | tail -1
This should result in the following output:
php7.0.0
If you’re interested in using a different version then you can use a command line the following (which will result in php5.6.10):
$ ls /Applications/MAMP/bin/php/ | sort -n | tail -2 | head -1
Whatever the case, note the command that you use and the output that you use so that you’re able to update your profile with this.
2. Update Your Profile
Next, update your .bash_profile so that it includes the following lines of code:
PHP_VERSION=$(ls /Applications/MAMP/bin/php/ | sort -n | tail -1)
export PATH=/Applications/MAMP/bin/php/${PHP_VERSION}/bin:$PATH
This will store php7.0.0 into a variable and will then allow you to add that to your path. If you’re not sure where to add this, enter the following command in Terminal:
$ open ~/.bash_profile
Once done, you’ll be presented with the configuration in a text editor. It may or may not have text already in it. Regardless, place the above two lines at the top of the file.
3. Download WP-CLI
At this point, you can download WP-CLI. To do this, navigate to the directory of your PHP installation on your machine.
If you’ve been following along wth the instructions this far, then navigate to /Applications/MAMP/bin/php/${PHP_VERSION}/bin where ${PHP_VERSION} corresponds to whatever version of PHP you’ve opted to use.
Next, enter the following command in Terminal:
$ curl -O https://raw.githubusercontent.com/wp-cli/builds/gh-pages/phar/wp-cli.phar
This will download the WP-CLI program to your machine in the directory that you’re currently working (which should be the one corresponding to the latest version of PHP).
4. Add WP-CLI to Your Path
If you want to be able to access the command-line interface for WordPress anywhere on your system, then it’s a good idea to place it in your path, as well.
This way, you can take advantage of it no matter whatever directory you’re in when working with WordPress-related software. To do this, add the following line to your
To do this, add the following line to your .bash_profile directory below the lines that we’ve added above:
alias wp='php /Applications/MAMP/bin/php/${PHP_VERSION}/bin/wp-cli.phar'
This will enable to you to use the wp command anywhere on your system.
There’s More
There are additional things that can be included that make the WP-CLI installation that much better, too. These things include tab completion as well as tools for setting up unit test scaffolding as mentioned earlier in this post.
For now, make sure you’re able to get WP-CLI installed and I’ll be sure to follow up with additional content in an upcoming post.


Leave a Reply
You must be logged in to post a comment.