In the previous post, we added our first map to the template that we’ve been working on throughout this series.
Through a third-party tool, we ended up getting the latitude and longitude of a city in order to center the map, and though we still have refactoring that we’ll need to do, we successfully displayed the map on the screen.
But part of the lure of using Google Maps is the feature that it offers as it relates to marking certain locations. That is, displaying one of those little red pins that Google Maps shows when you’re browsing for a location, a destination, and so on.
So starting in this article, I’m going to walk through the process of adding up to two markers.
Over the next few articles, I’ll cover how to add multiple markers, and how to do so in a way that’s efficient when it comes to loading up the map on subsequent requests so you’re not exhausting you’re API calls every single time you need to render the map.
Adding a Marker with Google Maps in WordPress
Just like the JavaScript that we had to write in order to actually display the map centered in a specific location, we need to use the API that’s available in order to draw a marker.
The key thing to understand is that in order to draw a marker, you need to be able to reference the map object that was created (in the previous post), and then you need yet-another-location to display the marker.
Displaying a Single Marker
Since we have a location that we used in the previous article, we’ll go ahead and use that same location. After all, that’ll provide a decent use case for how to display a marker in the location that we’ve centered the map.
Let’s do that now. First, I’ll show the code, then I’ll explain it:
The first thing that we do is instantiate a marker (as indicated by the google.maps.Marker call. We pass is the following arguments:
- `position` which refers to the location of the marker that we want to render
- `map` which refers to the map that we’re rendering
It’s also possible to display some content for the marker, but perhaps we’ll be looking at how to do that in the series if there’s any interest.
At this point, you should be able to refresh your page and see something like this:
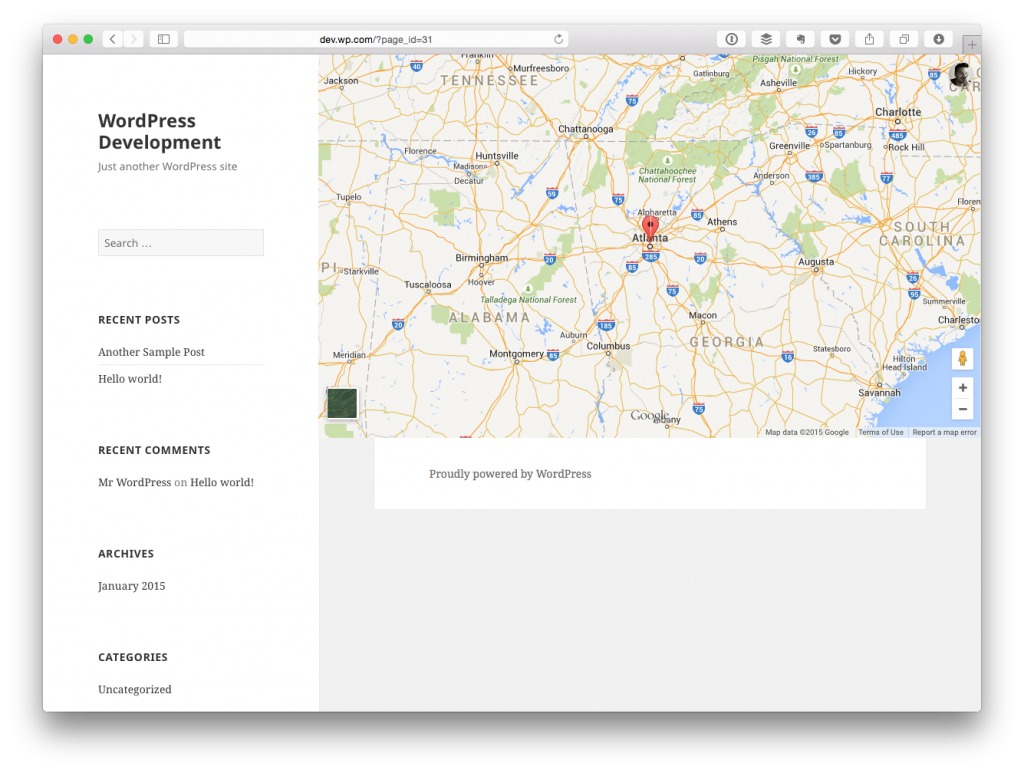
Of course, your mileage may vary based on what location you’ve chosen to display the marker. Kinda cool, right?
But what about if we want to, say, display a secondary marker?
Display Another Marker
When it comes to displaying markers on the client-side, it’s relatively easy: You basically provide the same information that you see above except with a different location.
Will yield something like this:
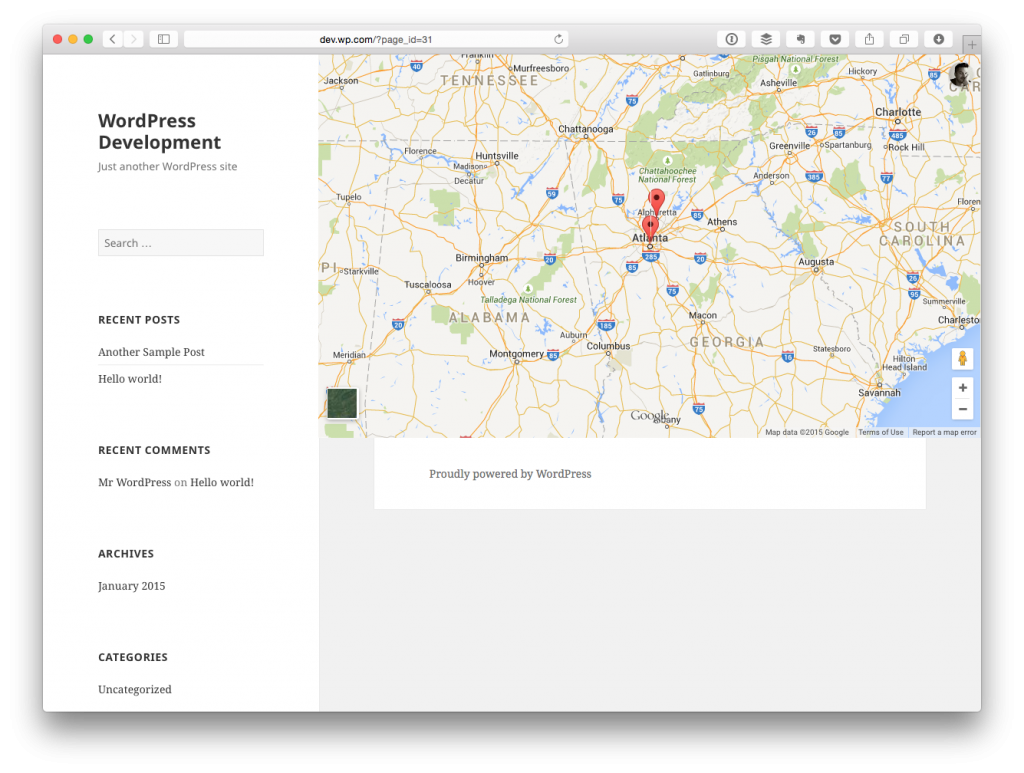
Easy enough, right?
And yes, there is a lot of room for refactoring this code – there’s a lot of room for refactoring this entire template – and it’s coming, but not until we outline the major functionality that this series is attempting to cover.
On Performance
Finally, there’s an important thing to note whenever you’re dealing with displaying multiple markers on a map whether or not you’re working with WordPress, any other language, or any other framework and that’s that performance will drastically decrease if you’re going to be displaying a lot of markers.
That is, you don’t want to display the page, generate the map, loop through a collection of markers, add them to the map, and so on. The main reason is because getting their location in the format of latitude and longitude is expensive.
Then again, we haven’t even covered how get the latitude and longitude of a location yet – that’s coming – but in the meantime, consider the fact that each time you want to paint a marker, you’d have to do the following:
- Look up the location of the marker, assuming that it’s based on a city name or a place name
- Query the Google Maps API to grab the latitude and longitude
- Generate a marker based on that information
- Add it to the map
Multiply this by, say, just 100 to 200 markers and you’re talking about a serious delay in terms of displaying the page.
No good!
So as I continue working through displaying markers, marker content, additional markers, and so on, I’ll also be sharing ways in which we can retrieve that information once so that displaying the map happens very quickly.
In the meantime, review the API and marker calls above and leave any questions or comments you may have.


Leave a Reply
You must be logged in to post a comment.