If you’ve been following along with this particular series, then you’ve got a template setup and ready to begin displaying Google Maps in WordPress.
For whatever reason, if you’ve just stumbled across this series, then I’ve shared a basic introduction of the topic as well as how to setup a template within Twentyfifteen in WordPress 4.2.2 or how to display a map.
Those particular articles were a little longer than I usually like to share for posts like this, but I needed to get a few things setup before actually diving into the main points of this series.
Case in point: In this post, I’m primarily going to be talking about how to communicate with the Google Maps API to simply display a map – that’s it. Nothing more. Sure, there’s a lot more that can be done, and I plan to cover a lot of that material, but for now we just need to get a map displaying in our template.
Google Maps in WordPress
Assuming that you’ve followed the tutorial thus far, the primarily thing that I’m looking to cover in this post is to display a map within the context of our template.
I’ll walk through how I do it and then feel free to experiment with some of the parameters so that you can get a handle for how to tweak the map to your desire as you’ll likely need to make said adjustments in actual, real-world projects.
Anyway, the first thing that we need to do is to introduce a container that will, y’know, contain the map. This is as simple as adding a simple div element to the template:
Next, we need to introduce some JavaScript to the template. To do this, we need to make sure that it’s placed after the script import that was added in the previous article. This is because that library is a dependency on the JavaScript that we’ll be writing.
First, I’ll share the code, then I’ll explain what it’s doing after that:
In this gist, we’re setting up an event handler as defined within the Google Maps API such that when the window object loads, it will call our custom function maps_results_initialize.
Within that function, we’re making a call to the Google Maps API to create a Map object that will create a map zoomed at the ‘7’ level (which is an arbitrary number I selected for this demo), centered with the latitude and longitude coordinates of Atlanta, Georgia.
Now load up the template in your browser. You should see something like this:
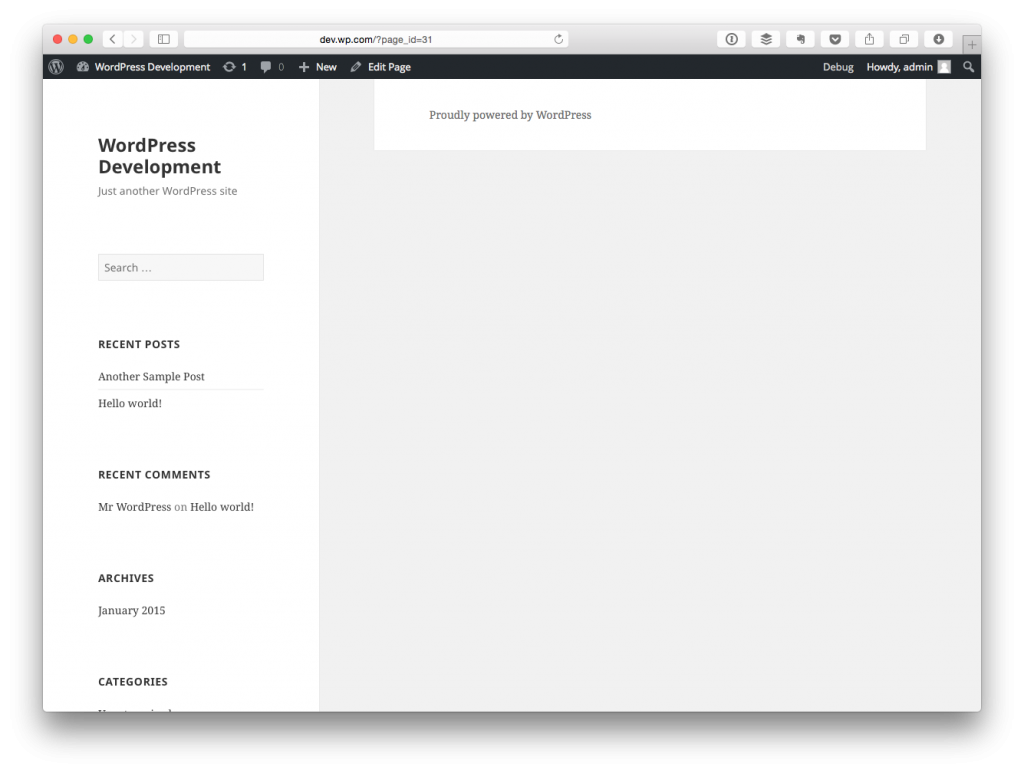
Oops. Nothing’s changed. So what gives? We actually have to explicitly specify the dimensions of the canvas in which the map is being drawn.
To say that this doesn’t look as nice as we’d like is an understatement, right? I mean, it doesn’t look like anything. We can improve this a little bit with CSS.
Remember, as mentioned in a previous post, the way in which I’m developing this template right now is not what I recommend as it relates to good web development practices – I’ll have an article at the end that walks through the process of refactoring later in the series (after all, this is how development often goes, but I digress).
Here is a little bit of CSS to improve the presentation of the map:
Okay, with that done, let’s refresh the page and see what we end up with:
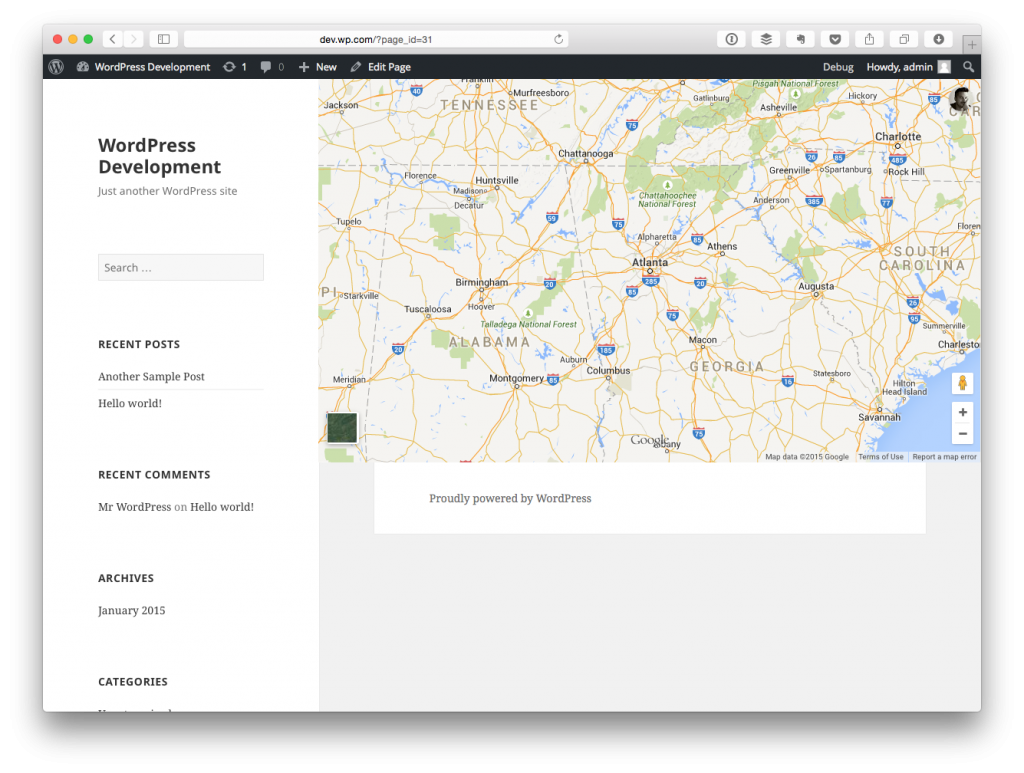
Much better, right? We’ve got the map displaying, filling up the width of the container, and centered on the center for which I’ve selected (remember to read the code comments!)
Moving On To Markers
Okay, at this point, the main goal has been achieved – we’ve got the Google Maps JavaScript library included and we’re displaying a Map. Sure, there are some additional changes that we could make in terms of, say, a zoom level or a position or where the map is centered, but these are all things that could be changed as an exercise on your own time.
After all, what are API Docs for?
Regardless, if you have questions, feel free to leave questions in the comments. Other than that, I’ll continue moving forward with the next article by adding content for how to add a marker to the map.
A Word About Multiple Markers
I’ll also have a short discussion on how to add multiple markers to a map as this is something that I often see tripping up developers. Or maybe it was just me.
Either way, there’s a process that we can follow that will address this and we’ll be covering this in the upcoming parts of the series.
Leave a Reply
You must be logged in to post a comment.