TL;DR: This post gives a high-level overview of what kind of app Ray is and how to set it up for use in WordPress.
For as long as I’ve been involved with WordPress development, I’ve consistently seen developers – myself included – consistently use print_r and var_dump whenever they need to see what’s going on within their code.
And this is okay for smaller data structures like looks at objects, arrays, and so on. Then on the other end of the debugging spectrum, if you need to step through code to see what arguments are being passed into a given function from where and with what value, then using something like Xdebug is incredibly helpful.
Until recently, I didn’t think there was middle ground. But then I found Ray and I’ve been using it ever since.
Debugging WordPress with Ray, Part 1
What is Ray?
Before talking about debugging WordPress with Ray, it’s worth understanding what Ray is and what it is not.
The first being that it’s not something that’s exclusively WordPress, so if you’ve stumbled across this post as someone else in the broader PHP community it’s something that’s still work checking out.
With that said, let’s assume that you’re a WordPress-based developer and you’re looking to learn more about what Ray is all about.
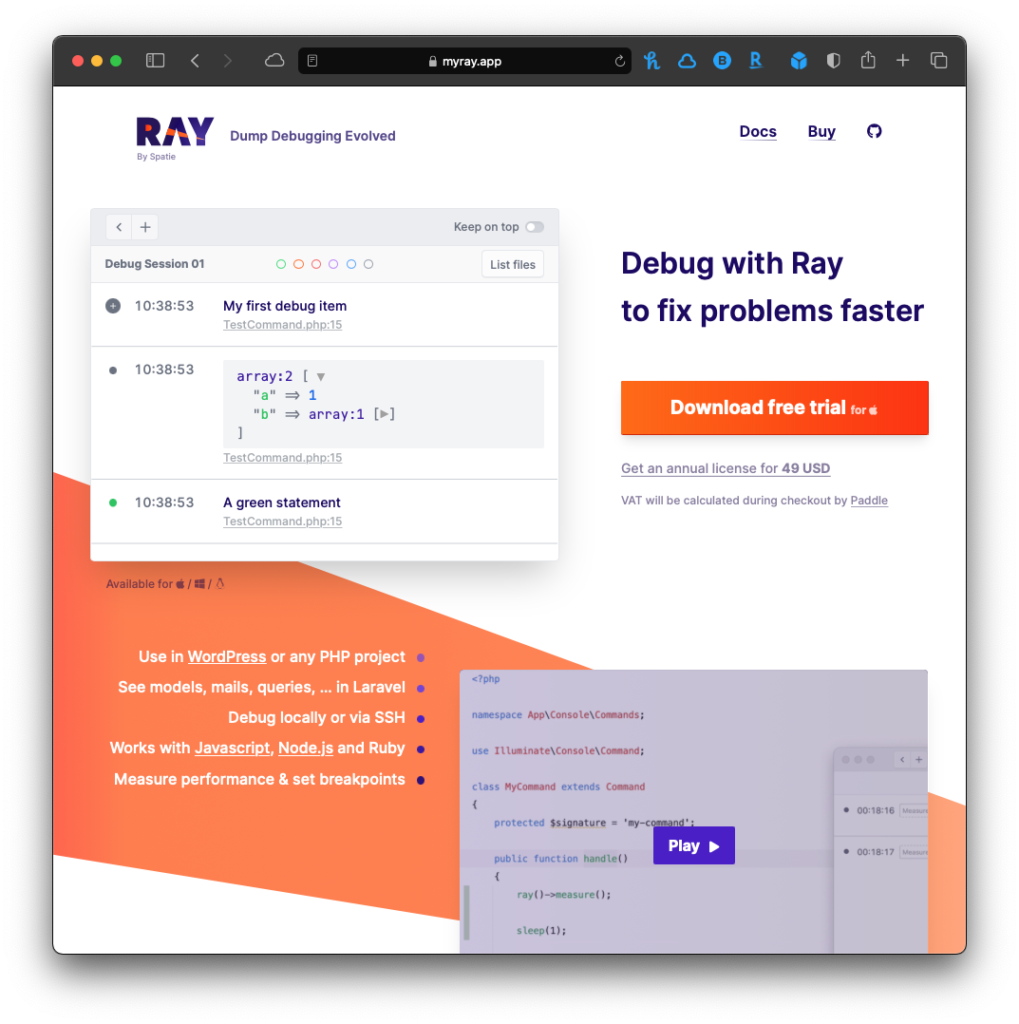
First, though it does provide an elegant example of what your code looks like when dumped out to a screen it offers much more.
Note that when you use Ray, you’ll need some additional tooling, which I’ll cover a bit more in a moment, but if you want to continue to dump information out into a format using something similar to var_dump, Ray supports that. It just makes it look nicer. 🙂
Secondly, when you invoke Ray from within your code, it will make sure that you know where the call is coming from. This way, you know exactly what file and what line at which you’re looking. This is useful especially when you have multiple calls.
Third, you can actually pause your code’s execution much like you do whenever you’re using an actual debugger. This means that once it hits a certain point in your code (and this is useful if you’re hitting a switch condition or an if condition or if you’re using, say, a factory in object-oriented programming and want to know which instance of an object has been instantiated), then you can halt execution and get a better sense of what’s going on with your project.
Finally, you can organize the types of output into various colors. This means that if you hit a certain branch in code and you don’t want to hit that branch, you can categorize it as red. Similarly, you can do the same with green, orange, purple, and more. It really depends on you and what you’re aiming to achieve by looking at your data.
Using Ray in WordPres
If you read the docs for installing Ray in WordPress, it may seem a little intimidating (especially depending on your experience with the CLI, with Git, and with must-use plugins).
The nice thing is, it doesn’t have to be this way. Instead, you can grab the WordPress Ray Plugin from the plugin repo (either from the site or from within WordPress depending on your permissions).
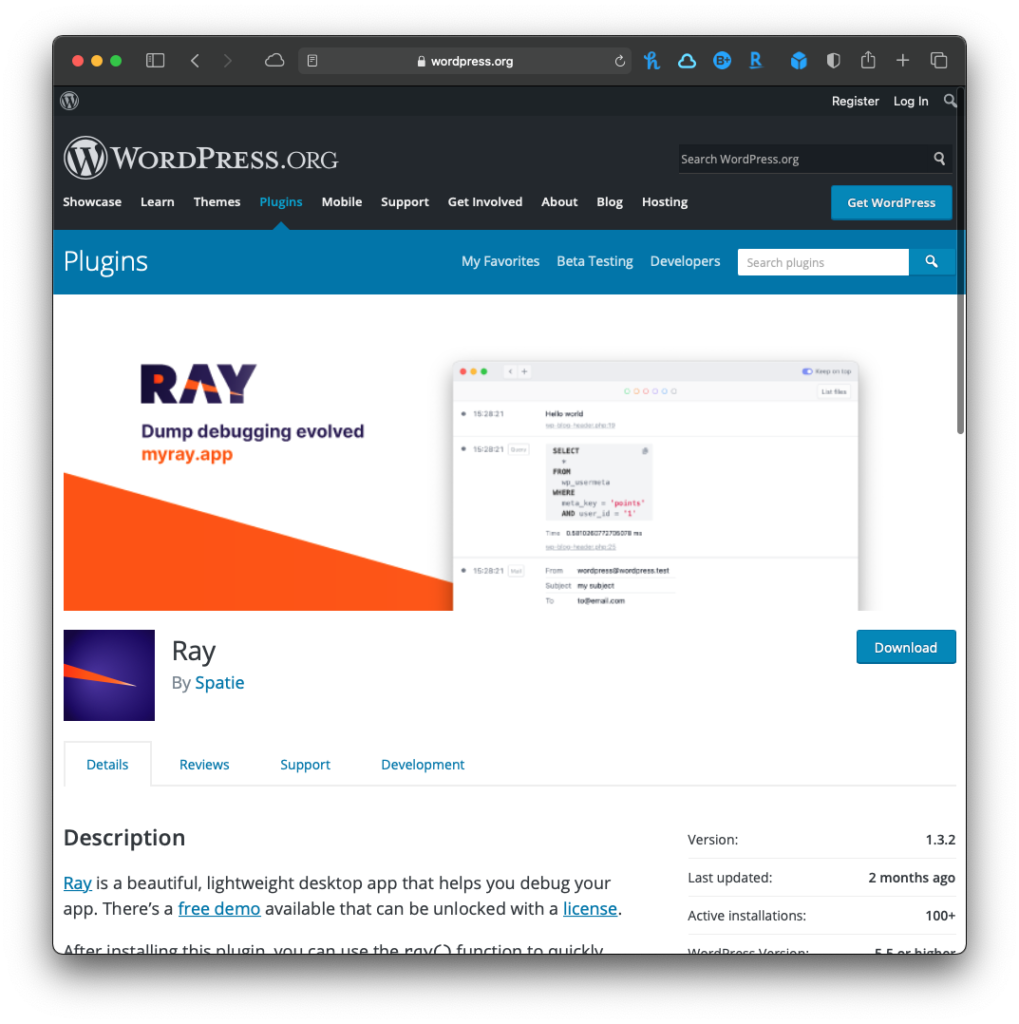
Once the plugin has been installed, you should be able to immediately be able to start dumping information into Ray.
Using Git and Composer
If you opt to use Git and Composer, make sure that those two tools are installed on your system, then do the following.
First, clone the repository into your mu-plugins directory by issuing the following command:
$ git clone git@github.com:spatie/wordpress-ray
Next, navigate to that directory in your terminal and run:
$ composer installOnce that process has finished, open wp-config.php and add the following two lines:
require_once ABSPATH . 'wp-content/mu-plugins/wordpress-ray/wp-ray.php';define( 'WP_ENVIRONMENT_TYPE', 'local' );After that, you can start using the ray function in your code. For example, I have the following line of code running in a template that I’m using as a demo for this article:
<?php ray( wp_get_current_user() ); ?>Then, whenever this page is loaded, the Ray app will display the following:
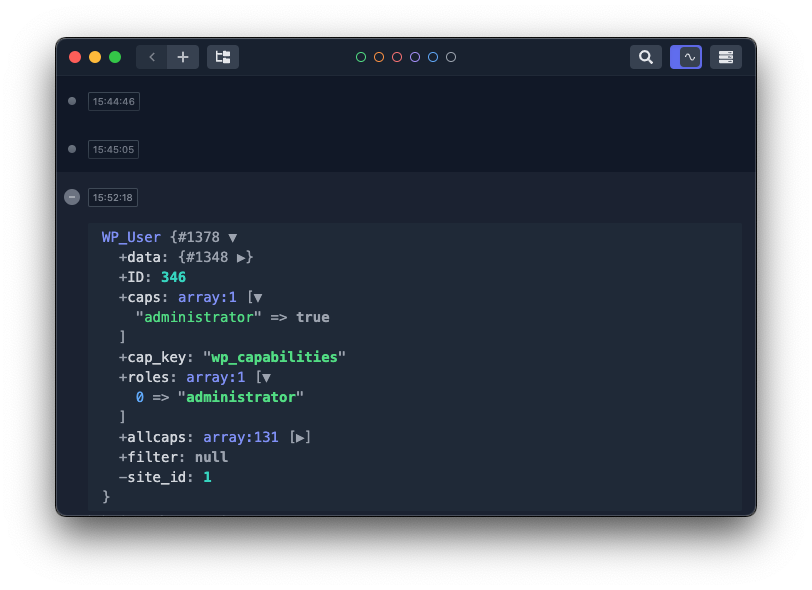
This is obviously rich information – information that can still be read via other means – but in a much more elegant fashion.
For Part 2
In Part 2 of the series, I’ll cover how to start debugging code using Ray and why I enjoy using the app as a middle ground in between something like var_dump and Xdebug.
Further, I’ll go through some of the WordPress-specific features of Ray so that you can see how this is more than “a pretty way to dump variables.”
Ultimately, I think Xdebug is still something that should be used, but Ray is a much nicer middle ground that provides a lot of solid debugging functionality without needing the full on support of a true debugger.
