Now and then, I end up installing a piece of software via Composer or that places some of its binaries in directories other than the usual places that macOS expects to find them.
That is, if you’re running an app from within Terminal or that an application with a GUI expects to be in a certain location on disk, then it’s likely going to expect it in one of five places:
- /usr/bin
- /bin
- /usr/sbin
- /sbin
- /usr/local/bin
But, as I said, over time we end up installing things using third-party tools, or we end up installing things that place binaries outside of one of these directories.
Case in point: What happens if you want to install WP-CLI globally? Or what if you want to use a version of MySQL that ships with MAMP?
In those cases, those binaries are not going to be included in any of the aforementioned directories. When that happens, you have to modify your profile. If you’ve never done that, it can be daunting. And it can get messy if you don’t do it methodically over time.
So here’s a primer on Bash for WordPress developers for what your bash_profile is and how to manage third-party software with it.
Bash for WordPress Developers
Before getting into setting paths, for other software and the like, it’s important to note that you may not have a bash_profile. That is, if you use a terminal, then you may use a different type of shell, and if that’s the case, you’re already way ahead of this post.
If on the other hand, you use the terminal shell with no changes that ships with macOS. But first, what’s a shell?
In computing, a shell is a user interface for access to an operating system’s services. In general, operating system shells use either a command-line interface (CLI) or graphical user interface (GUI), depending on a computer’s role and particular operation.
And if you’re using Terminal with no modifications, then you’re likely using Bash.
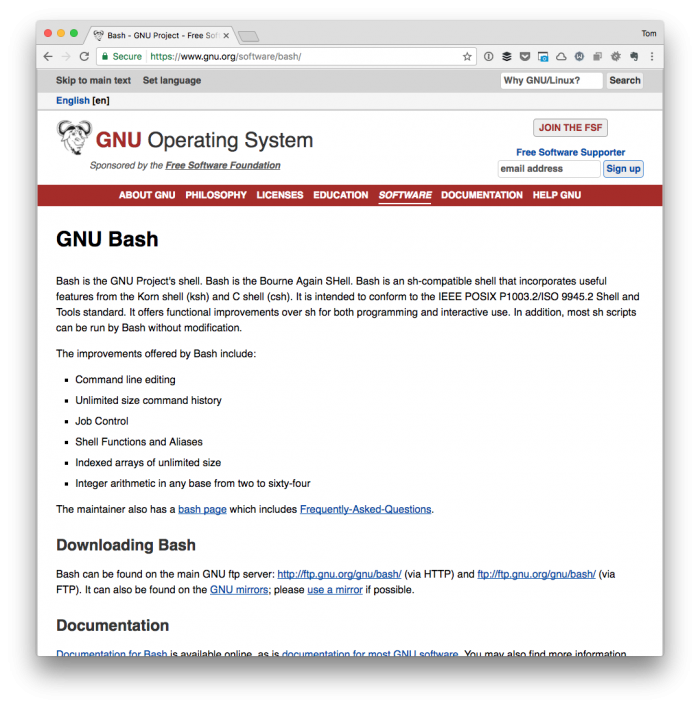
Finally, all of the settings for each time you launch Terminal are stored in the shell’s relevant profile file. In this case, everything is stored in .bash_profile.
To get everything all set up exactly as we need it, then we need to make some changes (or even initialize it) to get things going.
Note that after each change made to .bash_profile you may want to run:
$ source ~/.bash_profile
So all of the new changes that are introduced are loaded for your current terminal session.
The Initial Profile
Whenever I setup my initial profile, it always looks the same. That is, it includes the five directories that I’ve listed above:
You’ll notice at the end of the PATH variable, though, that there’s something that looks like another variable. Specifically, I’m talking about $PATH. And it’s important to understand this because it impacts how programs are found within the terminal.
What’s $PATH?
First, think of it was a way for the shell or for the operating system to search for binaries. So if you have all five of the paths above defined, the operating system is going to look in those directories for certain binaries.
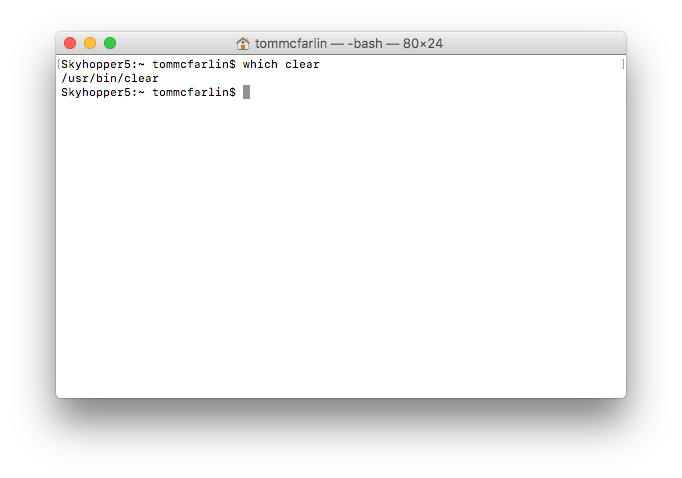
To try it out, launch terminal and type:
$ which clear
And this will show you where it’s finding the clear executable on your system (where clear just wipes the terminal screen 🙂).
Next, notice that $PATH is defined at the end of the string in the above example. As you modify your profile, you’ll like be working with it. In short, it defines the order in which directories should be searched.
So in the gist above, the Terminal is going to look for a binary matching what you’re looking to execute starting in /usr/bin and ending in /usr/local/bin.
What Does “Export” Mean?
If you’re not using Bash, I can’t comment on the equivalent, but within the context of Bash, export is a way to explicitly assign the value to the PATH variable defined in the above gist.
That is, in programming we’re using to creating a variable and assigning it a value. This is similar to that. However, we’re a bit more explicit. Simply put, we’re setting a variable on the left side to the value on the right side. And this is set using export.
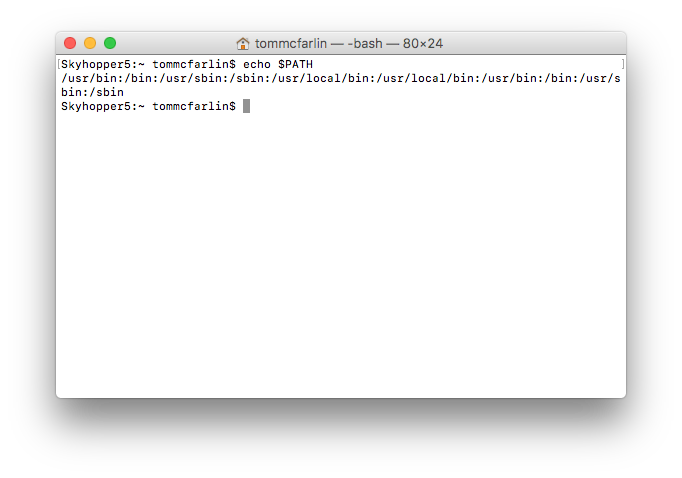
So if you want to see what $PATH contains, then type this into your terminal:
$ echo $PATH
Then you’d see the value of the five paths defined thus far.
Over time, though, we naturally want to add more to this.
Composer Packages
I’ve talked about installing Composer and how to install packages using it in previous posts globally. But let’s say that for the sake of argument we want to install WP-CLI and then add it such that it can be accessed via the terminal anywhere on our system. And this can all be done using the profile information above.
Assuming that you’ve composer installed, and your composer.json looks like this (along with a few other things, but ignore them for now):
And you’ve run:
$ composer update
Then WP-CLI has been installed. But when you try to execute it from the terminal outside of its installation directory, it doesn’t work. So what gives?
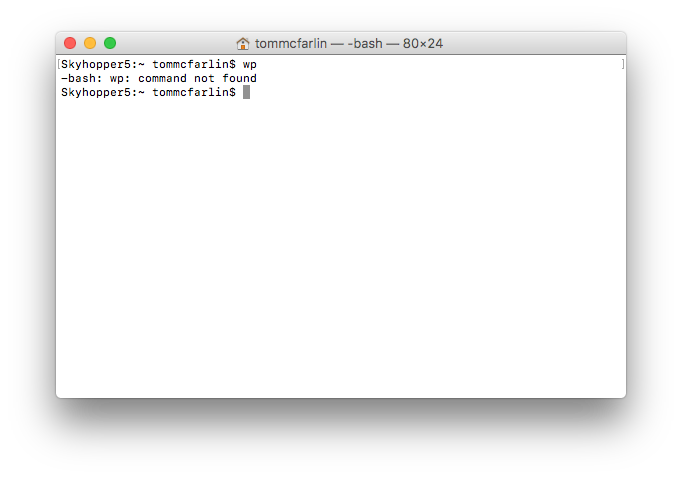
The path to the binaries installed via composer isn’t set in our .bash_profile. To fix this, add a new line to .bash_profile but make sure that you don’t redefine something that already exists.
That is since PATH exists, then we can just set $PATH at the end of our new line and prepend our Composer directory to it. This way, we don’t be duplicating directories or values in the variable whenever we export them and we’re setting the priority of which directories are searched.
Then, when you attempt to run wp from anywhere in the command-line, it should work, and you should be able to type:
$ which wp
And see that it’s coming from the composer/vendor/bin directory. Oh – and note that $HOME is a variable that references to the home directory of the current user. This can be changed, but it’s outside the scope of this post.
MAMP Software
At this point, the version of PHP, MySQL, or whatever languages and tools you opt to use are going to change. I’ve provided some different posts around MAMP (1, 2, 3), so that’s what I’m opting to use an example.
Specifically, I want to use MAMP’s version of PHP and MySQL – not what’s provided with the system. But, at this point, you can run:
$ which php
And:
$ which mysql
And see they are both coming from system directories. This needs to be changed so that our command-line access is using the same version of the software that our application is using.
To do this, we can add the following lines to our .bash_profile:
There’s something to import to note here, though: I’ve placed MAMP’s PHP binary directory before the values of $PATH. This is because I want the system to look here first (not in the system directories).
There’s a second challenge, though. MAMP ships with several different version of PHP and the odds that we want to use the same version every single time is slim. So we need a way to use whatever version is selected in MAMP, right?
One way to do this is to use an alias.
What About Aliases?
You can think of aliases as a shortcut – it’s a quick way to execute a particular command or program without having to type a fully-qualified name to a program.
In the case of MAMP and PHP, there are some versions of PHP we could be using. At the time of this writing, I have:
- 5.4.45
- 5.5.38
- 5.6.28
- 7.0.13
- 7.1.0
All available on my system. I’m not likely to want to use all of them (nor have all of them in my $PATH), but there may be a chance in which I want to execute a previous version of PHP to test something in particular.
So how can we do that? We can use aliases. And if you navigate to /Applications/MAMP/bin/php you should see all of the versions of PHP that are included with your version of MAMP.
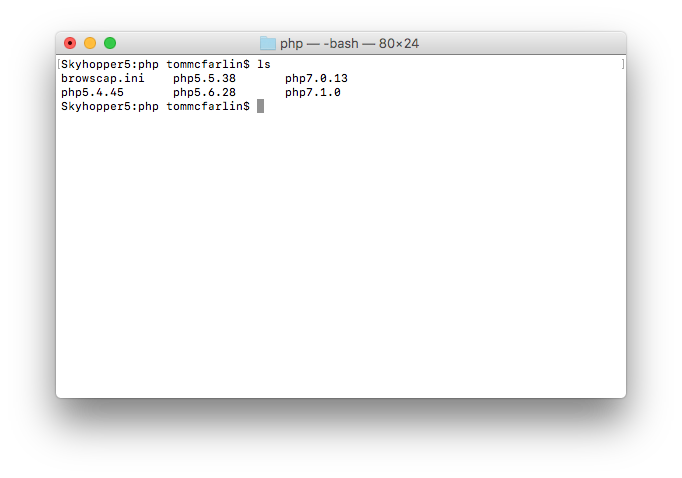
Now we’ll setup aliases for each of these:
And we can run each of them independently of the other in the terminal by running a command like:
$ php54 -v
This should show you which version of PHP is being executed based on the alias you defined in .bash_profile.
And finally, note in the final gist you’ll see a line that’s been added to .bash_profile:
source ~/.profile
This is done automatically by the system specifically when you begin working with an interactive shell. You can delete it, but it will be added at the top of the file again so don’t sweat it.
And, for reference, the final version of my .bash_profile looks like this:
You’ll see that I’ve also added lines for MySQL and MySQLAdmin just above the line defining the aliases (though yours is likely to look different).
Regardless, this is a general idea though yours is likely to look different.
More Advanced Bash
There are people who are far more advanced in Bash than I am (and even browsing other sites around what some people have done can be impressive).
But if you’re a WordPress developer with little-to-no working knowing of Bash, command-line tools, setting paths, and so on, then this is something that should be a working reference and a decent starting point.


Leave a Reply
You must be logged in to post a comment.