In the previous article, I walked through the process of setting up a local development environment using a package manager. Specifically, I talked about using Homebrew to install Valet and Composer.
The former offers the Nginx web server, a MySQL database server, while Homebrew allows you to install PHP. Composer gives you the ability to deal with PHP dependencies. If you’ve not read the post, I highly recommend it as this post is predicated on that entire environment.
Specifically, I’m going to be talking about IDEs. It’s a hot topic, I guess, but if you don’t have a preference then I’m going to walk you through the process of picking one that I think is best (at lest to start with), configuring it, and using it in the context of the environment established last week.
An IDE for WordPress Development
For many professional WordPress developers, you’re likely to hear them talking about PhpStorm. And with good reason. I’ve used this particular IDE for over a year now and it’s really powerful.
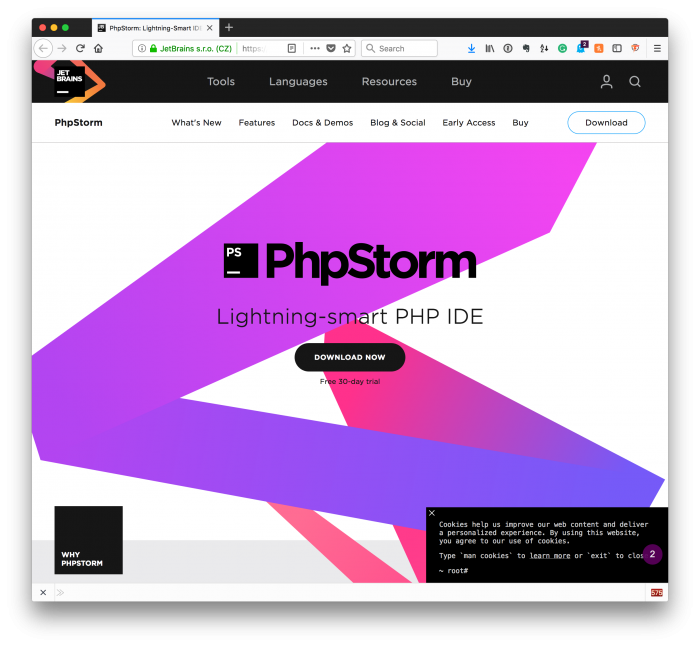
It has great support for a number of advanced features, is extensible, and has a lot of integrated features that make it a great environment in which to work; however, I’ve found that out of all of the IDEs I’ve tried, it also comes with the steepest learning curve. It’s also a paid IDE which maybe a turn off for some. But that’s okay. We’ll be addressing that throughout this post.
This isn’t necessarily a bad thing: Sometimes, the things worth learning the most are the most difficult things to use. But there are alternatives out there and I’m trying to make sure that everyone who is reading this is on the same page.
[restrict paid=”true”]
As I said in the previous post:
If I’m going to be writing about this material at length, should I assume we’re all using the same environment?
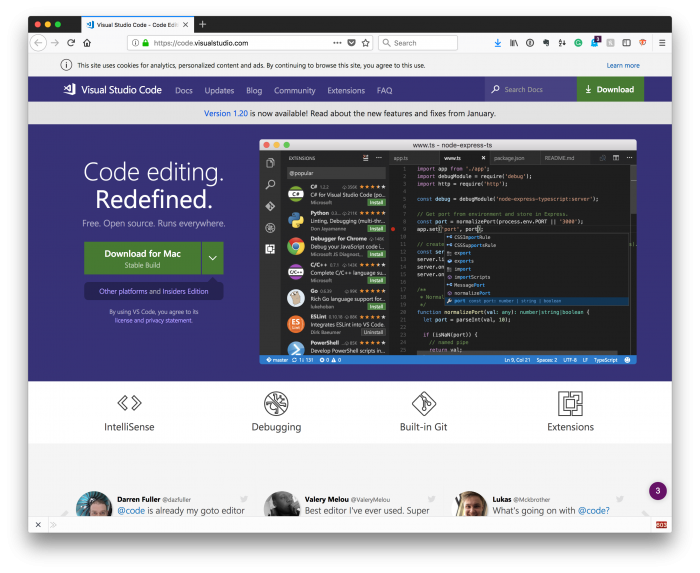
Since I’m erring on the side of yes, then I think it’s fitting to select an IDE that I think will work well with anyone – from those just learning to those who are a bit more advanced. Enter Visual Studio Code.
A Note About This IDE
If you’ve read this blog for any length of time (or are just getting started), then you’ll find that I have an archive of posts on this particular IDE. Some of the posts I’ve written include:
- Visual Studio Code for WordPress Development
- Setting Up PHP CodeSniffer in Visual Studio Code
- TODOs, REVIEWs, and FIXMEs,
- and so on.
In fact, I’ve got an entire backlog you can go through. The problem: It’s a bit dated. While using PhpStorm, Visual Studio Code (or Code, for short) has made significant improvements since I’ve last used it.
With that said, some of this material may sound redundant but it’s ultimately going to get us all on the same page.
Visual Studio Code
Before getting started, it’s worth referencing two things:
- Why Visual Studio Code?
- Getting Started with Visual Studio Code
The latter is a bit of a big topic because it includes a number of things to install, configure, and get setup so I’ll cover that starting with this post and the new few, but at the very least it’s worth talking about why Visual Studio Code is a solid IDE for WordPress development.
1. Why Visual Studio Code?
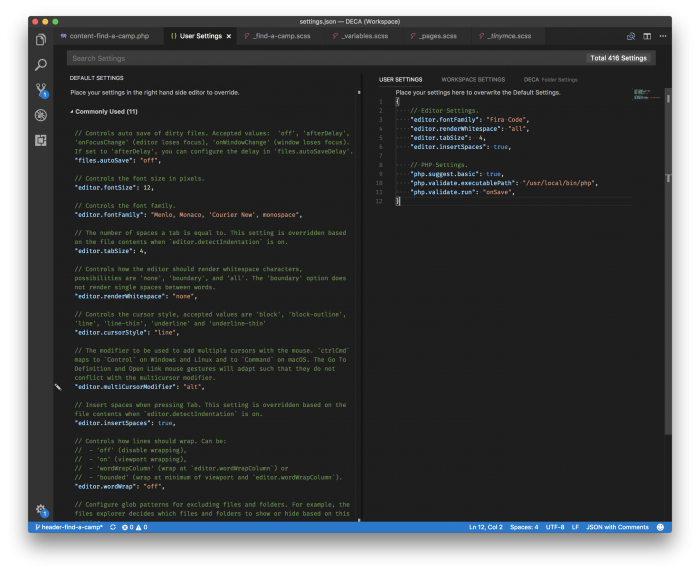
Aside from being compatible with all major operating systems, one of the first things to note about Code is that it keeps a copy of its settings in its own file so you can always refer back to it, but you can customize it to your own settings.
Further, it’s all maintained within a JSON file that allows you to customize it to fit the environment in which you’re working. Perhaps it’s PHP, perhaps it’s JavaScript, or perhaps it’s something completely different.
On top of that, keeping settings portable make it easy to share among your computers. This means you can drop the file in, say, a Dropbox folder and have your settings referenced via all of your machines.
This is helpful, of course, if you only have multiple machines. And if you do, then you may like to have the development environments in sync so its easy to swamp between them.
2. Getting Started with Visual Studio Code
Starting with the IDE is simple. It’s really a matter of:
- Navigating to the software’s homepage,
- Downloading the version appropriate for your operating system,
- Then installing it.
But just getting it installed isn’t enough, is it?
I mean, we still need to talk about adding workspaces for each of our projects, configuring settings, and installing extensions that will help make us more productive in the work that we do.
Throughout the next few posts, we’re going to do exactly that. After all, if these posts get too long, you won’t actually get anything done with the rest of the day 🙂.
What About Extensions?
Remember, though, since we’re working primarily with WordPress and related software in this series and in article to come, then we’ll need to make sure we have a few things installed to properly handle what we’re going to be doing.
This includes things such as support for:
- WordPress. One of the nice things about using a smart IDE is that it can offer code completion. Using a language like PHP is usually offered by most IDEs. This plugin adds support for WordPress.
- PSR2 Coding Standards. Though I’ve once been a fan of the WordPress Coding Standards, I’ve since moved to the PSR Coding Standards (for a variety of reasons).
- Debugging. Using Xdebug is essential if you’re looking to get passed using echo and var_dump statements in your code. Plus, it helps to look deeper into the WordPress source code when steeping through potential problems.
- TODO Management. Most of the time, when writing code, there are going to be places that you need to go back and review, fix, or simply do before releasing something to staging or production. Using a tool like this will help you easily find them before committing the code to source control or deploying it.
- And more.
Obviously, the things linked above take you to the homepage for each of the plugins but it’s possible – and likely better – to install them from within the editor so you can more easily manage them.
Remember, the purpose of the previous post was to have a way to easily manage all of the software we’re installing. And installing the extensions via the IDE provides exactly the same experience for the IDE.
Finally, these are the extensions that I’ve found to be useful when working with WordPress.
Up Next
Though I’ve provided a summary information of many of the things above, it doesn’t take a deep-dive into some of them or what to expect when using them.
Furthermore, it doesn’t talk about the usual tabs-versus-spaces, fonts I think are worth using, Sass linting, JavaScript style and linting, and so on.
Until then, work on install Visual Studio Code and getting it set up using the extensions linked above. It’s easy to do so from within the IDE. And if you have any questions, feel free to leave them in the comments.
[/restrict]
Leave a Reply
You must be logged in to post a comment.