Throughout this series, I’ve been talking through the process of how go about adding a TinyMCE button to WordPress – specifically, adding a custom button to the post editor.
Up to this point, I’ve covered a number of different things. Namely:
- Stubbing out the plugin and adding the JavaScript
- Including any dependent files that you may need in order to power your plugin
- And how to bootstrap the plugin so that it is able to be activated from within WordPress
The thing is, we haven’t actually made anything happen in the editor let alone even introduce a button into the actual editor yet.
In this post, we’ll do exactly that.
Adding a TinyMCE Button to WordPress
Take a look at the following screenshot and you’ll notice a blue question mark button in the first row of buttons in the post editor.

In this article, I’m going to cover exactly how to add that button. In a follow-up article, I’ll show how to actually make something happen whenever the button is clicked.
1. Find an Image
The first thing that you’ll need to do is to actually find an image that you want to use on the button. This is something that can be done by scouring the web for a freely-licensed image.
And though that’s what’s been done in the image above, I’d say that you’re actually better off in using one of the bundled dashicons that are included in WordPress.

Once you’ve selected an image, you can add it to the button through the proper classname or path to the image (depending on if you’ve opted to go the the route of a dashicon or an image.
2. Save the Image
Since the process for using a dashicon is well documented in the linked Codex page, I’ll be using the example of using a custom image just for the sake of showing how to do it in case you opt to go that route.
Note that I’m a fan of trying to stick as close as possible to the WordPress dashboard experience as much as possible, so I tend to favor dashicons over other images, but I know that’s not always the case. As such, here’s how you can go about using a custom image:
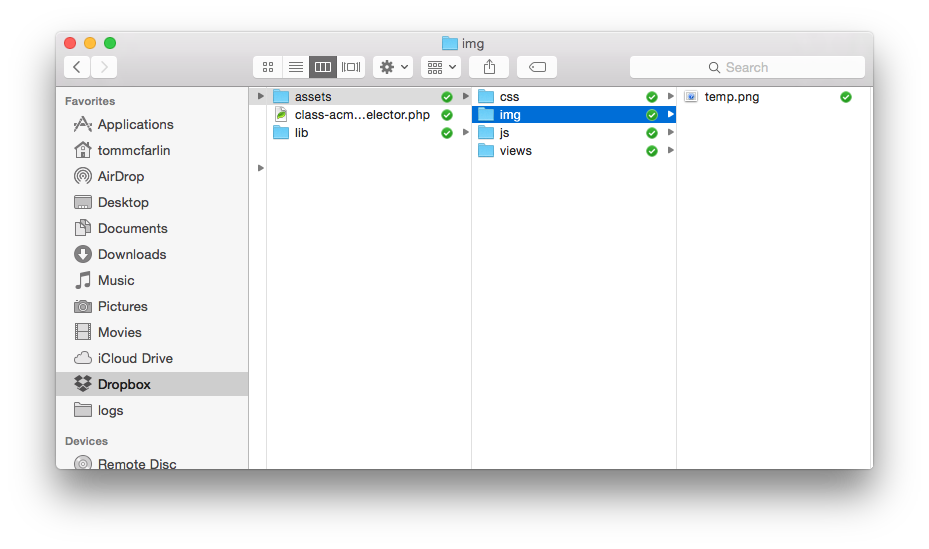
In your assets directory, make sure that you also have an img directory and that you’ve got the file named whatever it is that works for the purpose of your button.
In the case above, I don’t plan on sticking with a blue question mark but it serves the purpose while working through the initial phases of the plugin.
4. Create the Button
At this point, you’re ready to add code so that the button shows up in the TinyMCE edior. To do that, hop over into the tinymce-button.js JavaScript file that we created in an earlier post.
In the init method, we can take advantage of the TinyMCE API but using the addButton method on the ed object (which refers to the editor) so that we can give the button a title, a command, and an image. We won’t be worrying about the command right know; however, we can go ahead and add the button and the image to it.
There’s a subtle nuance here, though: The button’s image is located in a different directory that the JavaScript file that’s referencing it. Although you could hardcode the path to the assets directory in your code, it’s not a bad idea to create a couple of helper functions that can be used for retrieving the path to the assets directory and to the img directory (later in the tutorial, we may be using other directories, as well).
So first, let’s add a private method that will return the path to the assets directory. Note that in order to denote that this directory is private, we are going to prefix the function with an underscore:
Next, we need to create a helper function that will return the path to the img directory. Again, this will be a private method prefixed by an underscore and it will also take advantage of the helper method we just created:
At this point, we’re ready to take advantage of the two methods we’ve just created in order to get the path to our image and then to add it to our own custom button:
At this point, the full JavaScript file should look like this:
And you should also have a button displaying in in the post editor though it won’t actually be doing anything just yet.
Up Next
In the next article in this series, I’ll walk through how to actually make this button do something. First, we’ll cover a simple example to see how to add custom information into the post editor, then we’ll look at incorporating more advanced data into the post editor.
For now though, you should have a working plugin that adds a button (that doesn’t do anything just yet) to your post editor.

Leave a Reply
You must be logged in to post a comment.