If you’re interested in adding a TinyMCE button to WordPress, then this series of articles aims to do just that. In the first post of the series, I walked through some of the basic things that need to be done in order to get started with adding a custom button.

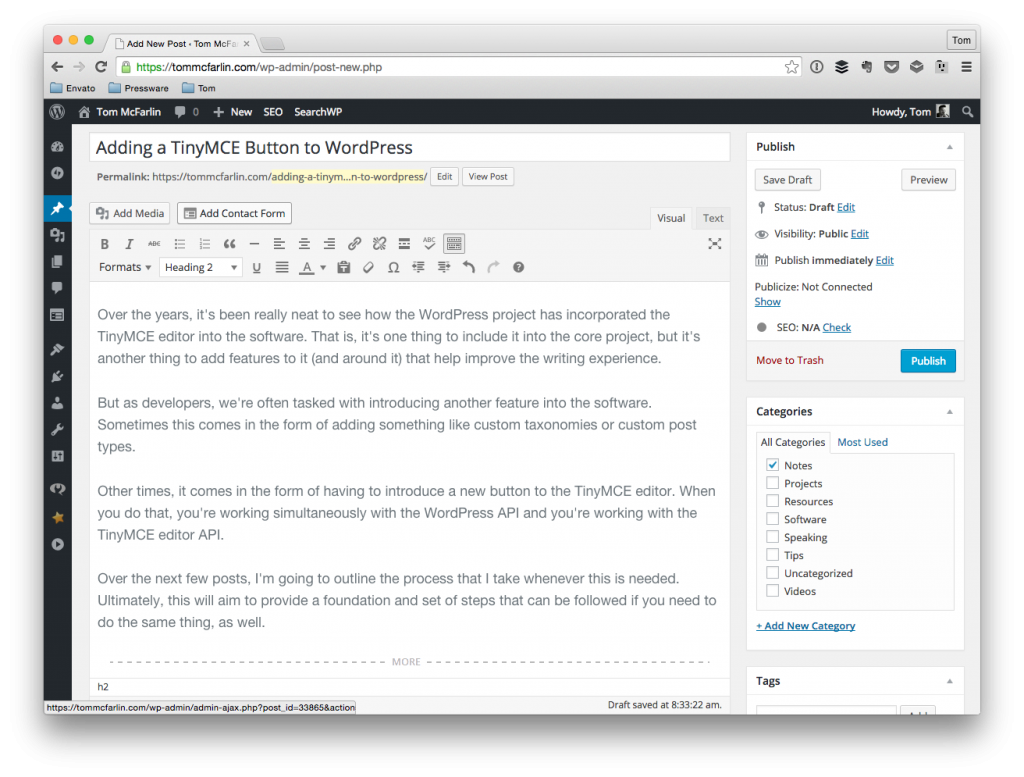
My very own copy TinyMCE Editor. So spectacular.
I laid out the file organization, the basic plugin structure, some of the foundational JavaScript, and started working on the hooks that are necessary for adding a custom button.
As it stands right now, the functions responsible for adding a new button aren’t actually defined within the context of a class much less hooked into the plugin itself. So in this post, we’ll take a look at exactly how to do exactly that.
Adding a TinyMCE Button to WordPress
Remember that adding a TinyMCE Button to WordPress is basically writing a custom TinyMCE plugin and then registering the JavaScript with the appropriate hooks in WordPress.
When you’re working to do that, there’s a lot of boilerplate-style work that goes into the JavaScript. As such, I’ll be taking a look at that in its own post. As long as you have the code from the first post in place, then you should be good to go for now.
1. The Plugin Bootstrap File
If you’ve seen any of the code that’s in the WordPress Plugin Boilerplate or you’ve seen any of the code that I’ve written for a number of the more recent plugins that I’ve released, then you’re likely familiar with what I call a “plugin bootstrap file.”
In short, this is a file that’s responsible for starting the plugin. That’s it – it defines the header for WordPress to see and then it instantiates the core plugin.
In this case, it looks something like this:
Notice in this file – specifically in the run_acme_button function, we’re instantiating and initializing a class that we’ve yet to actually define. Secondly, note that we’re calling require_once to load the class-acme-button-loader.php file in the includes directory. We haven’t actually created that file, but we’ll be doing so momentarily.
Before doing that, let’s define the core plugin file.
2. The Acme_Button Class
The Acme_Button class represents the core plugin in that it maintains references to the current version of the plugin (that we can use throughout the rest of the code) and a reference to a loader that’s responsible for de-coupling the business logic of the hook definitions from the class itself.
The initial class is pretty simple:
There’s still some work to be done with it, but this is the basic functionality that you need – the version property, a getter method, and a constructor that defines the plugin’s version. If you’ve got the code defined up to this point in your plugin, then you should be good to go in terms of instantiating it in WordPress.
3. Adding The Loader
As mentioned previously, the loader is a class that’s responsible for de-coupling the business logic of hook definitions into its own class.
Discussing a loader is content for another post, but the gist of it is that it:
- makes sure that a single class isn’t doing more work that it should
- keeps the level of cohesion of the classes high
- and makes it easier to test your work if you’re planning to write unit tests
With that said, the loader for this particular plugin looks like this:
Notice that the constructor accepts a reference to the core plugin file. This makes it possible for us to read whatever properties we choose to expose – like the version – and then also has methods that actually communicate with the WordPress API.
This allows us to register a hook in the core plugin file and call a corresponding function in the loader that actually does the work.
We’ll see how these functions (that we saw in the previous post) all fit together momentarily.
4. Adding the TinyMCE Hooks To The Loader
At this point, the we need to do is actually take the code from the previous post and make sure that it’s properly hooked up between the core plugin file and the loader.
To do this, we define the filter in the core plugin class’ initialize method:
And then we make sure the definitions for the function are the loader:
Easy enough, right?
5. Tying It All Together
Finally, we need to hop back into the core plugin fall and then make sure it maintains a reference to the loader so that we can actually register all of these hooks.
So first, we’ll add the property and setup a call to it in the constructor:
And that should tie everything together.
- The bootstrap file defines the plugin header, loads the dependencies, and then instantiates the core plugin.
- The core plugin defines the version and reference to the loader as well as initializes the hooks that are needed to load the core plugin file.
- The loader is called via the core plugin file and provides the actual functionality for what code should be fired for a specific event in WordPress.
That’s it.
Back To The Editor
Now that we’ve actually got a functional plugin that’s properly registering hooks, JavaScript files, and so on with WordPress, we can start implementing the button such that it has its own icon, that it responds whenever we click on it, and that it adds whatever is needed to the editor within the WordPress post editor.
In the next post, we’ll turn our attention to how to do all of the above.


Leave a Reply
You must be logged in to post a comment.