I don’t talk about user interface design much because it’s not my forté. I’m all for people working within their core strengths and then hiring them when needed on a project-by-project basis (if the designs aren’t already provided).
But when it comes to working with WordPress administration screens, there’s a difference, right?
I’m on the mindset that because the WordPress administration area has a consistent look and feel, then anything that’s built to work within the administration screen (such as a settings screen) should look as close to the core UI as possible.
Not everyone agrees, and it’s evident by the vast array of plugins that are available. But that’s my position on it.
Periodically, I’m asked how I structure the UIs of projects when they need administration screens and how I map them to files within the project.
So I thought I’d take a simple example and break it down in this short post.
Building WordPress Administration Screens
For this post, I’m going to keep it simple. That is, the screen is going to consist of the bare minimum of controls that usually make up an administration screen.
That is:
- Messaging (success, errors, or notices),
- Headings and content
- Input controls
- Nonce fields
You can get slightly more complicated with tabs, but the above will cover 99% of a basic settings screen. I’m not diving into the Settings API in this post (I’ve done a whole series on that before).
Instead, this is purely about a way to organize files so that they are maintainable throughout the lifetime of a project,
Breaking It Down
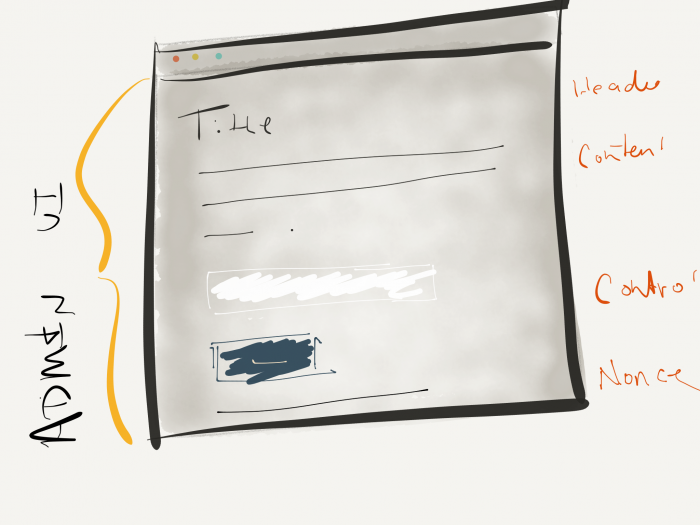
Before looking at how the files are organized and used, I want to sketch out how I normally conceptualize what I see on the screen working on this part of a project.

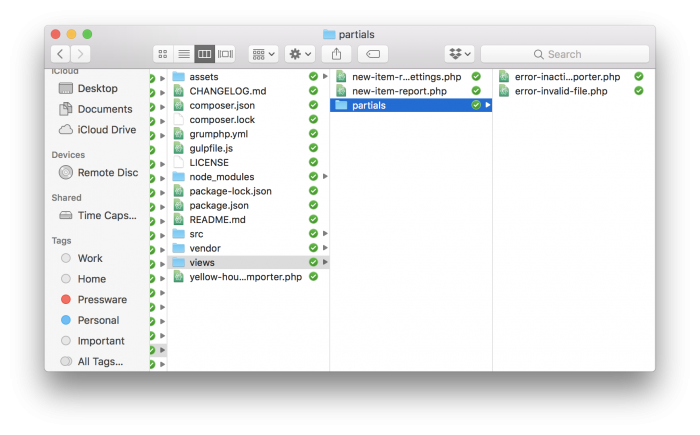
As you can see, all of the areas above are covered. But how these map to files is a little bit different. Case in point, the directory structure looks something like this:

Now, depending on how you’re implementing your solution will depend on how these screens are displayed.
That is, sometimes using settings_mesasages() is what you’ll use; other times, you may opt to manually use require_once as this all depends on how you’re building the solution.
It’s easy to argue there should be one way to do it, but as people’s demands for how they use WordPress changes, as do the requirements and implementation.
How Might the Code Look?
If you opt to step outside the Settings API and do your implementation, the markup may look something like this:
1. The Full UI
2. The Included Messaging
This Is Barebones
‘Note this does not include internationalization or other things that may be required in your project. It’s truly the bare minimum.
But, if nothing else, it gives an idea as to how you can take the files and put it together.

