In the previous post, I walked through the process of adding a custom WooCommerce menu to the My Accounts page. It’s straightforward enough, but if you’re creating a custom menu item, then you’re likely going to need a custom WooCommerce page.
That is, you’re going to want to have a page that corresponds to the menu item so that people who are logged into your store can view something related to the custom menu item that’s been added.

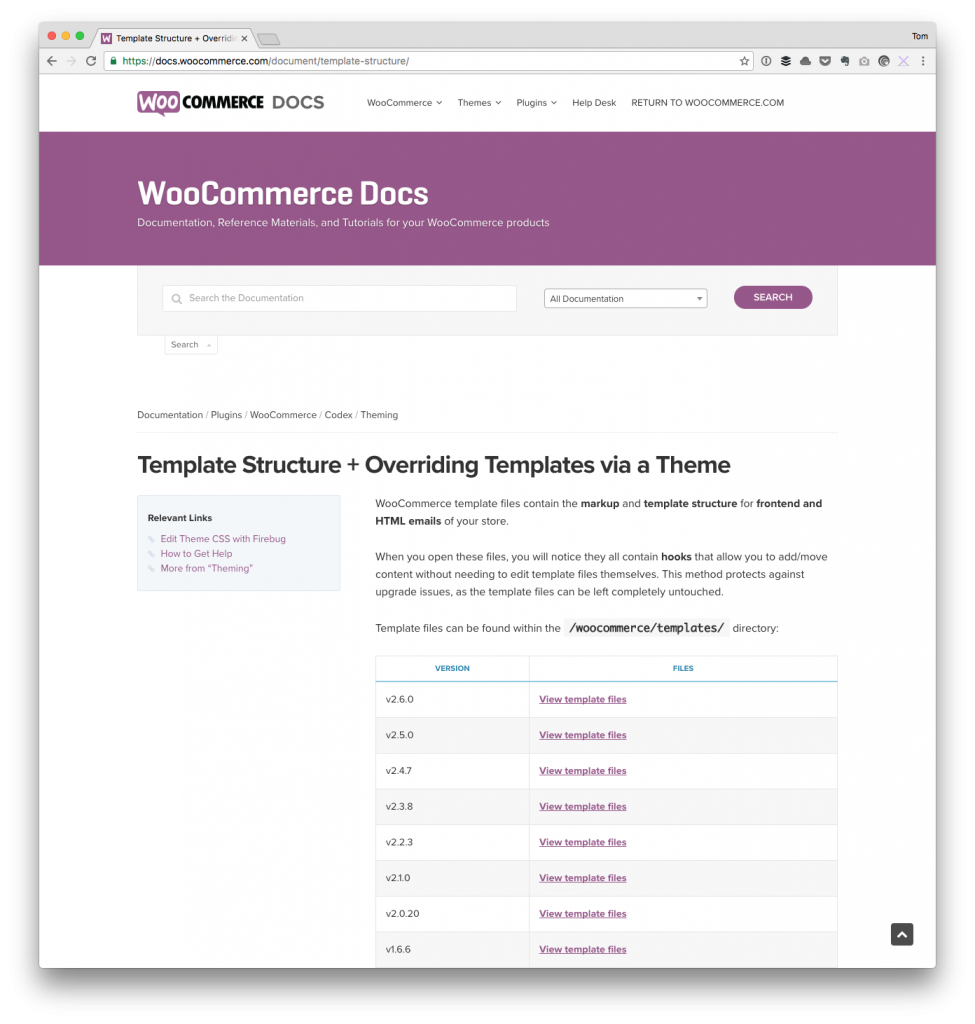
Granted this isn’t always the case, but if you’re adding a custom menu, the odds are you’re going to be adding a custom WooCommerce page. The thing is, WooCommerce expects these pages – which are actually templates – to reside in a specific location.
And if you’re distributing a plugin for others to use, making sure the template is in the right place should be done programmatically.
Adding a WooCommerce Page
If you’re interested in the code to make this happen, then feel free to hop down to the next section. But before I walk through all of that, there’s a reason that I want to share how to do this beyond just providing the code.
It has to do with our responsibility as plugin developers.
Remember Software Back in the Day?
Imagine, for a moment, that you’ve downloaded a plugin, or you’ve downloaded some other piece of software that’s going to help you run your business.
You’re going through the documentation and when you’re told you have to create a file or move a file from one location to the other. Assuming that location exists, you then can test to make sure that the software works.
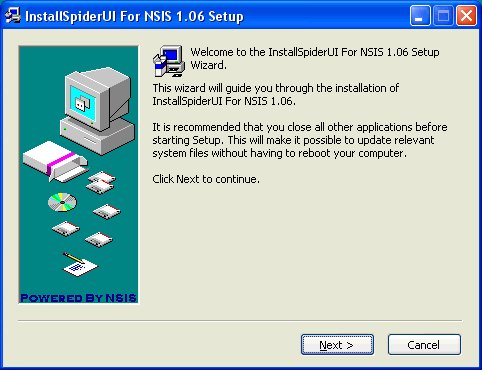
Remember back in the 90s when we had InstallShield that we could use to script the whole installation of copying files to the right location, setting registry values, and then letting the user know the application was installed?

WordPress plugins have gotten away from that. I don’t know why, and I don’t like it. There’s no reason we can’t programmatically take care of our users. I’d argue it’s our responsibility, but I’ve already digressed for too long.
And Back To WordPress
The reason I bring up the whole installer story above is because whenever we’re working with something in WordPress that requires moving files around to have something work, then we should do it programmatically.
No, it won’t always work – sometimes there are file permissions or server-level security permissions that will prevent us from doing so. In that case, we provide the proper messaging.
Assuming, though, that the directory to which we want to write – which is going to be part of WooCommerce – has the proper permissions (which it should), then we should do that. So the basics of what we need to do is this:
- Bundle a template with our plugin,
- Locate the WooCommerce
templates/myaccountdirectory, - Copy the template to the directory or notify the user of any problems if it doesn’t work.
Note that any WooCommerce page that will appear under My Accounts must be added to the templates/myaccount directory hence the reason I mention it above (as this is how WooCommerce works).
The code I’m going to share is verbose. This is primarily for readability. I include everything in a Template Locator class as this class is responsible for taking the template and copying it to the proper location (which is used elsewhere in the plugin and which I’ll discuss before the end of the post).
1. Set Up The Instance Variables
Note that in the code I’m about to share, I’ve several instance variables. These don’t necessarily have to be set like this; however, I’m using the code in a number of different methods and it helps to have them set in the constructor.
This makes the code a bit more readable though they are necessarily used outside of the instance of this class. I mention this only because it’s a bit different than some people’s coding styles.
With that said, assume the instance variables are set and here’s what the constructor looks like:
Notice that my template is named acme.php and I initialize the template path to an empty string as it will be set later in the code (and this helps to do any further error checking).
2. Make Sure WooCommerce Exists
Before copying the template file, we want to make sure WooCommerce exists where we expect it. If it doesn’t, then we can throw an exception for another programmer or provide a help message to the user.
This is beyond the scope of this post, but you get the idea (and can read more about doing this using admin notices).
If, however, WooCommerce does exist, then we want to take the template from its location and copy it to the WooCommerce template directory.
3. Copy The Template File
Again, if that doesn’t work there needs to be some form of feedback depending on who the consumer of the plugin is. But first, copying the template is done like this:
Note that after the template is copied, we flush WordPress’ rewrite rules. This is so that we can access the page using the rewrite rules WordPress has without the user doing any manual work.
In doing this, it’s important to remember that the page will be accessed using whatever you’ve named the template file. So if you have acme.php, then you’ll access the template page at /acme.
A Word About Endpoints
There’s an entire process around adding custom endpoints, scripts, titles, and what not when working with a custom WooCommerce page. If there’s enough feedback, I’ll cover how to do it in more detail.
But assuming you’re familiar with how to do that, the last thing that you’ll need to do is make sure that the endpoint_content hook can grab a reference to the template path we’ve added above.
To do this, simply provide a getter in the template locator which returns the value of the instance data set above and have the endpoint function include the path:
This helps keep the code separate, clean, and having it maintain responsibility for only what it needs.

