I’ve been working on a project that introduces a few new options into a standard WooCommerce installation, and one of the features calls for adding a custom WooCommerce input field.

In WordPress, creating settings pages has its process. That is, you create the necessary options group (if needed), settings fields, values, and so on. You introduce any markup that’s needed, validation, sanitization, and so on.
And all of that is needed when it comes to working with WooCommerce, but one of the things that I like is how the API for the plugin supports creating input fields with server-side logic.
Creating a WooCommerce Input Field
Though this isn’t a complete example, it’s one that should give you enough information has to how to get started with it. I’ll talk more about documentation, sanitization, and so on later in the post.
First, assume that the WooCommerce input field that you want to introduce is a basic text field and it’s going to reside somewhere as part of a Simple Product. Further, let’s add it to the Linked Product tab.
To do this, you need two hooks:
- one hook that allows you to add a custom input field to the tab in question,
- one hook that allows you to save the information provided by the user.
I’ve been breaking this down into three functions:
- one function,
init, registers the proper hooks with WordPress using the WooCommerce API, - one function creates the WooCommerice input field,
- one function [validates and] saves the information to the database.
I’ll cover each of these at a high-level and share some additional thoughts about the process at the end of the post.
1. Registering Your Functions
First, in the init function, we need to provide two hooks: One for adding our input to the product grouping and one for saving the product grouping.
This process is easy enough and familiar for those working with WordPress:
I’ll talk about one way to locate the proper hooks later in this post.
2. Create The Input Field
Next, all of the UI elements are driven by server-side logic and the WooCommerce API (which I’ll link to momentarily):
It’s important to know what arguments to use but, again, more on this in a bit.
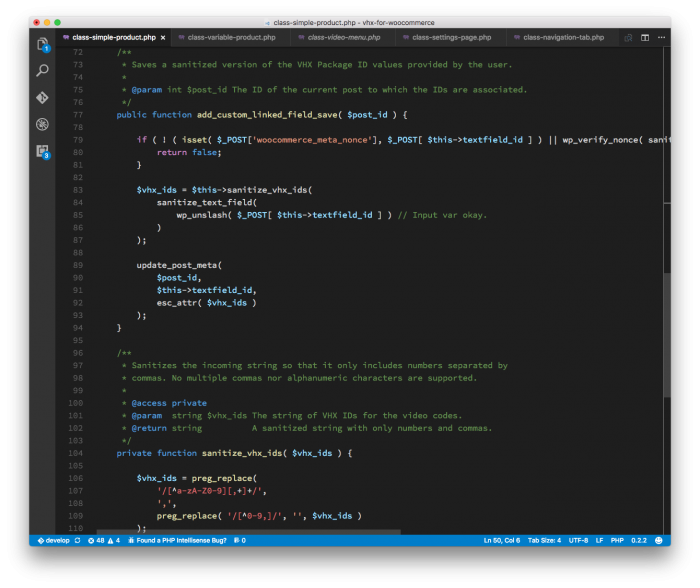
3. Save The Information
Saving input is a matter of writing information to the metadata table. Note that this follows the WordPress Coding Standards for nonce verification and text sanitization, as well.
Note that I cover more about validation at the end of this article, but you get the idea.
That’s Not All
In the code above, you’ll notice that I didn’t include any validation of the input. This is because I can’t anticipate how you may end up using a WooCommerce input field.
However, the process that I’ve been following is to introduce a private method that accepts the user’s input, cleans it up, and returns it.
Yes, you can take it even further and render a custom error messages or warning message if you’d like, but that’s up to the requirements of your project.
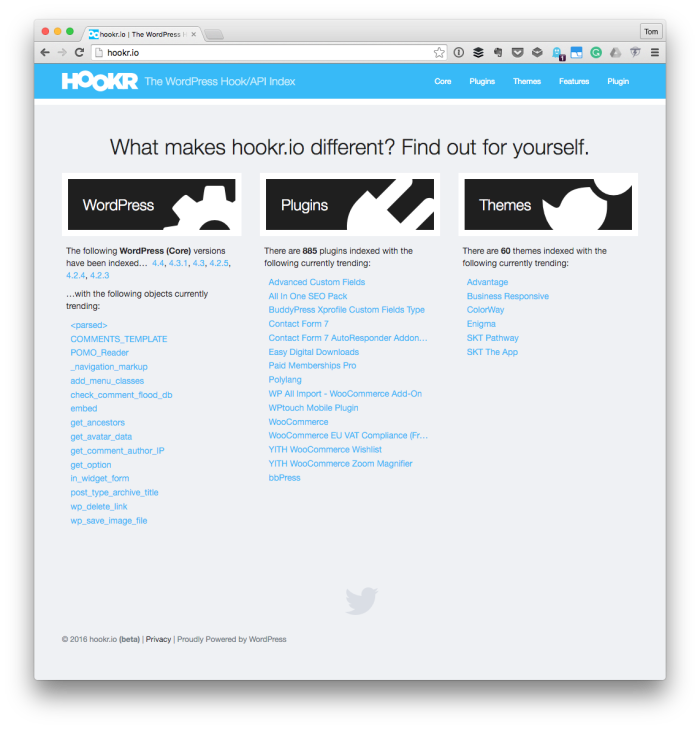
Working with the WooCommerce API
I think anyone working with WooCommerce should familiarize themselves with the documentation. It’s not easy to dig through everything that’s available, but if you use a plugin such as Hookr in conjunction with the provided API docs, you’re likely able to find what you need.
Finally, this is just a simple example of how to get things done with WooCommerce. There’s a lot more that can be covered and perhaps I’ll share more in the future.
For now, though, this is a simple example how you can completely drive the user interface with nothing but server-side code.
And there’s something nice about that.
Leave a Reply
You must be logged in to post a comment.