I’ve been using Pressmatic for some time now, and I’m enjoying it. I’ve written about it in several posts (many of which you can see here). And one of the things that I dig the most about the software is that it comes with WP-CLI out of the box.
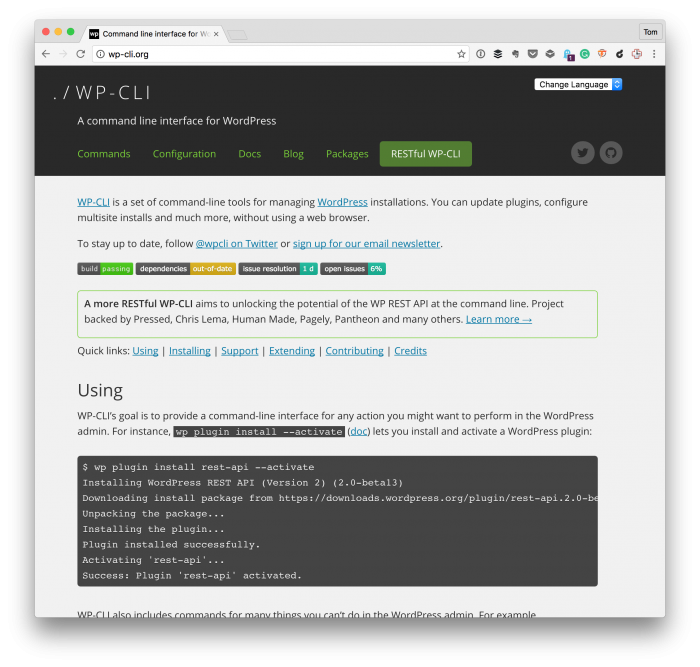
From the homepage:
Simple root SSH access to individual sites. WP-CLI provided. Simply type wp after opening site SSH.
I’m currently working on a project in which I want to do some unit testing with Pressmatic. And though WP-CLI comes with the software, I need to do two type of testing:
- Unit testing with PHPUnit that does not require any WordPress scaffolding,
- WordPress-specific tests that does require the WordPress scaffolding.
Because Pressmatic uses a virtual machine setting up the necessary software is a little bit different than when you’re using something such as MAMP.
Unit Testing with Pressmatic
To make sure that you have everything you need to perform unit testing with Pressmatic, there are three things you will need to do:
- Install Composer
- Install PHPUnit with Composer
- Make sure you’re able to set up the plugin unit tests
I’ll walk through each of the steps below. First, I’m assuming that you now how to SSH into your Pressmatic box (see the image below).
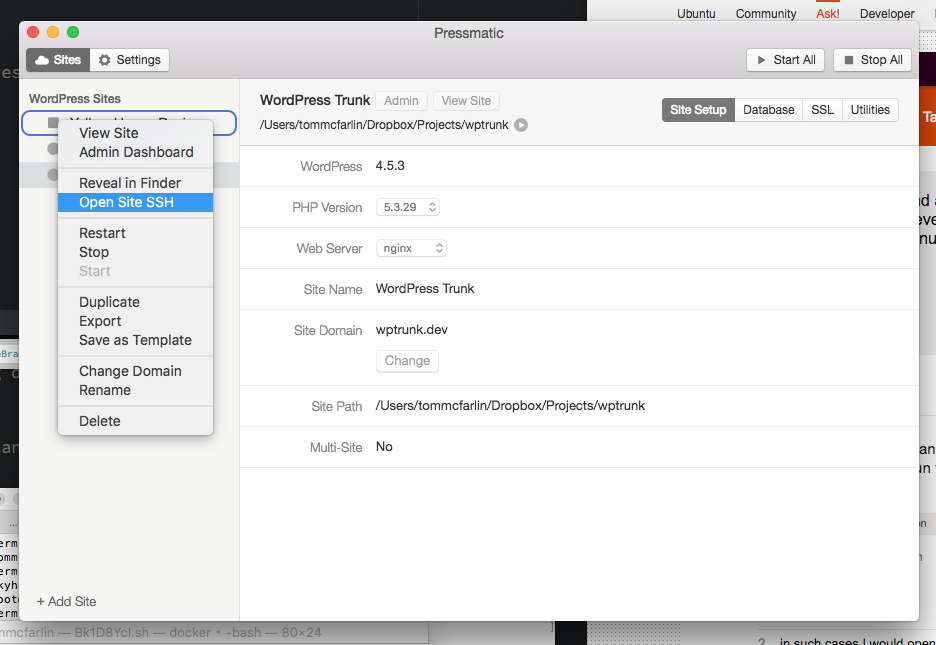
Right-click on an image and then choose ‘Open Site SSH.’
And I’m assuming that you’re comfortable specifying commands on the command-line once you have connected to your virtual machine.
Before setting any of this up, it’s important to note that the virtual machine on which Pressmatic sets up our WordPress installations is an instance of Ubuntu. Although most Linux distributions will accept many of the same commands, some use different package managers, for example, so the commands you may read elsewhere on the web won’t necessarily work.
Below are the steps that I used to setup unit testing with Pressmatic, Ubuntu, and a project on which I’m currently working.
1. Install Composer
Once you’ve SSH’d into your virtual machine, the first thing you’ll want to do is make sure all of your existing software is up-to-date.
To do this, issue the following command anywhere from within the filesystem:
$ apt-get update
Once done, you’ll need to install a few tools. This includes curl, the php5-cli, and git. This is all so that we’re able to install Composer and execute commands for it via the command line.
To do this, run this command from the command-line:
$ apt-get install curl php5-cli git
Assuming all went well, it’s time to install Composer. To do this, use this command:
$ curl -sS https://getcomposer.org/installer | sudo php -- --install-dir=/usr/local/bin --filename=composer
This will install Composer on to your system and will place it in the global path so that you can execute it from wherever you are in the filesystem.
2. Install PHPUnit with Composer
Before taking advantage of the WordPress scaffolding as provided by WP-CLI, PHPUnit needs to be installed. After all, it’s a dependency on that scaffolding.
There are some important things to note. First, from the WP-CLI page:
PHPUnit (4.8.x required, 5.x not supported)
This is important to note as it will dictate what we specify when instructing Composer to install PHPUnit. With that said, pass this command via the command-line:
$ composer global require "phpunit/phpunit=4.8.*"
And PHPUnit should be available from anywhere via the command-line so it will need to set in the environmental variables. To do this, pass this instruction to the command-line:
$ export PATH="$PATH:$HOME/.composer/vendor/bin"
Now you should be able to run PHPUnit from wherever you are on the filesystem.
3. Setting Up Plugin Unit Tests
At this point, the hard work is done, and it should be easy to setup the scaffolding that WP-CLI provides. Navigate to the location of your WordPress installation (which should be in app/public). Assuming that your plugin is named acme-plugin, use this command:
$ wp scaffold plugin-tests acme-plugin
After that, you’ll need to initialize the WordPress test environment locally. To do this, you’ll need to specify the following commands:
$ cd $(wp plugin path acme-plugin --dir)
$ bash bin/install-wp-tests.sh wordpress_test root root localhost latest
This will generate everything you need to run your test of unit tests including a phpunit.xml that defines information about your tests and that will allow you to run the tests by simply passing:
$ phpunit
And at this point, you have everything you need to do unit testing with Pressmatic.
Additional Resources
If you’re interested in reading more about SSH, Ubuntu, Composer, WP-CLI, or all of the above, then you may find the following links interesting:
- Pressmatic
- Ubuntu
- Composer
- Plugin Unit Tests
- How to place the ~/.composer/vendor/bin directory in your PATH?
And finally, if you want a short document that outlines all of the information above without any of the extra details, you can follow the gist I’ve created.
Leave a Reply
You must be logged in to post a comment.