A couple of weeks ago, I wrote a series of posts on An Object-Oriented Approach to the WordPress Settings API. With the proliferation of the The Customizer, I don’t know what the fate of the Settings API will be as WordPress moves forward, but I know that it’s not going to go anywhere soon and I know plenty of projects that still use it such that they’ll be maintained for a while.
Anyway, the goal of the previous series should be clear:
How to organize files in an object-oriented manner such that you can take advantage of some of the features of object-oriented programming such as inheritance, etc.
Maybe it did its job, maybe not. Generally speaking, I think the posts lead to some generally positive comments and I had a few people email me with some better questions so I thought I might talk a little bit more in-depth on things we can do to further take advantage of object-oriented practices within the context of this API.
Inheritance in the WordPress Settings API
To make sure that we’re all on the same proverbial page, I think it’s important to remember the following two posts:
Both of these posts cover the basics of what’s needed to know as I move forward with talking a little more about in depth about what I want to cover in this post – I want to elaborate on what it’s like to walk through sanitization of the input of a value that may contain multiple values.
That is, I want to expand on the work that was covered in previous examples to walkthrough what was covered in previous posts.
Sanitization of Our Input Values
Recall from this post that we have a simple sanitize method that looks like this:
Generally speaking, this works great as a baseline example, but what if your input is a little more complicated? That is, what if the data being passed into the function (as referenced by $input) is actually an array of information that contains some fields that are required and some that are not?
This leaves us with several things to do:
- Sanitize all of the data that’s coming into the class
- Add error messages for those fields that are required and that do not pass our validation rules
In the code above, we’ve seen a basic strategy for sanitizing basic data, but there’s always room for more – after all, we do have different types of input elements, right? There are textareas, checkboxes, radio buttons, select boxes, and so on.
You get the idea.
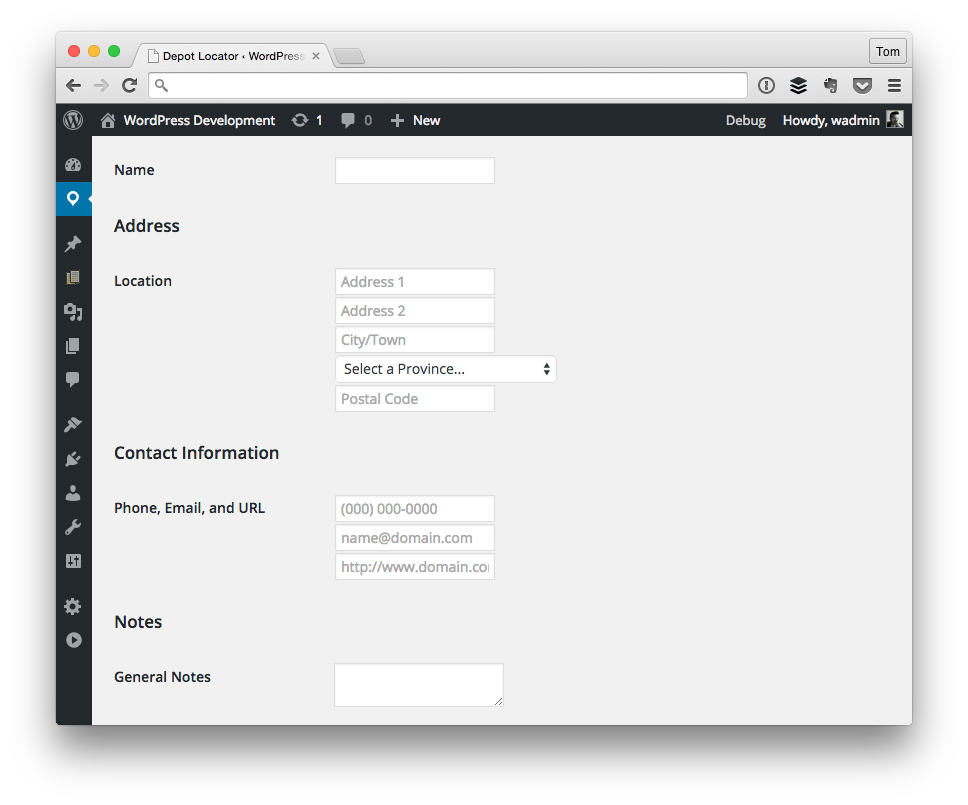
So what happens when our settings page contains multiple options all of which need to be validated, and some of which are required?

An Example Settings Page
When it comes to this, I usually setup a switch/case (which I know that some programmers hate but I’m a fan for it in this case) to look at each value in the $input collection, sanitize it, and then I’ll validate it appropriately.
Now in order to validate it, I typically create a validation class that’s responsible for taking a deeper look at the data, evaluating how it’s structured, and then adding any necessary error messages that need to be displayed before the data is saved.
That’s a lot to cover in a single post, isn’t it? So I’m not.
Upcoming Posts
Instead, I thought I’d focus first on how I structure my code first on how I handle multiple entries per $input that’s passed into the sanitize method, and then I’ll share how I setup a validation class to handle said code.
Of course, the challenge for this comes in keeping the series of posts in a format that’s easy to follow and isn’t too long to read. To that end, this post will serve as the primary entry point into the series of the upcoming two posts.
Make sure that you catch up on the two posts linked above (or the entire series, if you missed it), and then I’ll start with talking about multiple value sanitization in the next post.
Series Posts
- Sanitizing Multiple Values with the WordPress Settings API
- Sanitizing Arrays: The WordPress Settings API
- On Pause: The WordPress Settings API
- Refactoring Input Sanitization with The WordPress Settings API
- Validating Input via the WordPress Settings API
- Validation and Sanitization in the WordPress Settings API


Leave a Reply
You must be logged in to post a comment.