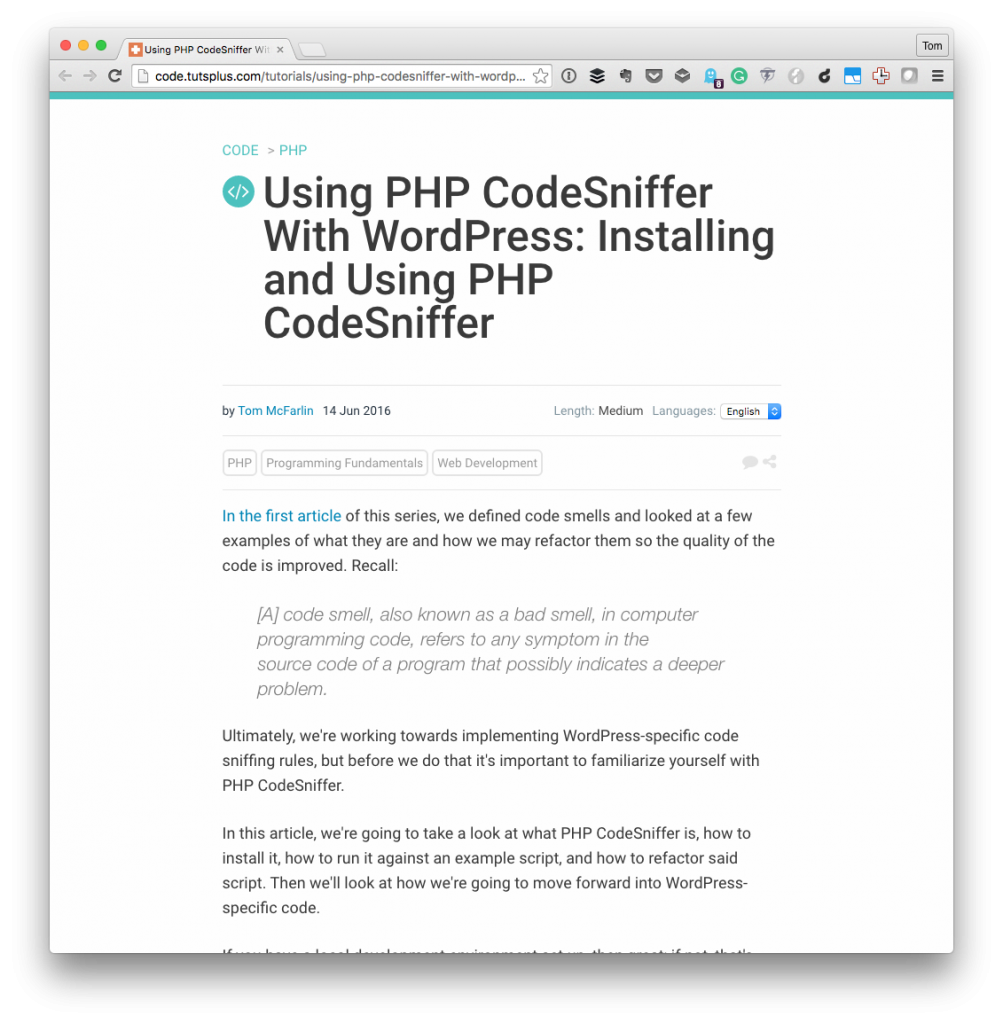
In previous posts, I’ve talked about using PHP CodeSniffer with WordPress, how to install it (in a variety of ways), and why I think it’s important.
In continuing the series on code smells and writing higher quality code for WordPress (by avoiding code smells), I followed-up the initial article with two other pieces. The first article covers a high-level definition of code smells.
The second article, which I outline below, talks about how to install PHP CodeSniffer with WordPress starting from ground zero.
PHP CodeSniffer with WordPress
Even though I’ve discussed this topic previously, I think contextualizing PHP CodeSniffer with WordPress and its benefits help when you see it contributing to code quality by reducing smells.

Admittedly, the tool can’t completely prevent us from writing poor code, but it can help us to improve the code that we write even if it’s by a marginal degree (depending on your experience).
In the article, I cover the following topics:
- a refresher on code smells,
- determining whether or not you have the necessary pre-requisites installed on your machine,
- how to install any missing prerequisites,
- a brief look at what PHP CodeSniffer is,
- how to install it via Composer,
- and running your first sniff.
I also talk about why using tools like this are not crutches but instead how they help us to improve what we’re releasing.
From the article:
That means that we don’t have an excuse to write bad code because another tool will catch it.
Perhaps you’re just now stumbling across tools like this or maybe if you’ve just found this post through a Google search. In whatever case, check out the full tutorial for a detailed walkthrough.
And, as usual, feel free to leave any comments or questions on the original article.

