A little over a month ago, I talked about how to install the PHP Code Sniffer in an MAMP-based environment. Though you can read the post in its entirety, the short of is this:
- Setup Pear
- Install the package via Pear
- Grab the rules for the WordPress Coding Standards
- Begin evaluating your code
Easy enough, right?
But here’s the thing: As mentioned in the article, some may opt to use Composer to install the package. In fact, someone also mentioned this in the comments.
And since Composer is the default dependency management application for PHP projects, it makes sense to use it, right?

The funny thing is, since I’ve written that article, I’ve been using Composer in a few projects. So I thought it would make sense to show how to install PHP CodeSniffer with Composer.
Installing PHP CodeSniffer with Composer
To install the code sniffer with Composer assumes that you have composer installed, right? Depending on which web server setup you’re using will determine how you’ve got Composer installed.
As with the previous article, I’m going to walk through how to do it within the context of MAMP. The general steps will be the same, but the paths to, say, your PHP binaries may vary.
1. Make PHP Globally Accessible
To have access from a MAMP version of PHP from the command line, you need to make sure that it’s part of your environmental variables.
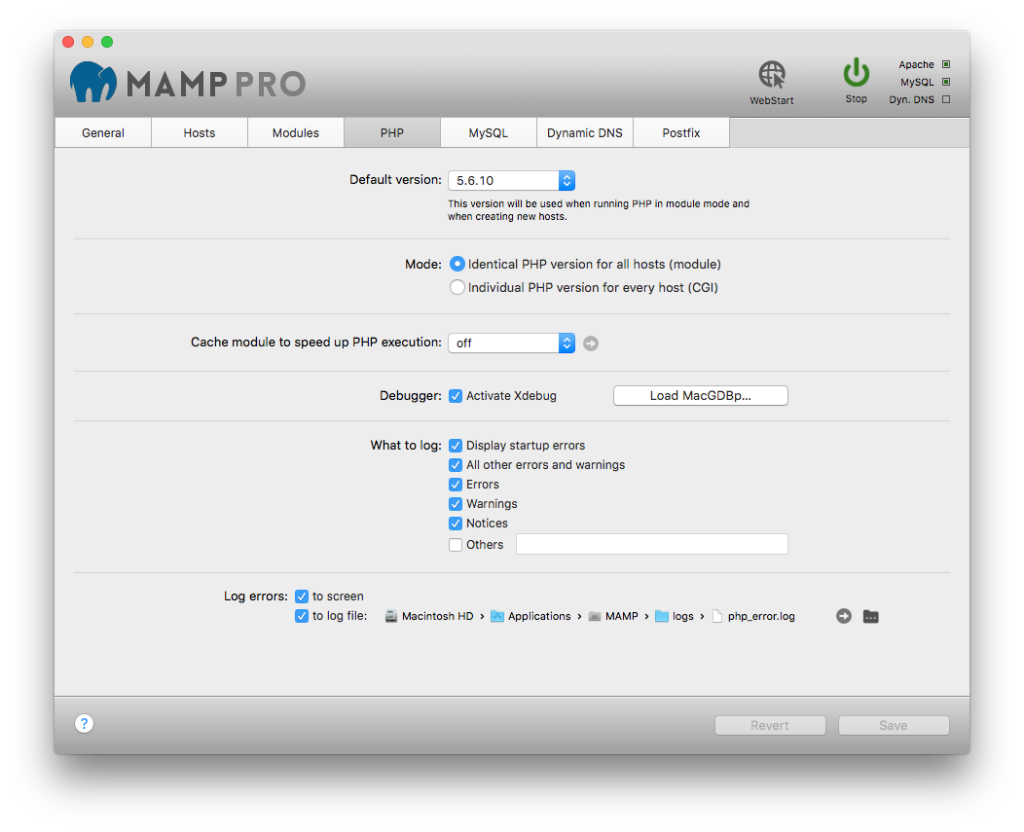
Before going any further, make note of which version of PHP you use from within the MAMP administration screen.

Next, open terminal and enter the following command (paying attention to the version of PHP):
$ alias php=/Applications/MAMP/bin/php/php5.6.10/bin/php;
Now you should be able to execute PHP from the command line without having to reference the bath to the binary included with MAMP.
2. Install Composer
This is pretty easy – it’s two commands.
First, navigate to a directory in which you want to download the Composer package. It doesn’t matter which directory you’re in because we’re going to be copying the binary to a globally accessible directory.
To download Composer, issue the following command:
$ curl -sS https://getcomposer.org/installer | php;
Next, move the composer.phar file into the globally accessible user binary directory:
$ mv composer.phar /usr/local/bin/composer;
And done.
3. Verify Installation
To make sure the installation completed successfully, run the following command:
$ composer help
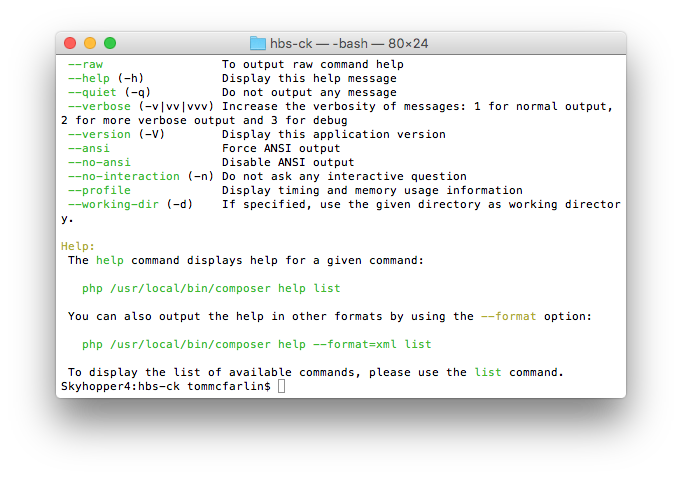
And you should see output like this:

If you see that, then you’re good to go.
4. Install PHP Code Sniffer
Finally, to install PHP Code Sniffer using Composer, you can issue the following command:
$ composer global require "squizlabs/php_codesniffer=*"
Then, to install the WordPress Coding Standards sniffer, you can use the following set of commands (and read more about them in-depth in the original post).
5. Install The WordPress Coding Standards Rules
Clone a copy of the standards sniffer into the PHP binary directory. This assumes you’re working out of /Applications/MAMP/bin/php/php5.6.10/bin/php.
$ git clone git@github.com:WordPress-Coding-Standards/WordPress-Coding-Standards.git wpcs
Then tell the PHP Code Sniffer about the new rules:
$ phpcs --config-set installed_paths /Applications/MAMP/bin/php/php5.6.10/bin/wpcs
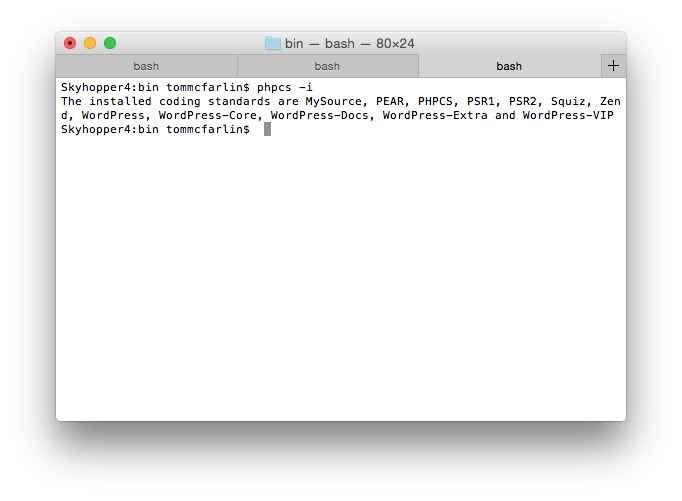
Finally, run $ phpcs -i and you should see the WordPress rules appear in the available set:

And, at this point, you’ve installed Composer, setup the PHP Code Sniffer using the package manager, and also configured the WordPress Coding Standards sniffer.


Leave a Reply
You must be logged in to post a comment.