
Since the release of the WordPress Theme Customizer, my team and I have been more and more interested in using it as a way for users to make changes to the appearance of their theme without the use of the dashboard.
As powerful as the dashboard is, the “Appearance” section creates a disconnect between what the user toggles (or selects, or inputs, etc), and what they see on the front end.
The Theme Customizer mitigates that issue.
The thing is, there are a few nuances that come with implementing it in your theme. Though I’m not trying to cover everything here, the point of this post is show how you can introduce a new setting into an existing section.
The WordPress Theme Customizer: New Setting, Old Section
For those of you who aren’t familiar, the WordPress Theme Customizer is an API that was released in WordPress 3.4. Several of the more recent themes that ship with WordPress include it:
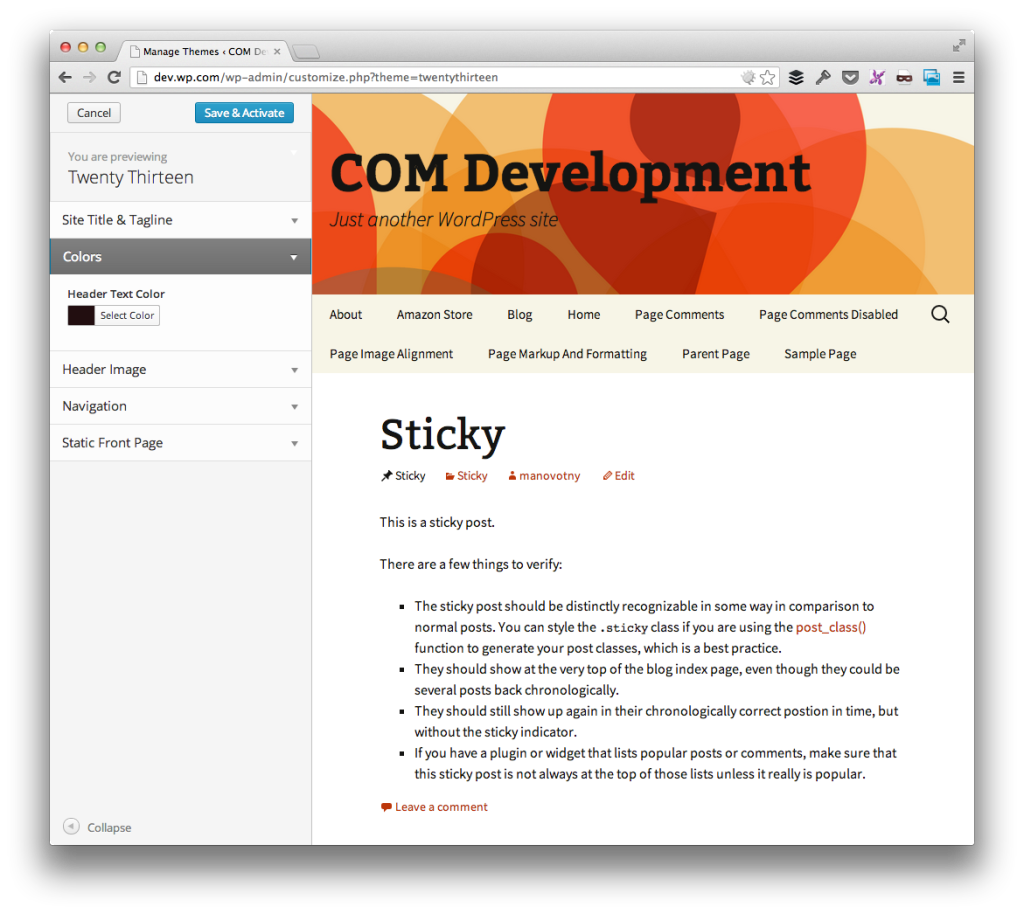
In short, it’s a way for you to make changes to the appearance of your theme on the fly. On top of that, it’s completely customizable such that whenever you introduce a new setting into your existing theme, you can add new sections, settings, and so on to the theme customizer.
But that’s another post.
Adding a New Setting To An Existing Section
Here, I’m more concerned with documentation how to add a new setting to an existing section as well as sharing how I organize my files for working with the theme customizer.
It’s not so much that I think my way is right anymore than someone else’s way, but I do prefer to keep my files as compartmentalized as possible so this should share that, and it should show how to introduce a new setting into an existing section.
The File Structure
As I mentioned, there are a number of ways that you implement the WordPress Theme Customizer, but there has been my preferred method for some time now:
- Create an `inc` directory in the root of the theme
- Create a `theme-customizer.php` file in the `inc` directory
- Call an `include_once` to the `theme-customizer.php` file in `functions.php`
- Create a `js` directory in the root of the theme
- Create a `theme-customizer.js` file in the `js` directory
This should be clear enough.
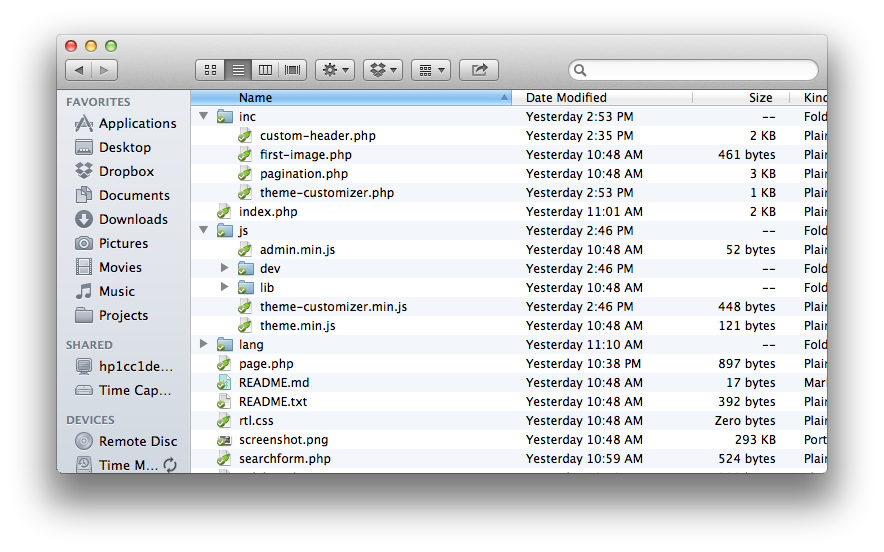
Though I use CodeKit to manage my JavaScript, CSS, images, and other assets, this should provide you with enough information for how I organize my theme files.
Implementing The New Setting
So anyway, once you’ve done all of that, it’s really easy to begin implementing the theme customizer.
First, you need to register your JavaScript file with the `customize_preview_init` action:
function my_customizer_live_preview() {

	wp_enqueue_script(

		  'my-theme-customizer',

		  get_template_directory_uri() . '/js/theme-customizer.min.js',

		  array( 'jquery','customize-preview' ),

		  MY_THEME_VERSION,

		  true

	);

}

add_action( 'customize_preview_init', 'my_customizer_live_preview' );
Then you need to define a function that will be added to the theme’s theme customizer by using the `customize_register` function.
In this case, I’m looking to introduce a new option specifically for changing the link color and I am looking to add it to the existing Colors section in the theme customizer.
function my_theme_register_theme_customizer( $wp_customize ) {

	$wp_customize->add_setting( 'link_color',

		array(

			'default'     => '#000000',

			'transport'   => 'postMessage',

		)

	);

	$wp_customize->add_control(

		new WP_Customize_Color_Control(

			$wp_customize,

			'link_color',

			array(

				'label'        => __( 'Link Color', 'my_theme' ),

				'section'    => 'colors',

				'settings'   => 'link_color'

			)

		)

	);

	$wp_customize->get_setting( 'link_color' )->transport       = 'postMessage';

}

add_action( 'customize_register', 'my_theme_register_theme_customizer' );
Above, the key is that the `add_setting` must come before the `add_control` call.
At this point, this should introduce a new setting in your theme customizer, though it won’t actually be functional since there isn’t any JavaScript, yet.
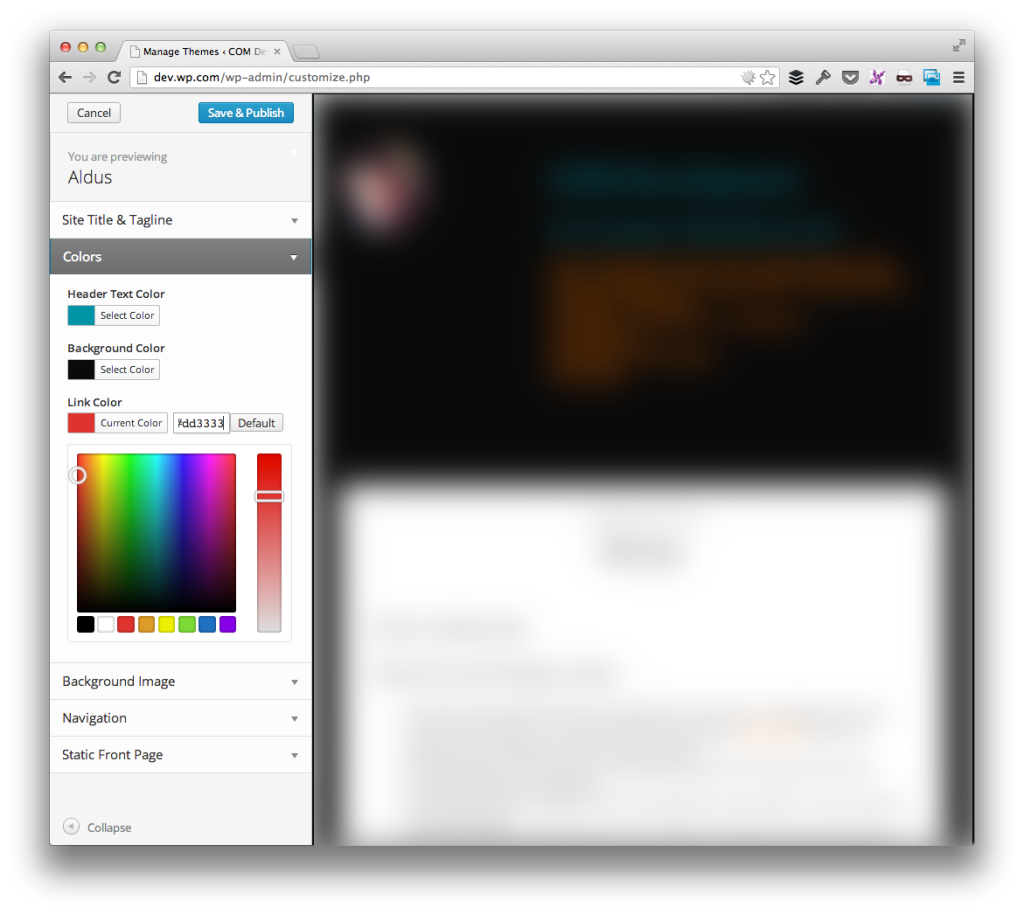
Can’t show too much of this theme yet. :)
Next, you need to implement the necessary JavaScript in the `theme-customizer.js` file that was discussed earlier in the post.
To do this, you need to understand two things:
- Implementing the WordPress Theme Customizer exposes a JavaScript object that offers a function that allows you to specify the setting that you’re going to modify.
- You need to know the selector for which you’re going to modify. To keep it simple, I’m modifying all anchor elements.
(function( $ ){

	"use strict";

	// The Background Color of the Header

	wp.customizer( 'link_color', function ( value ) {

		value.bind( function( newVal ) ) {

			$( 'a' ).css( 'color', newVal );

		});

	});

}( jQuery ));
Finally, assuming that you’ve got it all wired up in `functions.php`, the implementation should be good to go within the theme customizer. Again, this is specifically for adding a new setting to an existing section.
Working with custom options isn’t bad, but it’s a whole other post.

Leave a Reply
You must be logged in to post a comment.