📝 A Note About Notes
Over the years, I’ve written a lot of posts about similar things (if not the same thing). As is the case with software, though, the way we go about doing things can change.
The purpose of posts like this in this category is to start keeping a running list of notes for things I commonly do and how I do them at the time this post is updated.
I don’t know if I’ll update these posts or if I’ll draft new ones. If this one has no “Last Updated” date at the top, then it’s not been updated.
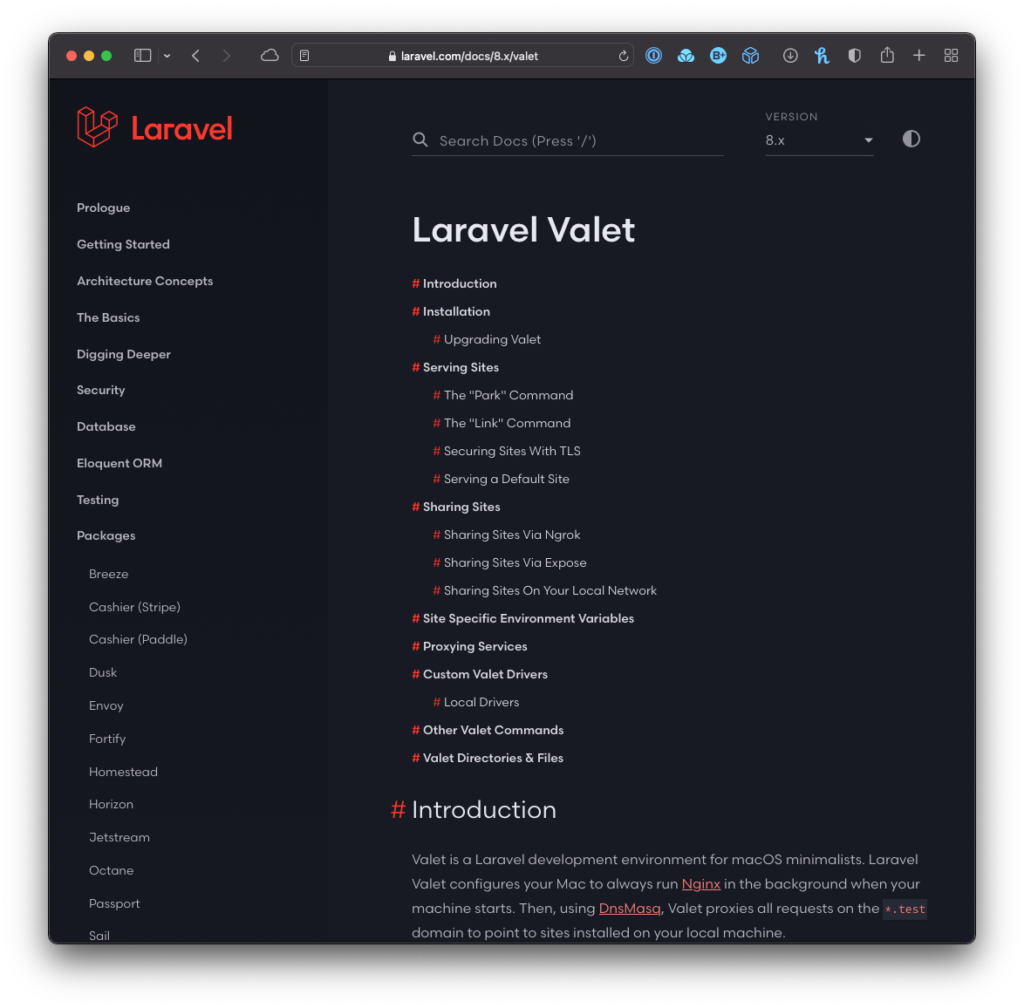
TL:DR: I’ve used a number of different development environments on my local machine over the years and keep coming back to Valet. Here are the notes I use for installing Valet on macOS.
Valet on macOS
The longer version of this guide should still be update to date even though it’s a few years old. The notes below provide an explanation of how to set this up in 2021.

Install Homebrew
First, visit the Homebrew homepage and follow the instructions. Or simply run the following command in the terminal:
/bin/bash -c "$(curl -fsSL https://raw.githubusercontent.com/Homebrew/install/HEAD/install.sh)"Already Installed?
If Homebrew is already installed, then run $ brew update. If there are commands it asks you to run (such as prune), go ahead and do them here.
Verify PHP is Installed (or Install It)
If you run $ php -v you should see terminal output telling you which version of PHP you have installed. If not, run $ brew install php.
This will install PHP after which you can run the same command again. If you still see output indicating it’s not installed, make sure your shell has the correct path to the binary.
Enter the following commands:
$ export PATH=$PATH:~/.composer/vendor/bin$ source ~/.zshrc
You may need to use ~/.bash_profile instead of ~/.zshrc if you’re using Bash.
Install Valet
First, run $ composer global require laravel/valet. Then run $ valet install.
Verify You Have MySQL Installed
To verify MySQL is installed, you can run $ which mysql as this is the database server most commonly used with WordPress.
If it’s not installed, then you can install it via Homebrew or use a package such as DBngin who are from the same developers who built TablePlus.
Download and Unarchive WordPress
Download WordPress and unarchive the application into its own directory.
Install WordPress
In your terminal, navigate to where you have WordPress installed and run $ valet link && valet secure. This will create a TLD domain for you to access WordPress and to do so via https://.
The End
Navigate to your site at https://.test and then begin the WordPress installation.

