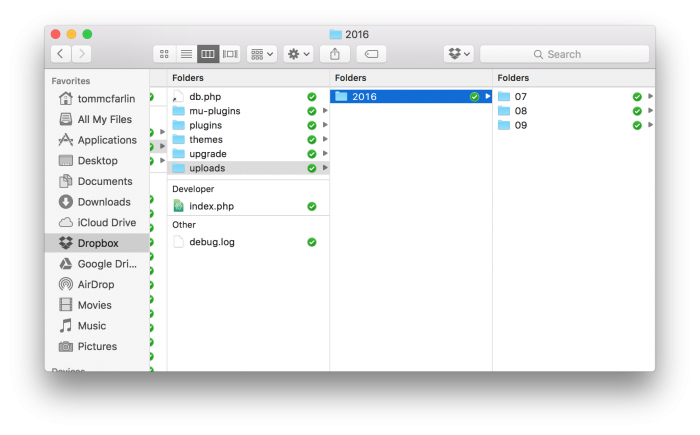
As it relates to uploading files in WordPress, the CMS offers some convenient API functions that make it easy for developers.

The standard uploads directory in a WordPress installation.
Some of these functions include:
These functions, though, often require us to limit our files to the uploads directory. And many times, that’s great. It gives us a single place to store our files and it gives us one place to retrieve our files when needed.
But if you’re working on a web application or even an advanced plugin, this isn’t always the ideal situation. For example, let’s say that you have a plugin in which you want to have your own uploads directory, and that’s where you want to store your files.
What do you do in that case?
Uploading Files to a Custom Directory
Let’s say that you’re working on a plugin that will allow users to upload a file (perhaps a document of some sort) from an administration page.
When the user uploads a file, the code would need to do a few things. Aside from the usual security checks and validation (all of which are outside the scope of this post), the code would need to do the following:
- Make sure the
uploadsdirectory that you want to use exists. If it doesn’t, create it. - When the file has been uploaded, it needs to be moved to the custom
uploadsdirectory.
Note that the code I’m going to show is the absolute bare minimum.
This should not be used in a production-level environment as it doesn’t evaluate the integrity of the file nor does it do any checks to make sure that the contents of the file are safe for uploading.
Create the Directory
Assuming that you’re working on a plugin and that you’re accepting files through PHP’s $_FILES collection (though I’m not sure how else you’d do this), you can create a directory using a built-in WordPress function: wp_mkdir_p.
Recursive directory creation based on full path. Will attempt to set permissions on folders.
The nice thing is that this particular function will create the directory if it doesn’t exist. If it already exists, then it will simply return true.
So with that said, let’s say that you want to create an uploads directory in the root of your plugin directory. Here’s a bit code for how you can define that path and create the directory:
Once that’s done, you can move the uploaded file to that directory.
Move the File
Rather than using one of WordPress’ built-in functions, we are going to use a function provided by PHP called move_uploaded_file.
This function checks to ensure that the file designated by filename is a valid upload file (meaning that it was uploaded via PHP’s HTTP POST upload mechanism).
If the file is valid, it will be moved to the filename given by destination.
This assumes we have access to the temporary file in the $_FILES collection and assumes the uploads is valid (which is what we are doing in this post), then it’s a matter of using the former and the latter as arguments for the function.
And this will allow you to proceeding uploading files to a custom directory.
Informing the User
Note that the aside from doing better security checks and validation for uploading files, it’s also worth mentioning that you may want to specify proper messaging once the upload procedure completes.
Since move_uploaded_file returns a boolean based on the success or failure of its attempt to a move a file, we can take action based on its output.
For example, you can use that result to hook into WordPress’ messaging system to let the user know if the move was successful or not.


Leave a Reply
You must be logged in to post a comment.