I’ve previously written about using Laravel Herd as my preferred PHP development environment. Outside of my day-to-day work, I’m also working with a couple of friends on a project that includes an iOS app that talks to a REST API via headless WordPress backend.
The web app is built using a set of tools from Roots including Radicle:
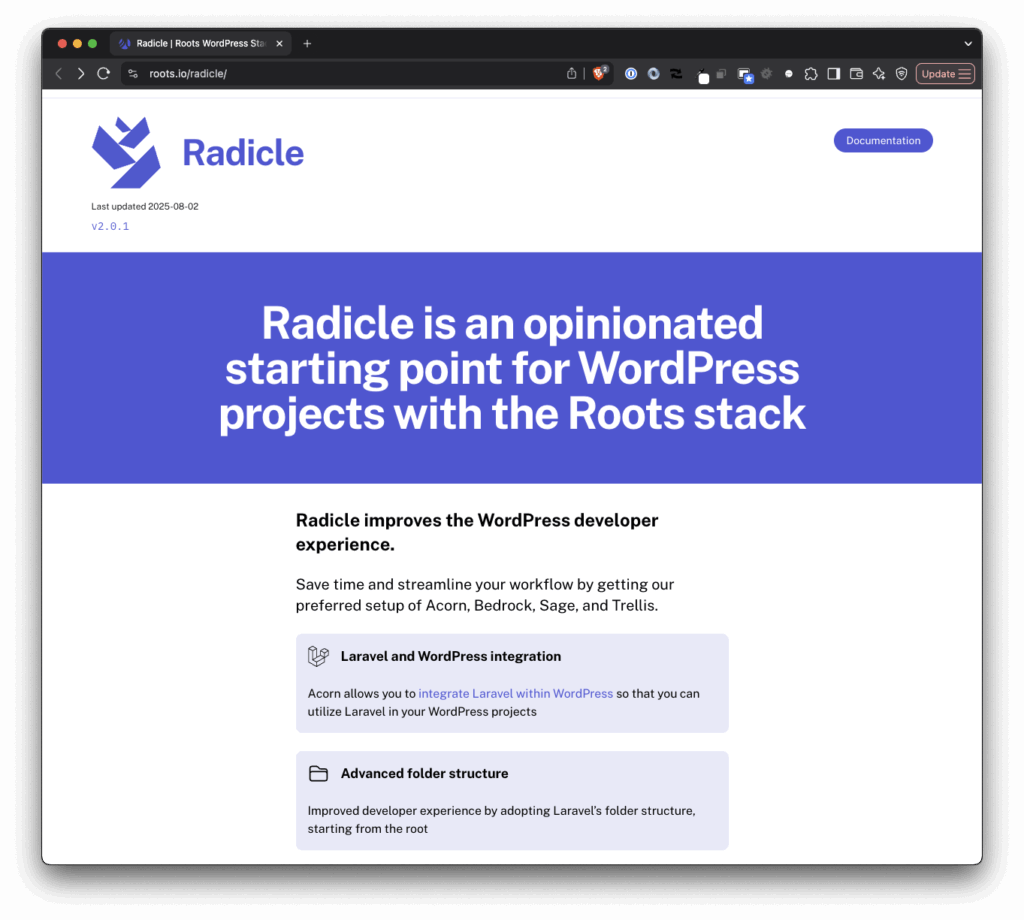
Radicle is an opinionated starting point for WordPress projects with the Roots stack.
In short, Radicle allows us to use features of Laravel within WordPress. But one of the challenges with my set up is getting Laravel Herd and Radicle to actually work.
Turns out, the solution isn’t that hard. And if you’re in a similar situation, here’s how to work with Radicle with Laravel Herd.
Roots Radicle with Laravel Herd
Project Set Up
First, I’m operating on the assumption that you have your project is already linked and secured with Herd.
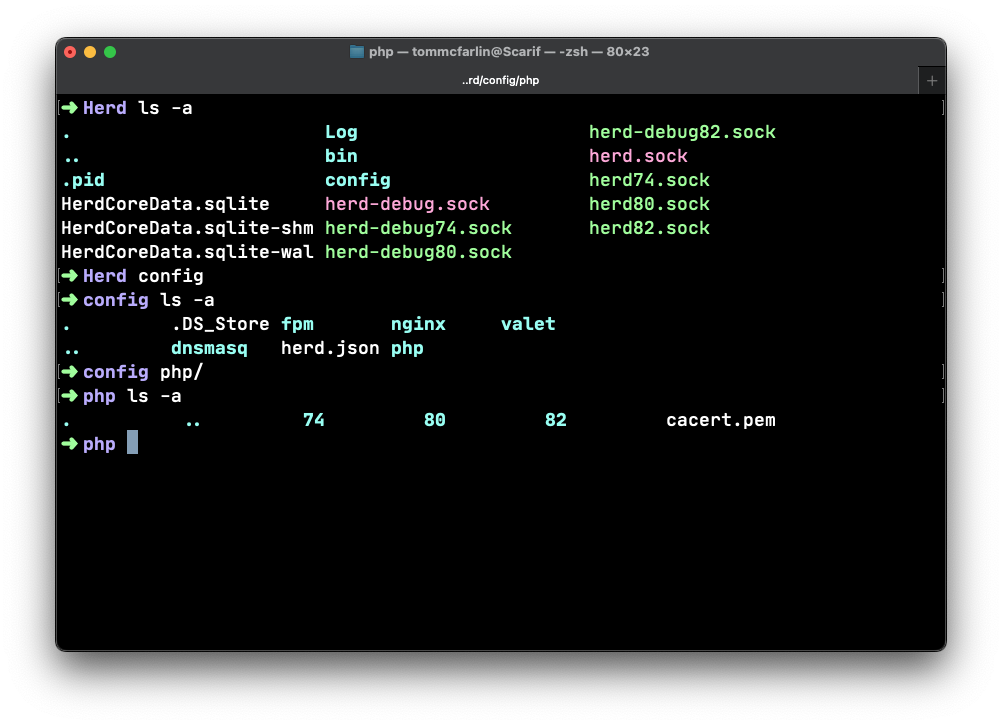
In our case, we’re using a monorepo that contains both the iOS app and the web application. The web app in question is located in projects/monorepo-name/apps/wordpress. So I’ve issued the usual commands add that directly to Herd.
Secondly, I’ve got the .env file configured so that it has all of the necessary information for the database, various WP environmental variables, salts, and other information required to stand up the web app.
The Actual Problem
Third, and this was the most problematic, I had to add a custom driver that would allow Radicle to work with Laravel Herd. The path to custom drivers on your machine may vary but if you’re running the latest version of macOS and haven’t customized the Herd installation then it should look something like this:
/Users/yourname/Library/Application Support/Herd/config/valet/Drivers
Note that if the Drivers directory doesn’t exist, create it. Then touch a file named RadicleValetDriver.php in that directory and add the the following code (you shouldn’t need to change any of it):
<?php

namespace Valet\Drivers\Custom;

use Valet\Drivers\BasicValetDriver;

class RadicleValetDriver extends BasicValetDriver
{
    /**
     * Determine if the driver serves the request.
     */
    public function serves(string $sitePath, string $siteName, string $uri): bool
    {
        return file_exists($sitePath.'/public/content/mu-plugins/bedrock-autoloader.php') &&
               file_exists($sitePath.'/public/wp-config.php') &&
               file_exists($sitePath.'/bedrock/application.php');
    }

    /**
     * Determine if the incoming request is for a static file.
     *
     * @return string|false
     */
    public function isStaticFile(string $sitePath, string $siteName, string $uri)/* : string|false */
    {
        $staticFilePath = $sitePath.'/public'.$uri;
        if ($this->isActualFile($staticFilePath)) {
            return $staticFilePath;
        }

        return false;
    }

    /**
     * Get the fully resolved path to the application's front controller.
     */
    public function frontControllerPath(string $sitePath, string $siteName, string $uri): string
    {
        $_SERVER['PHP_SELF'] = $uri;
        if (strpos($uri, '/wp/') === 0) {
            return is_dir($sitePath.'/public'.$uri)
                            ? $sitePath.'/public'.$this->forceTrailingSlash($uri).'/index.php'
                            : $sitePath.'/public'.$uri;
        }

        return $sitePath.'/public/index.php';
    }

    /**
     * Redirect to uri with trailing slash.
     *
     * @return string
     */
    private function forceTrailingSlash(string $uri)
    {
        if (substr($uri, -1 * strlen('/wp/wp-admin')) == '/wp/wp-admin') {
            header('Location: '.$uri.'/');
            exit;
        }

        return $uri;
    }
}
Note this is running on PHP 8.4 so you may need to adjust your function signatures and other features if you’re running on a significantly lower version (though I didn’t really test thing on anything lower than 8).
Once done, you should be able to load your project in the web browser. If not, restarting Herd’s services should do the trick. And, on the off change you still have an error, the stack trace should be easy enough to follow to see where the problem lies.
Given a vanilla Herd set up and Radicle integration with your WordPress project, this custom driver should be all you need to get everything working with as little effort as possible.
Note: This was adapted directly from the Laravel source code which you can find on GitHub.