In the previous post on sorting users by meta data, I concluded with the following:
Note that how the status is set will depend on the plugin you’re working on and whether or not you want to render a column on the All Users page for this. And I can show that in another tip in a future post.
By this, I mean that it’s one thing to actually sort the users on the All Users page but it doesn’t make a lot of sense unless there’s a column by which the status is shown and the value of said status.
Given that, here’s how we can show all users sorted by the metadata that we reviewed in the previous post.
Show All Users Sorted by Metadata
First, we want to add a column on the All Users page. This is easy to do given the manage_users_columns hook. This filter will allow us to add a custom column to the array of columns that render on the page.
In short, we’re going to add a column header that reads Status:
add_filter(
    'manage_users_columns',
    function ($columns) {
        $columns['status'] = 'Status';
        return $columns;
    }
);
This adds the column but it doesn’t show the value. Using one more action, we can add the value of the metadata and we can render the value inline with the given user.
add_action(
    'manage_users_custom_column',
    function ($value, $columnName, $userId) {
        if ('status' === strtolower($columnName)) {
            $status = get_user_meta($userId, 'status', true);
            return '1' === $status ? 'Active' : 'Inactive;';
        }
    },
    10,
    3
);
In the above code, notice that we’re using manage_users_custom_column hook.
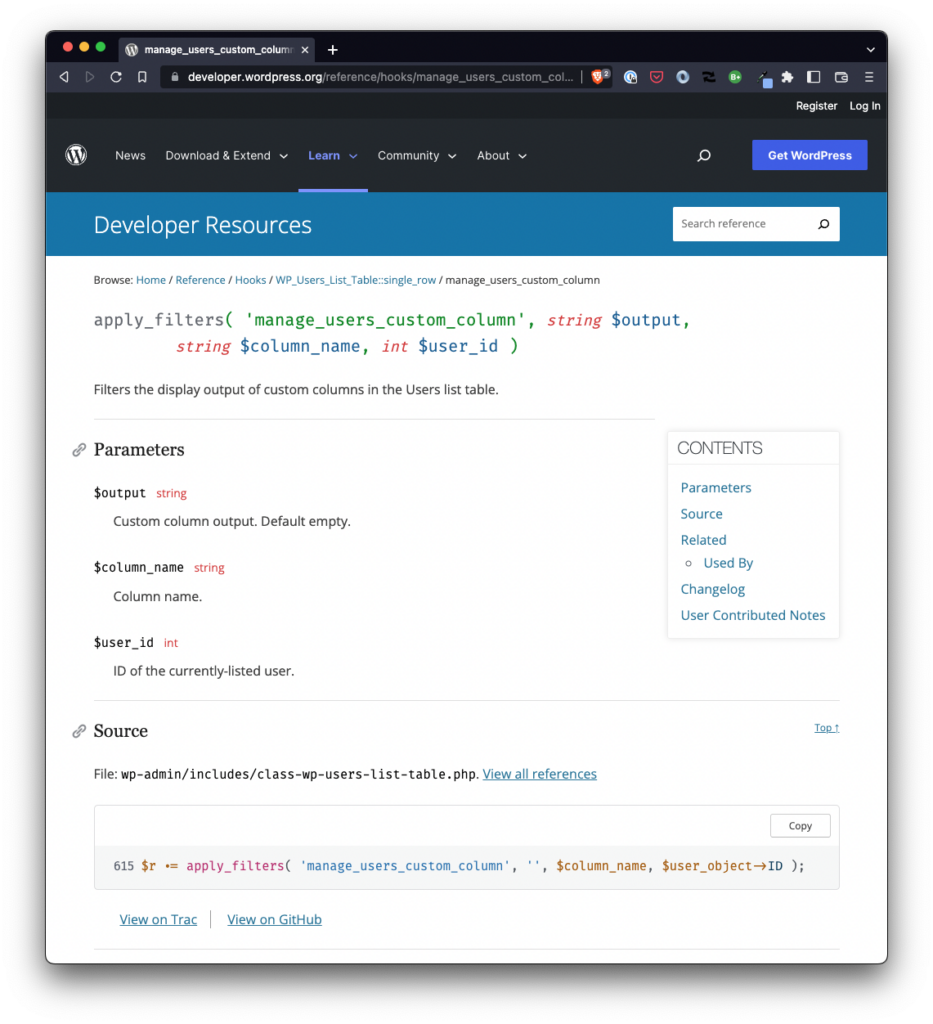
Filters the display output of custom columns in the Users list table.
Developer Handbook
We’re also executing this with a priority of 10 and we’re sending 3 arguments into the function:
- The value
- The column name
- The ID of the user being rendered
We need to check the $columnName value. I use strtolower to make it easy to run a conditional check against the column. This is why status is lower case.
Next, we take the $userId and then get the metadata using the get_user_meta WordPress API function. We’ll specify the current $userId key, the status meta key, and then specify true since we want the value to be returned as a string.
Finally, we’ll compare the value of $status to 1 and determine whether or not the user is active or not. Depending on the outcome, we’ll return Active or Inactive. Next to the user in the All Users page.