In the last couple of months, I’ve had a number of conversations with others that ultimately made it into interviews, podcasts, screencasts, and more.
For the most part, getting into podcasting (or just generally improved audio recording) is relatively easy, but I thought I’d share my notes here as I ended up having to do quite a bit of research on both hardware and software prior to making any purchases.
Here’s a rundown of my podcasting equipment including both hardware and software.
Podcasting Equipment: Hardware
Obviously, the most expensive part of getting into audio recording is the hardware. Sure, you may have to drop a little bit of cash for the software, but the hardware is generally the most expensive part.
Luckily, the majority of the hardware that’s required isn’t that expensive, and it all yields a great return on investment.
1. Blue Yeti
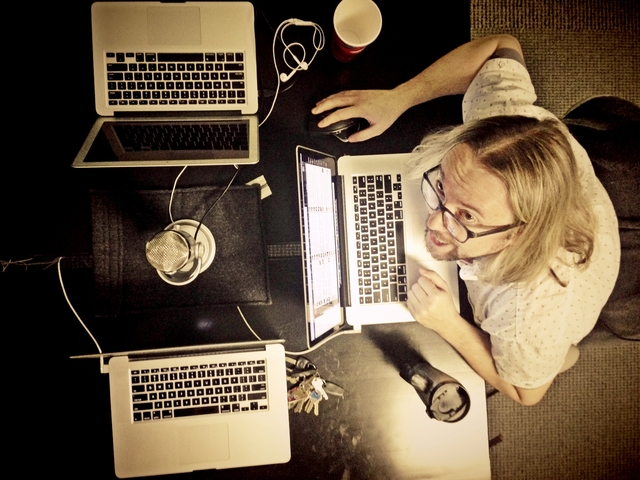
Recording Hello Dolly with The Blue Yeti
For recording sound at a high quality, you need to have a high quality microphone. I recorded my first screencast with the Blue Snowball microphone, and though the sound was good, it lacked a number of features that I wanted in a microphone that I’d ultimately be using for podcasting.
As such, I upgraded to the Blue Yeti. This particular microphone is powered by its USB connection to the computer and includes several ways of capturing input for podcasting:
- Stereo is best used for recording vocals, a choir, or individual instruments. If you’re a musician, then this is the setting to use.
- Cardioid is the setting that I use the most when recording individual parts of a podcast or a screencast. It’s meant for a single person talking straight to the microphone.
- Omnidirectional is best for when a group of people are sitting around the microphone.
- Bidirectional is exactly like it sounds – it’s for when you’re having a conversation one-on-one with someone else and want to capture both people evenly.
Other than that, the microphone also features volume and gain controls as well as audio out so you’re able to hear what the microphone is capturing while it’s recording.
2. Nady Pop Filter
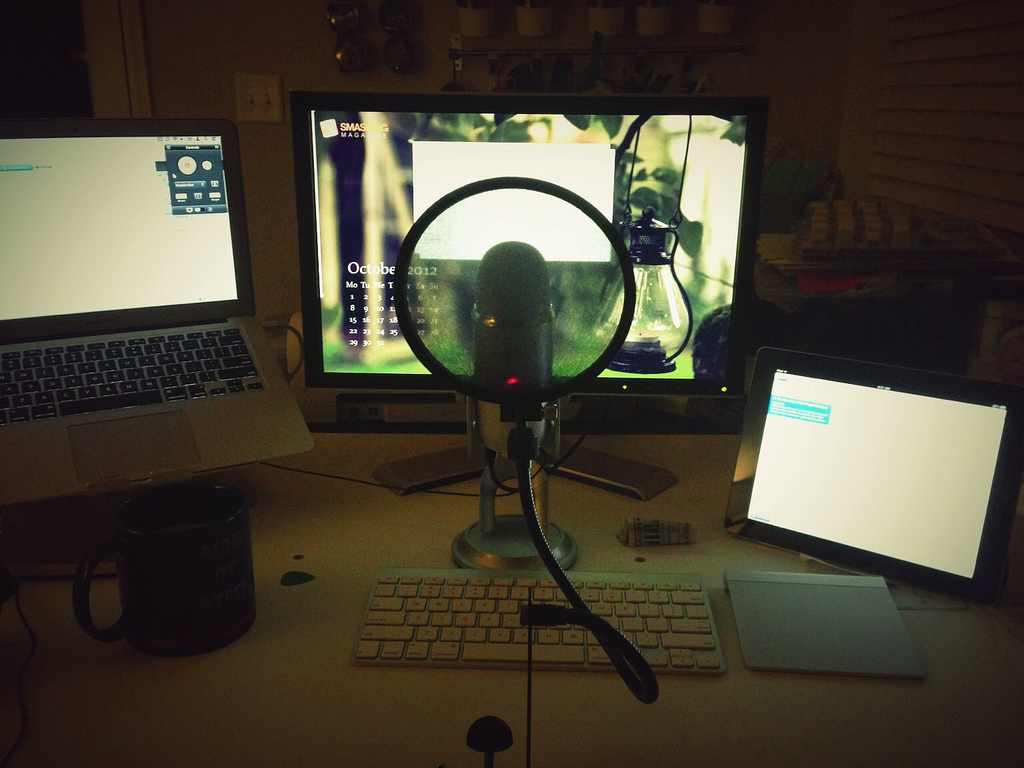
My Nady Pop Filter sitting between me and the microphone.
If you’re going to be doing any screencasting, segments of a podcast where you’re the only one talking, or vocals, then I highly recommend grabbing a pop filter. Though there are a number available, I’m a fan of the Nady Pop Filter.
Simply put, a pop filter is something that sits between you and the microphone and reduces any pops, hisses, or other spikes that certain words (think of anything with the letter ‘P’, ‘S’, ‘T’, ‘D’, etc.) cause.
Ultimately, it helps to normalize the sound and make for a significantly more pleasant listening experience. It’s one of those things that you don’t realize you need until you hear audio recorded with it.
3. Bose QuietComfort Headphones
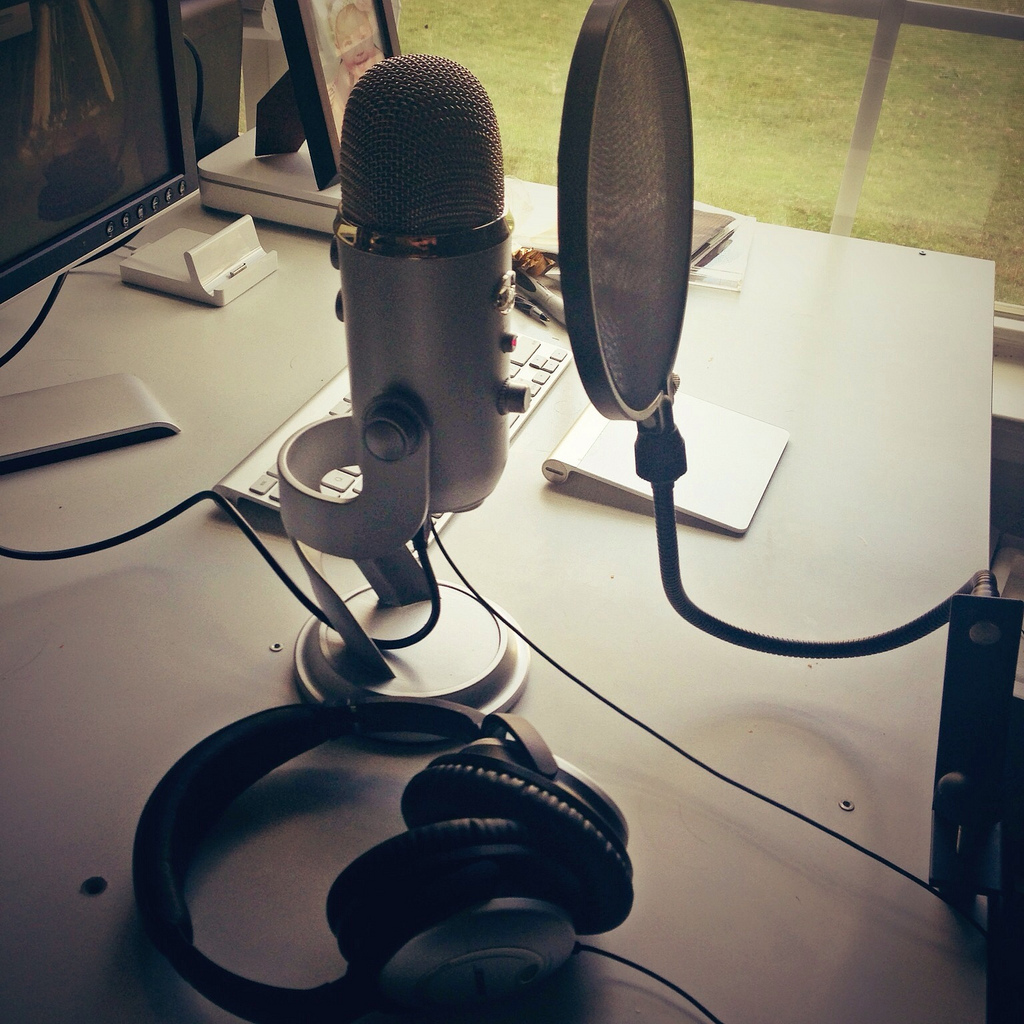
Gotta have a good set of headphones!
Headphones are a bit subjective, but I’ve been a big fan of the Bose QuietComfort series for about 10 years. They are, in my opinion, the most comfortable and some of the best acoustic noise canceling headphones that you can buy.
Aside from using them for listening to music and as headphones for my phone during the workday, I’ve used them as monitors for recording podcasts and screencasts.
Since they’re noise-canceling, it helps give a much truer sound to what the microphone is capturing over cheaper headphones because there’s less noise interference.
Podcasting Equipment: Software
1. GarageBand
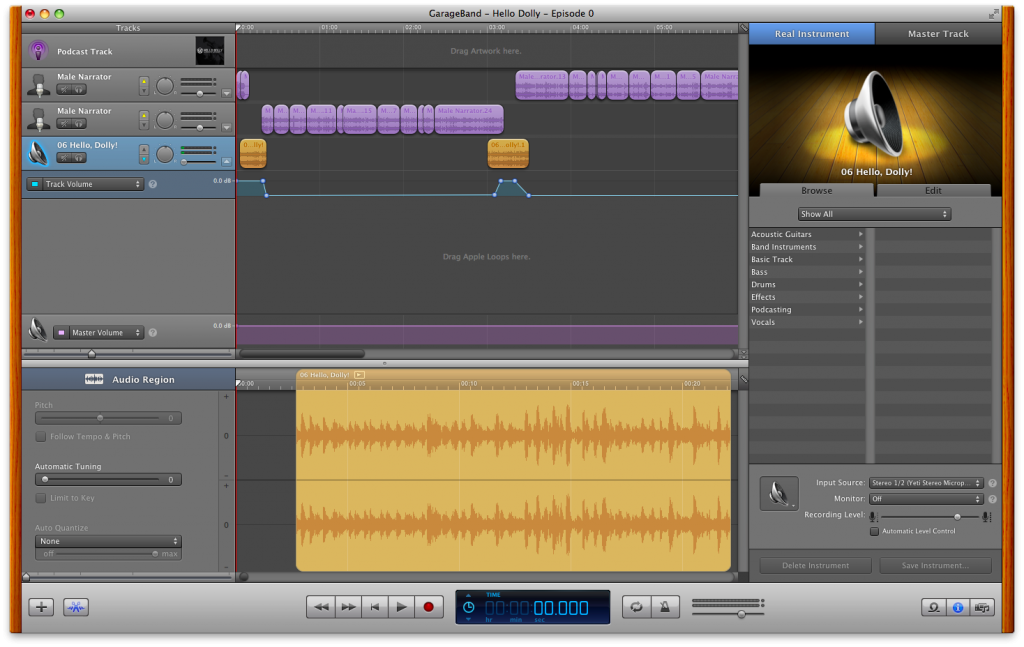
Tracking ‘Hello Dolly’, Episode 0
There’s a variety of high-end audio recording software available, but I’ve been happy using GarageBand for the various podcast experiments and episodes that we’ve been working on.
GarageBand comes with a predefined template specifically for podcasts, it makes introducing additional tracks really simply, managing the levels for each track is a cinch, and cutting out any phrases, ‘um’s’, and ‘ah’s’, is also really easy.
2. Feeder
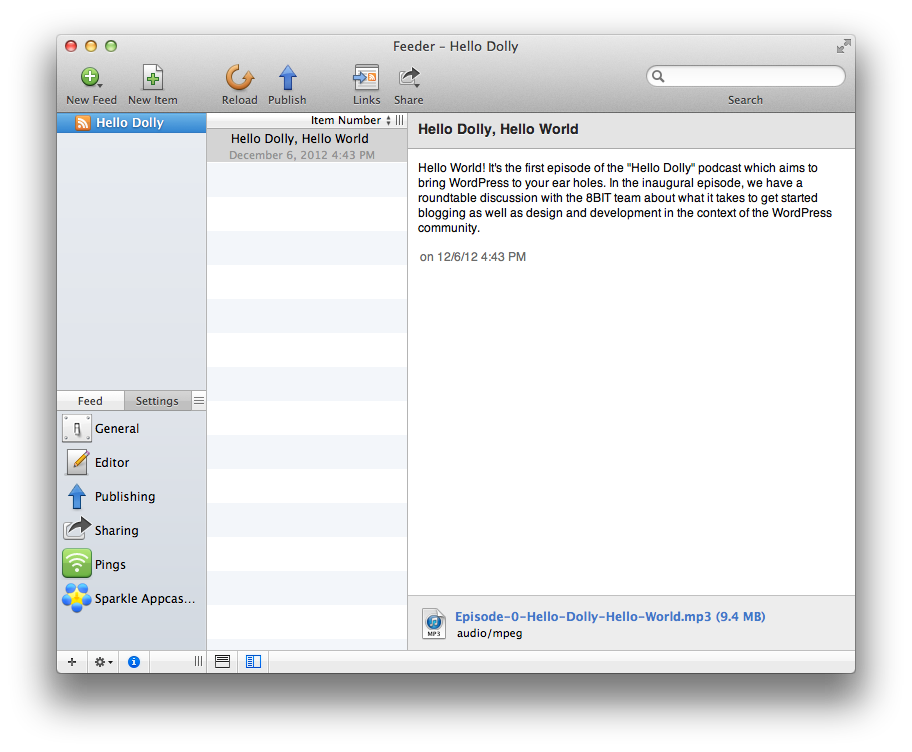
Easily get your podcast in iTunes.
If you’re looking to get your podcast into iTunes, I highly recommend using Feeder – it was suggested to me by Andrew over at The ProGuide. It takes all of the pain out of actually creating an XML file and will automatically upload the feed to your server via FTP once you’ve given it credentials.
Feeder makes it really easy to provide all of the information you need for a podcast:
- Cover Art
- Short Description
- URLs
- …and so on
Definitely recommend checking it out if you’re planning to publish your podcast on iTunes.
Much of the same hardware exists for screencasting, though it’s a bit of a different beast so I’l be tackling this in a separate post.
Anyway, if you’re looking to get into doing any interviewing, podcasting, or simply looking to improve your recording, then the above it’s what I’ve found to be most useful.


Leave a Reply
You must be logged in to post a comment.