One of the challenges of learning a library (be it the standard library of functions that come with a programming language or a third-party project) is two-fold:
- learning the functions that are available,
- learning how to use said functions.
And, really, sometimes even learning how to use said functions isn’t all that hard – it’s knowing when to use a given function to help minimize code while still achieving the goals of the project.
jQuery’s Clone Function
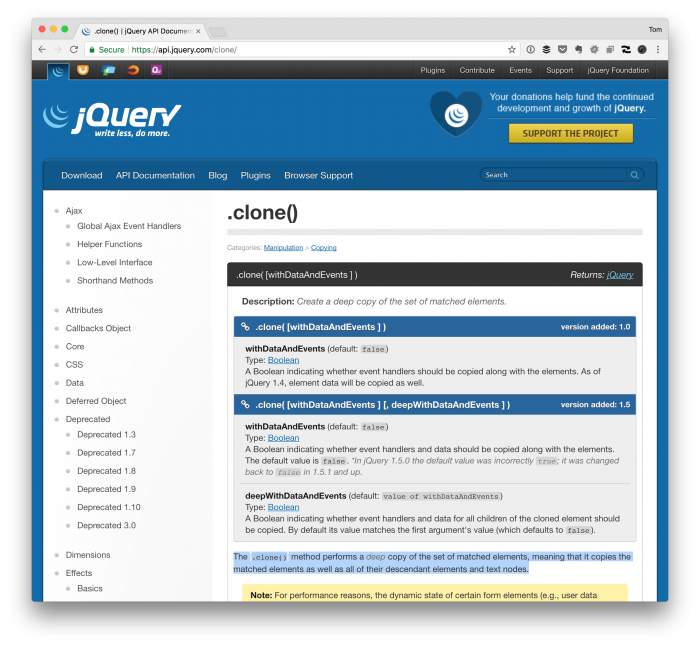
One example that comes to mind is the use of jQuery’s clone function. The definition of the function is simple:
The .clone() method performs a deep copy of the set of matched elements, meaning that it copies the matched elements as well as all of their descendant elements and text nodes.
The nice thing about the function is that it can also create a “shallow” copy of the function. This means that you can copy the elements without the event handlers, child elements and so on.
Depending on your needs, one is going to be more valuable than the other. But, for this post, assume that a deep copy is what we’re after.
1. A Potential Use Case
Let’s say that you have a set of images on a page and for each of those images, you need to add some event handler so that when the image is clicked something happens.
- perhaps a modal dialog appears,
- perhaps something is sent to the server via an asynchronous request,
- maybe the presentation of the page needs to change,
- etc.
I don’t know. Whatever your case may be, let’s say that you have an image or a set of images and you need to display a modal dialog when it’s clicked.
2. Setting Up The Code
To do this, there are several things we need to do:
- add a custom attribute to the images so we can attach proper event handlers,
- set up a partial that has the markup we want to display with a given piece of HTML,
- using clone to leverage take advantage of the partial that we’ve written and duplicated it, as needed.
Step 1
If you’re working with WordPress and looking for how to add custom image attributes, you can see a tutorial for how to do that in this post.
Step 2
Creating a partial is simple. The code could be as simple as the following snippet:
And yeah, you could dress it up with a bit of CSS and add some custom code to one of the elements using PHP, but this covers the absolute basics.
Step 3
Now let’s say that for each image that exists on the page (with a custom attribute like data-type=”acme”), we want to append a copy of the above element to the page related to each of the images on the page.
To do this, we need to know:
- when an element is clicked,
- it’s parent element,
- and how to append the element using the clone method.
So first, we want to detect when a given image is clicked. To do this, we can loop through all of the images on the page so we can attach a custom event handler:
Then, when the image is clicked, we find the parent element of the image that was clicked (and then the bulk of the work happens).
That is, we take a copy of the element earlier in the post, clone it, and append it to the container:
And then we can work with each one independently.
A Few Gotchas
When cloning elements, there are a few things that you need to remember (which are mentioned above). Specifically:
- remember that you may need clone elements differently depending on the event handler,
- you may need to create custom IDs for a given element before appending it to the page,
- perhaps an element needs to be toggled when something is clicked,
- and so on.
There are numerous ways to go about handling a cloned element, but whenever you do so, make sure that when you clone an element, you’re properly identifying and managing events, so you don’t get erratic results.