In previous posts, I’ve talked about the WordPress Coding Standards, and the importance of documenting your code, but I’ve not actually spent a lot of time discussing how easy it is to actually generate documentation for your themes.
And by documentation, I mean an actual site that provides your DocBlocks such in a clean and organized fashion – you know, sites that are generated by tools like phpDocumentor.
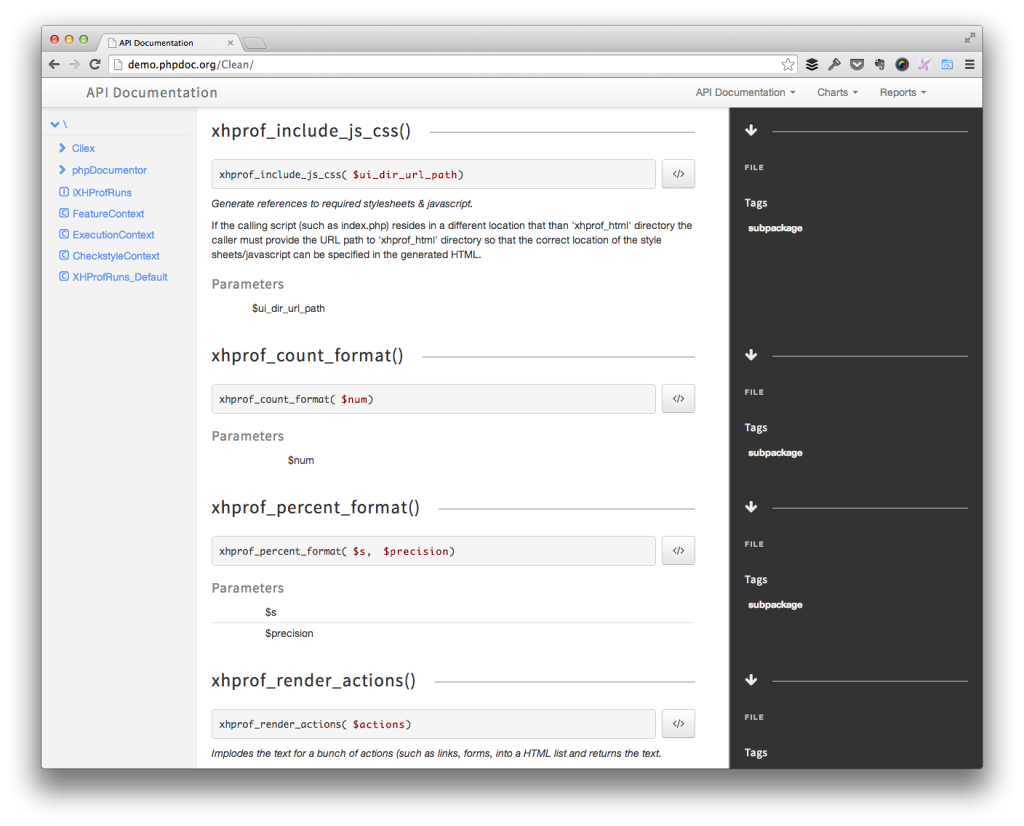
An example of a site generated by phpDocumentor.
In other posts, I’ve mentioned that I use MAMP Pro for part of my development stack, so if you’re looking for steps to install phpDocumentor, it’s actually really easy to do.
Install phpDocumentator
Before installing phpDocumentor, it’s important to note which version of PHP you usually run when working with MAMP. Since I do most of my work with WordPress and WordPress supports older versions of PHP, I usually hang back a few versions for compatibility reasons.
Specifically, I run with 5.3.28 on my machine. Regardless of what you use, just make note of it because you’ll need it momentarily.
1. Navigate to Your PHP Installation
For me, PHP is located in the following directory:
/Applications/MAMP/bin/php/php5.3.28/bin
So, using a terminal, I’d navigate to that directory.
2. Add the PHPDoc Channel
Next, use Pear to discover the PHPDoc channel – thanks makes installation really easy. To do this, enter the following command in the terminal:
./pear channel-discover pear.phpdoc.org
After doing that, you should see a success message. If at some point in the past you’ve added this channel or it’s already been included via some other tool, you may see the following:
Channel “pear.phpdoc.org” is already initialized
Regardless, you’ll be good to go for installation.
3. Run The Installation
Running the installation is as easy as issuing the following command:
./pear install phpdoc/phpDocumentor
At this point, you’ll notice the terminal downloading the package, setting it up, and all of that fun stuff. But there’s one problem: If you want to run phpDoc on code that’s, say, located elsewhere in your system (which is likely the case), then you’ll probably want to setup a symbolic link so that you don’t have to type the full path to phpDoc each time you want to run it.
4. Create a Symbolic Link
To create a symbolic link, recall the version of PHP from earlier in this article (remember, I’m using 5.3.28) and then enter the following into the terminal:
sudo ln -s /Applications/MAMP/bin/php/php5.3.28/bin/phpdoc /usr/bin/phpdoc
This will then make the phpDoc command available wherever you are in your filesystem so that you can easily genreate documentation for your projects.
5. Create the Documentation
At this point, all that’s left to do is really generate the documentation. So, for example, let’s say that I have a plugin in wp-content/plugins/acme-plugin and I want to generate documentation for it.
To do that, I will navigate to the above directory then issue the following command:
/Applications/MAMP/bin/php/php5.3.28/bin/phpdoc -d ./ -t ./docs
This will generate documentation for the plugin in the root of the plugin’s directory. You can load it up in your browser and take a look.
More Options!
Of course, there are more things you can do with phpDocumentor such as selecting a theme, changing up some or the arguments, and what not. But you can read more about that in its documentation.
The hard part – actually installing it – is done.
Leave a Reply
You must be logged in to post a comment.