Though I have a suite of tools I prefer to use on projects that I work on from the ground-up, the nature of contract work is that you’re not always able to use those tools.
Instead, you have to work using the tools provided by the client which usually come into play whenever you inherit a project from a previous developer.
To be clear, this isn’t knocking anyone’s choice of tools. I don’t have a position here or there on that. Instead, I think it’s import to know how to get up and running with some of those tools easily.

For example, we’ve been working on a project that requires Gulp which in turn requires Node which can be installed easily using Homebrew. It’s a lot of steps to work backward, right?
To get started with Homebrew, Node, and Gulp in WordPress development is pretty easy. I’ve outlined the steps below and done what I can to explain what each package does so you know what you’re installing and what you’re doing if or when you encounter a project like this.
Homebrew, Node, and Gulp
For those who have some idea as to what Gulp and Node are, then you’ve likely seen ways to install them in their way. If that works for you and you’ve got a great setup, then you’re good to go, and I wouldn’t worry much about the rest of this post.
If on the other hand, you’re brand new to this then this is the process I follow when working with this type of setup.
But remember: Even though I’m walking through three pieces of software to install, each of them can be installed their way, but installing them using a package like Homebrew also provides a clean way to install other software in the same manner.
I’ll cover Homebrew first, then look to Node and Gulp. So here we go: Homebrew, Node, and Gulp all for WordPress development.
1. Homebrew
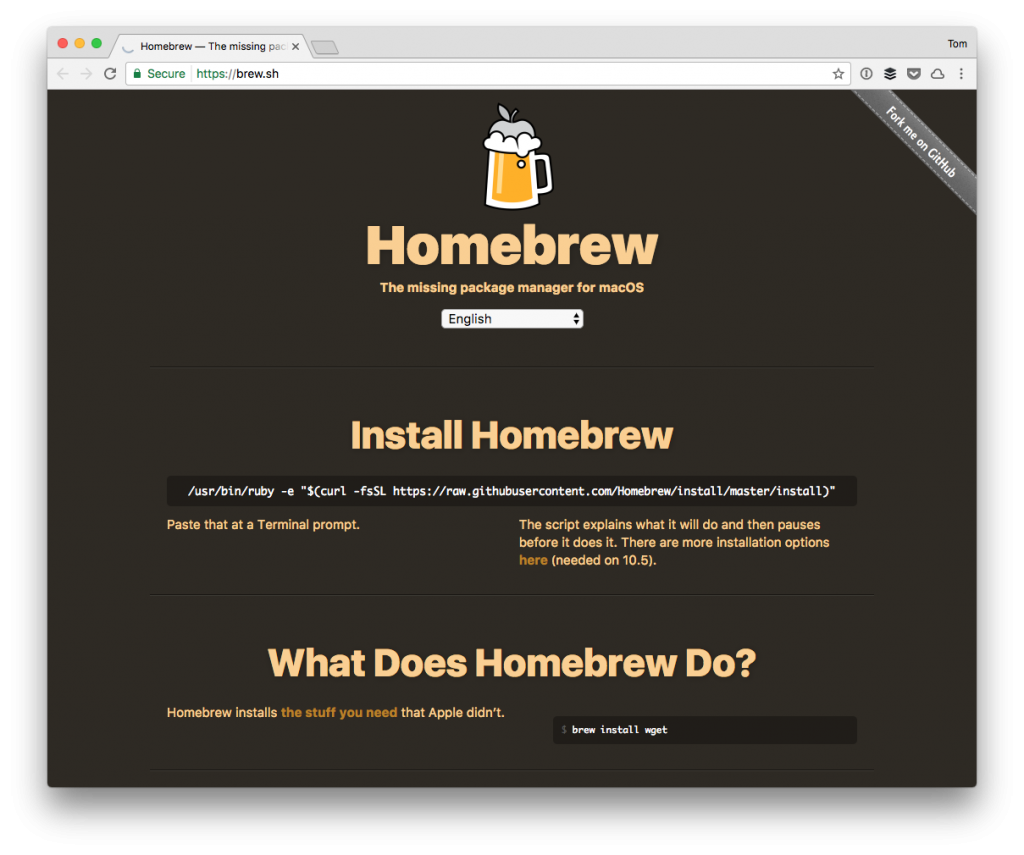
In short, Homebrew is a package manager that runs on macOS. It allows us to install and uninstall software from the command-line easily.

The Homebrew Homepage
The package manager allows us to install and manage easily a massive amount of software much of which is helpful to developers.
The homepage claims:
Homebrew installs the stuff you need that Apple didn’t.
But to see what I mean, take a look at the repository. It’s huge, right? For this post, I’m only focusing on installing Node.
And I opted to include this brief into to Homebrew before installing the rest of the packages because it’s something I think is worth exploring if you’ve never tried before.
2. Node
To install Gulp, you have to install node which is a JavaScript runtime on which Gulp is built. Yes, it offers a lot of other functionality, but it’s all beyond the scope of this post.

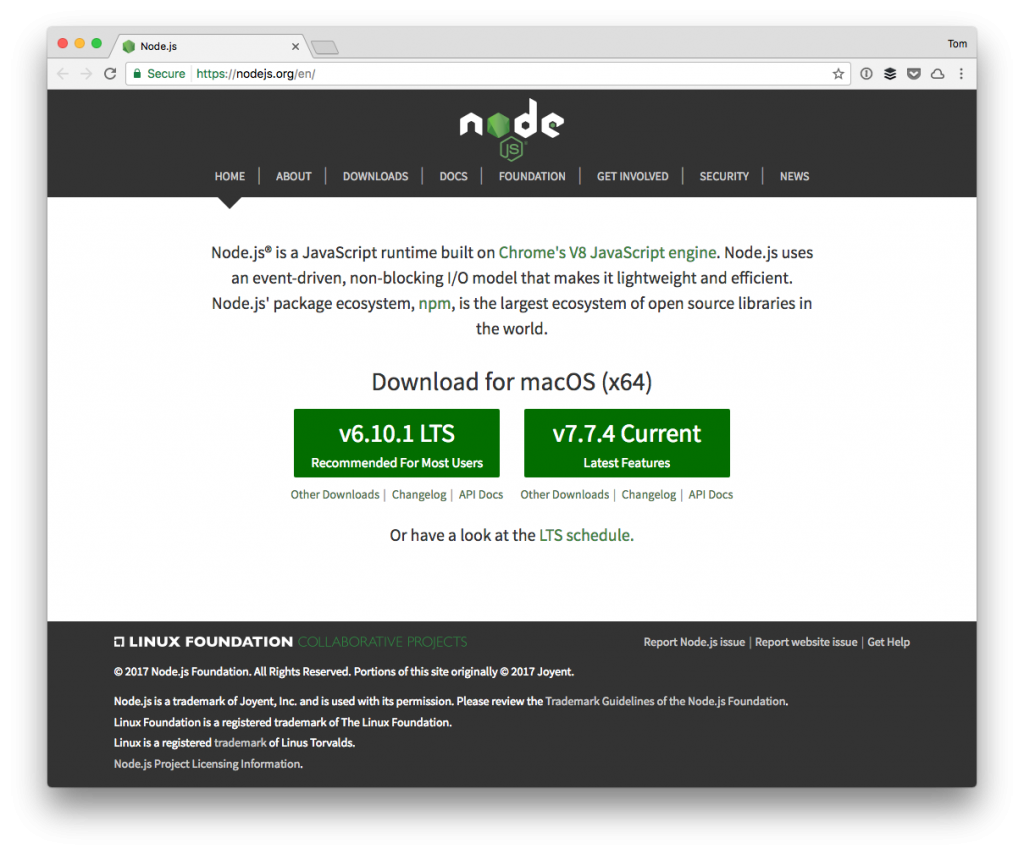
The Node Homepage
The homepage claims:
Node.js’ package ecosystem, npm, is the largest ecosystem of open source libraries in the world.
And you can search all of the packages that are available from the NPM homepage. A simple search for ‘gulp’ will yield almost 10,000 results of packages that can work with the task-runner (some of which do the same thing, but you get the idea).
3. Gulp
Finally, Gulp is a simple command-line task runner that allows you to automate many different things in your development process. As one example, it has a package that will watch Sass files and transpile and combine them on each file save.

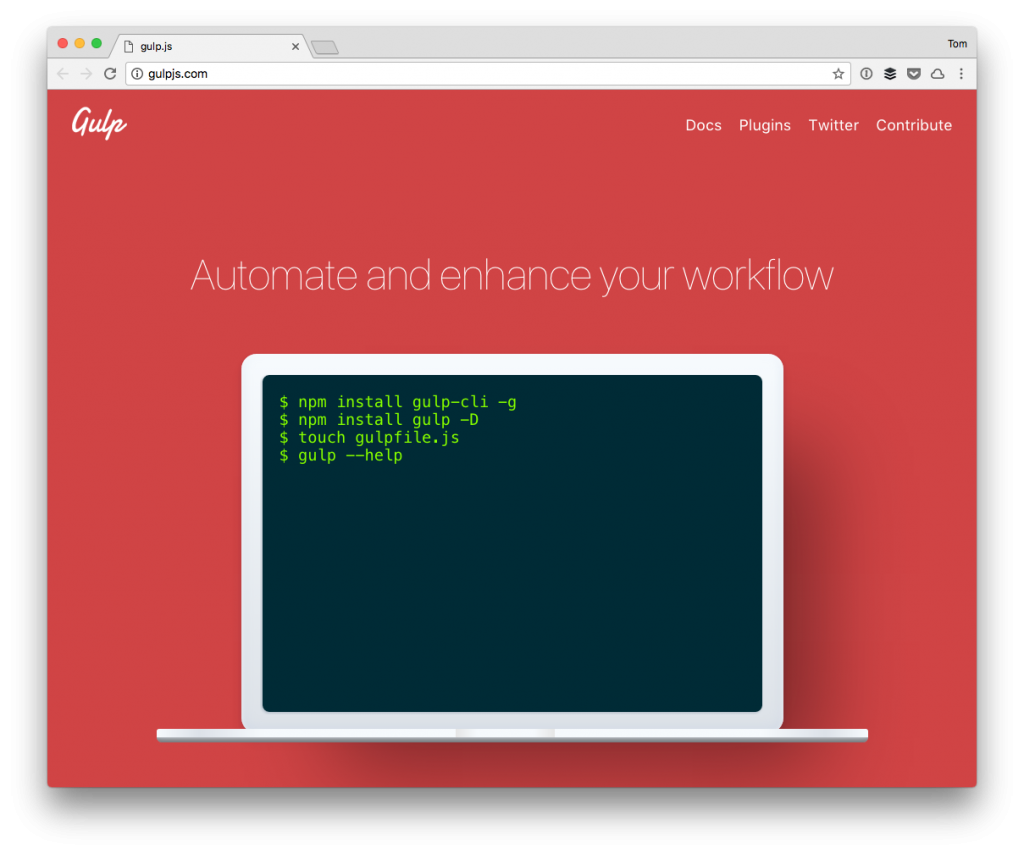
The Gulp Homepage
Put succinctly:
gulp is a toolkit for automating painful or time-consuming tasks in your development workflow, so you can stop messing around and build something.
Through what’s called a gulp file, you have to include a number of dependencies – like those that allow you to transpile and combine CSS files – and then have it automatically do so whenever needed.
But it doesn’t stop there: You can also work with images, templates, minify files, lint files, and so on.
Installing Homebrew, Node, and Gulp
All of the above is an introduction to software but how do we get it all installed on our system?
First, install homebrew. To do this, launch Terminal and enter the following command:
$ /usr/bin/ruby -e "$(curl -fsSL https://raw.githubusercontent.com/Homebrew/install/master/install)"
If this looks kind of weird, just know that it’s using cURL and the installed Ruby executable to download the Homebrew package and install it on your system.
Next, install Node. Once Homebrew is installed, this is easy. Simply enter the following command:
$ brew install node
Easy, right? And finally, it’s necessary to install Gulp, and it’s required packages. This will depend on your project but for the project I have, I need:
You may or may not need these, so I’ll here’s how to install the gulp and the gulp-sass dependencies using Node. Enter the following in your terminal:
$ npm install gulp
$ npm install gulp-sass
Then enter:
$ gulp sass:watch
This will install the necessarily dependencies and will then tell Gulp to watch for modifications to your Sass files. The is also predicated on the idea you have a gulp file that’s already defined.
If not, you’ll need to create it yourself. Luckily, there are plenty of recipes available.
Other Resources
As you can see, it’s pretty straightforward, but the task runner is about your environment. I recommend reading through the documentation for each of the packages above to get a deeper understanding than the short description I’ve provided:
And remember: This isn’t to replace any tools or workflow you already have. Instead, it’s meant to show you how to install a suite of tools that a project you inherit may need. And if it’s not Gulp, maybe it’s Grunt or some other task runner. The point is, there’s a process for doing it.
For those who are interested specifically in Homebrew (which is the foundation for everything above), I also recommend reading Carl Alexander‘s post on his current setup. He has a section entirely dedicated to Homebrew, why he uses it, and more.


Leave a Reply
You must be logged in to post a comment.