When it comes to working with the WordPress Theme Customizer, one of the options that you’re likely to see in other themes (or that you’re likely to introduce in your own themes) is an option that is responsible for toggling the visibility of an element.
For example, if a text box is empty, you may want to hide an element. Or, more simply, perhaps a user will need to click on an checkbox to toggle whether or not to display an element.
But this presents a dilemma: Either we can send all of the information to the browser and control its visibility using a class name, or we can send less code to the browser but lose a smooth user experience when using the Theme Customizer.
The WordPress Theme Customizer Display Dilemma
Let’s say that you have an element, such as a header image that you want to display and it’s bound to a checkbox that enables users to toggle its visibility.
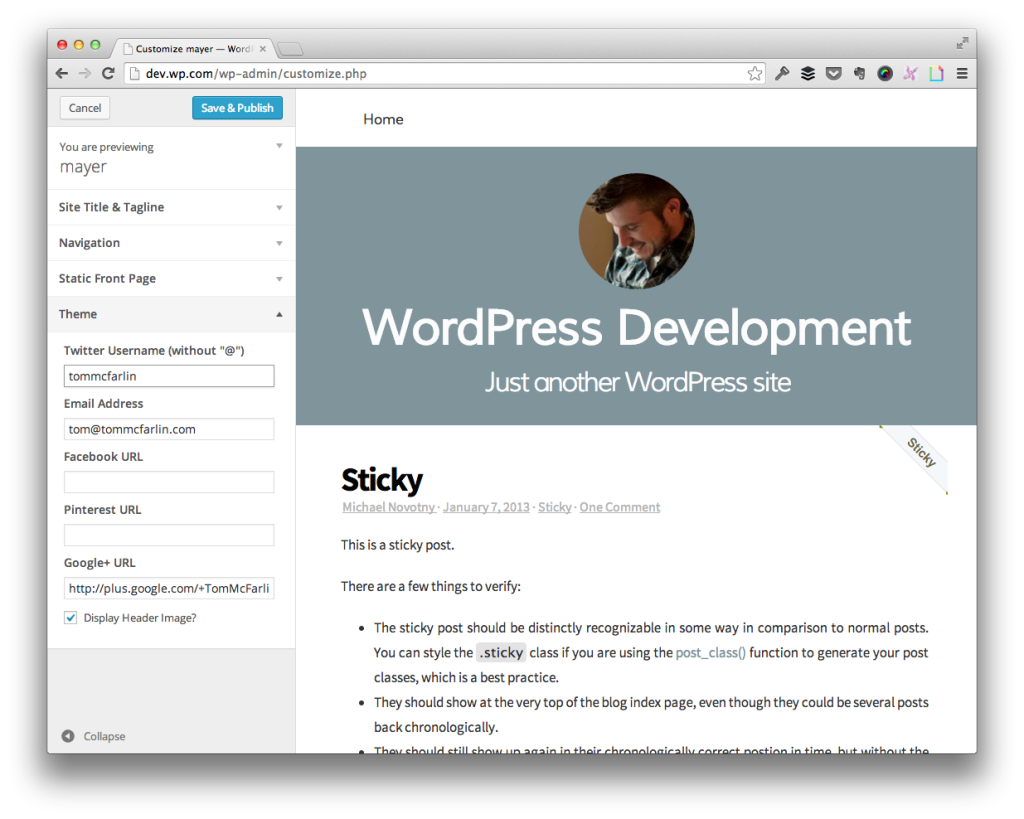
The last option will toggle the header image’s visibility.
If you’re using the Theme Customizer, then you’re likely using get_theme_mod in order to check for whether or not an option has been set.
This means your code may look something like this:
Simply put, the conditional is checking to see if the checkbox is checked. If so, then it will display the element; otherwise, the element will not render.
This works fine except let’s say that you’ve previously set the element not to display, then you launch the Theme Customizer, and you want to toggle the option to display the header image. It won’t work because the conditional will fail and the element will not be written out to the page.
Oops.
Use a Class To Control The Visibility
But there is an alternative solution: Rather than using a conditional to determine whether or not an element is displayed, we can use the conditional to supply a class that controls an element’s visibility.
For example, let’s say that we have a class name called hidden and the hidden class name sets visibility: hidden; in our CSS file (or display:none; depending on your needs).
At this point, we can update the template file to look like this:
Now we can use JavaScript to access the element and toggle its visibility based on if the element has been toggled. To do this, we not only need to use the markup that we’ve displayed above, but also introduce a bit of JavaScript into the file responsible for connecting the Theme Customizer to the markup (I’ve previously covered the Theme Customizer is much more detail.)
Next, we introduce the following bit of JavaScript:
At this point, the element will display based on whether or not the option has been set in the Theme Customizer in both the Theme Customizer Preview as well as when the option is saved and rendered for site visitors.
“But It’s Unconditionally Rendering the Element!”
I know. This is one downside of this approach. Specifically, you’re writing elements out to the page regardless of if the option has been set but you’re just controlling it’s visibility based on a CSS value.
Purists likely hate this. For what it’s worth, I’m not a huge fan of it, but there are some sacrifices that I’m willing to make depending on the type of element and for the sake of user experience.
Case in point: If this is the case with small elements such as icon fonts, small images, list items, and so on, then I don’t have a big problem with it; however, if we’re dealing with large header images or another element that may have a more significant aspect on page load time, then there is an alternative that you can make.
It all has to do with the Theme Customizer transport method.
Recall that the postMessage transport will asynchronously update the theme preview and the refresh transport will refresh the entire preview pane.
To that end, rather than using the postMessage transport, you can use the refresh transport. This will allow you to use the code that is displayed at the very beginning of the article, but it does come at the expense of refreshing the page in the Theme Customizer each time the option is toggled.
So, on one hand, the refreshing leads to less code being sent to the browser but the user feels the page refresh. On the other hand, the same amount of code is sent to the browser, but the user doesn’t experience it.
The point is to use discretion when working with the Theme Customizer and its transports. If there are elements that affect, say, SEO or may drastically affect performance of the page load time, then perhaps it’s best to use the refresh transport; otherwise, the postMessage transport along with a class attribute for toggling visibility isn’t a bad solution.
Leave a Reply
You must be logged in to post a comment.