One of the things that I’ve done since high school (at least that’s when I think I started) is consistently backup photos and videos.
Back then, I wasn’t taking as many photos – I was younger, digital cameras still saved things to flash cards, and the EXIF data would be inaccurate if the battery ever completely died.
Then, I had to reset it or just roll with inaccurate timestamps. And as a teenager, who cares when something was taken?
Unfortunately, I lost all digital media prior to 2003. That’s a story for another time, but it was the catalyst for regularly backing up my photos and videos in several formats and in several locations.
And though the process by which I do this has changed over the years, I still take the time to do it so much so that I now have 17 years worth of photos and videos organized my year, month, day, hour, minute, and second.
And all are taken from various digital cameras through every iteration of a cell phone I’ve owned.
Sure, our mobile operating systems do a good job of backing up and sorting things for us but I still like to have multiple backups of everything so at the end of each month, I still export everything from my phone and go through a process of backing everything up.
Though I’m always interested in how other people do it, I’ve also had some friends and colleagues ask what my process is. So that’s the purpose of this post.
More specifically: Here’s how I backup photos, videos, and organize them each month.
Backup Photos and Videos, My Example
I don’t have coupon codes, affiliate links, or anything like that in this post but here’s a breakdown of the hardware and software I use and that I’ll be showing throughout this post:
Later, I’ll share how I use all of the above. But first, this is what I do at the end of each month.
Export All Photos and Videos
First, I use the macOS Photos app and search all of the content for a given month and year (so, at the time of this post, I searched for November 2020 and then clicked See All to view all the results).
Next, I select all of the results and export the unmodified files and export them to a directory that I’ll process once the export is done.
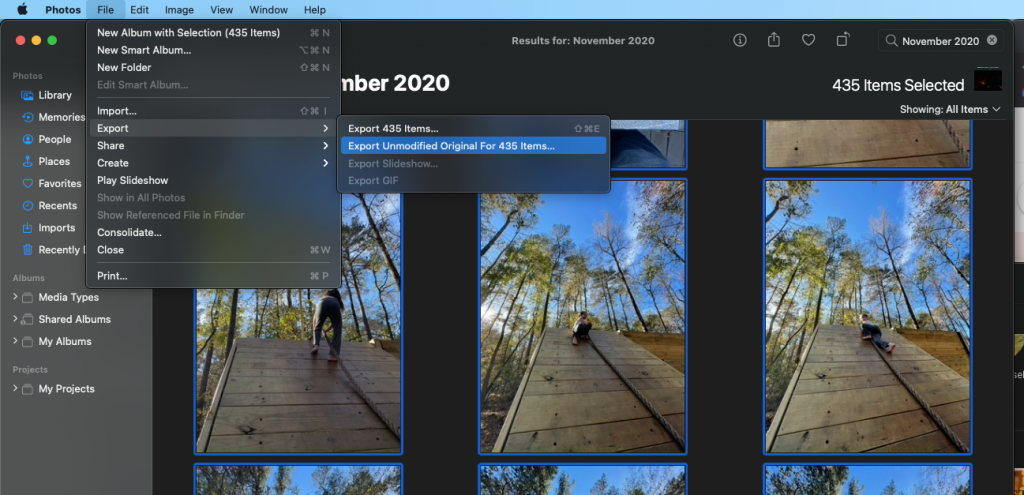
Once the export is done, I’ll have a directory full of videos, photos, and maybe screenshots if I’ve forgotten to delete them manually. If so, I’ll delete them (iOS usually saves these as png files but it’s always good to double-check).
Convert HEIC to JPEG
After that, I convert all of the heic files (which, if it’s how you’ve configured the operating system, is how iOS saves its photos) to peg files namely because I want to be able to easily browse the photos with standard software.
For what it’s worth, I don’t use any jpeg compression.
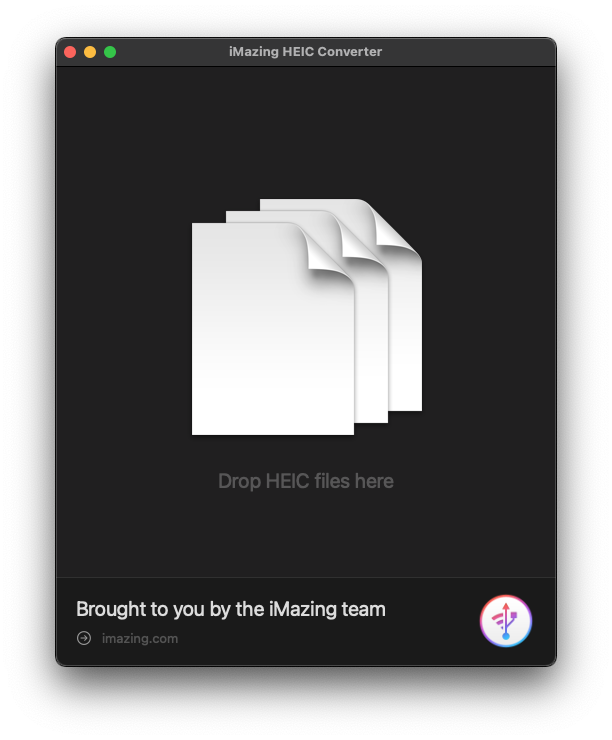
Specifically, I take all of the heic files and drop them into the software above and let it do its thing.
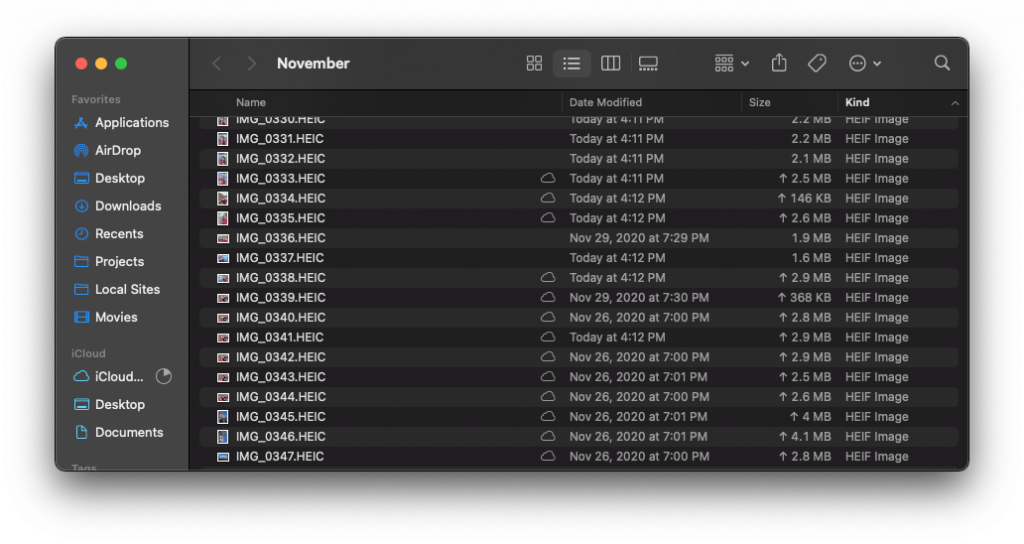
You may want to delete the heic files or stash them in a subdirectory for posterity. It’s up to you but I won’t be referencing them anymore in this article.
Rename the Files
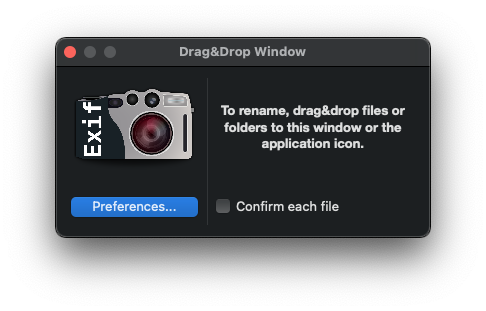
After that, I’ll use EXIF Renamer with some custom rules to process all of the photos and videos and rename them into a proper format.
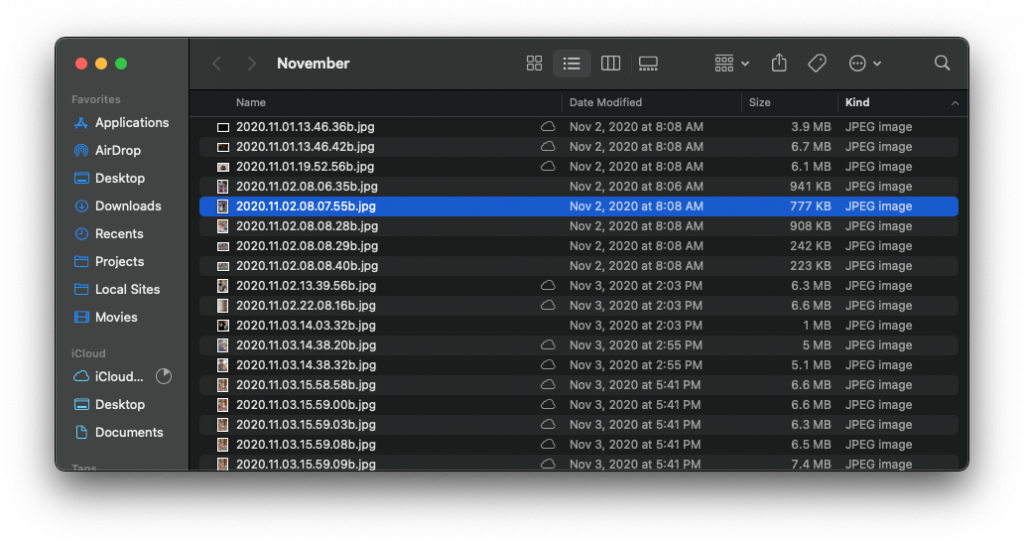
As if it isn’t evident from above, I choose to use the YYYY.MM.DD.HH.MM.SS format and I do so using the 24-hour time so it’s easier to sort sequentially. If there’s a duplicate or an image that was taken at the same time (which can happen in burst photos), then I’ll have the software append a suffix.
If you’re not interested in duplicates, you may be interested in using Gemini to remove them. There are other apps, sure, but this one makes it really easy and it’s a nice looking one, too, which doesn’t hurt.
The Last Step
After that, I’ll rsync the files to my external drive then I’ll disconnect it, put it into a safe (just in case, I don’t want to lose photos or videos anymore 🙂) and pull it out and repeat it in the future.
It’s worth noting that a lot of this can be handled by CLI tools except for exporting the images from Photos but not only am I fan of this particular software (and have use for it outside of just backing up photos), it’s also something that’s easier for other people to use.
Like those who don’t want to use the command-line.
Anyway, repeat this process for years to come and you’ll start building up an archive of all of your photos and videos in the order they were taken. After almost two decades of doing so, it’s neat to see how far technology has come.
And how much life can happen.

