Years ago, I wrote about how to upload files in WordPress from the administrative area. This post is practically an update to that post, but it covers new considerations that I make and some other processes that I think are necessary.
For this post, I’m going to work off the example of uploading a PDF file and how also to make it available in the Media Library.
In doing so, I’m also planning to cover some considerations that should be made on the client-side and the server-side as well as things for which to look for whenever someone is transferring information across the wire.
Uploading Files in WordPress (And to the Media Library)
Before getting to the gist of this post, I’m assuming you have:
- A submenu page or admin page setup with a file input,
- That you’re properly set up to accept MIME types,
- That you’re comfortable with a little JavaScript,
- And you’re comfortable working with custom messages outside the standard WordPress API.
If so, all of the code should be relatively self-explanatory (not that I won’t break it down piece-by-piece), but if any of the above sounds confusing, then the post may include some material that requires a little more research in the Codex or regarding JavaScript that I’ll provide here.
Regardless, I’ll do what I can do be as comprehensive as possible.
1. The Main Idea
The idea of the feature is simple: You want to give the user the ability to upload PDF files via the WordPress administration area. You also want the file to be available in the Media Library.
The ability to do this isn’t difficult, but there are ways to enhance the user’s experience that I’d like to cover in this post, too (like not being able to upload anything until the file has specified in the input box, for example).
2. The UI For Verifying The File Type
First, as I said at the top of the post, I’m assuming that you have the groundwork laid for the administration page in WordPress. This can be done in some ways – I’ve opted to use a submenu page, but there are some ways this can be done.
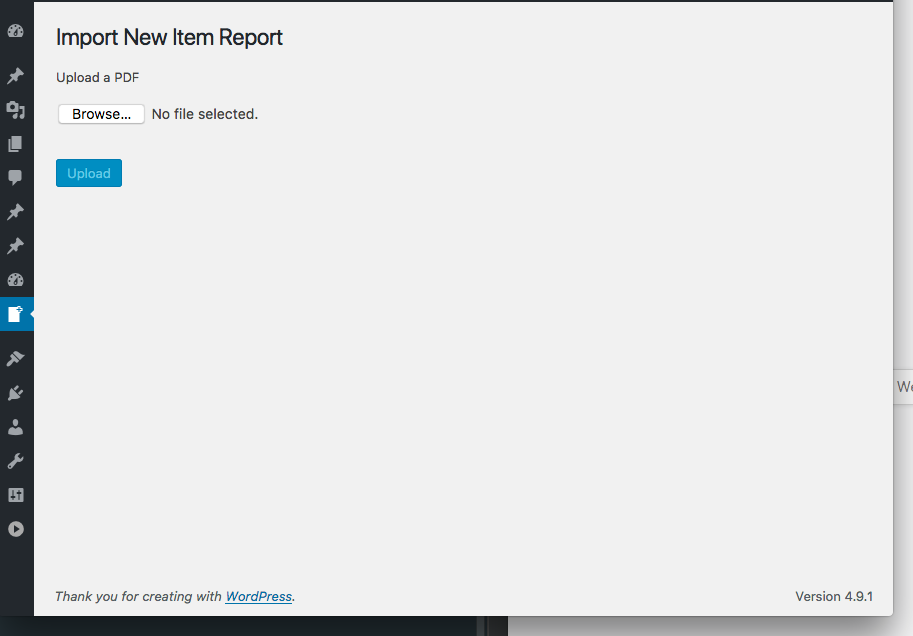
Secondly, the page is simple: It includes the page title, a file input field, and an ‘Upload’ button that’s disabled by default:
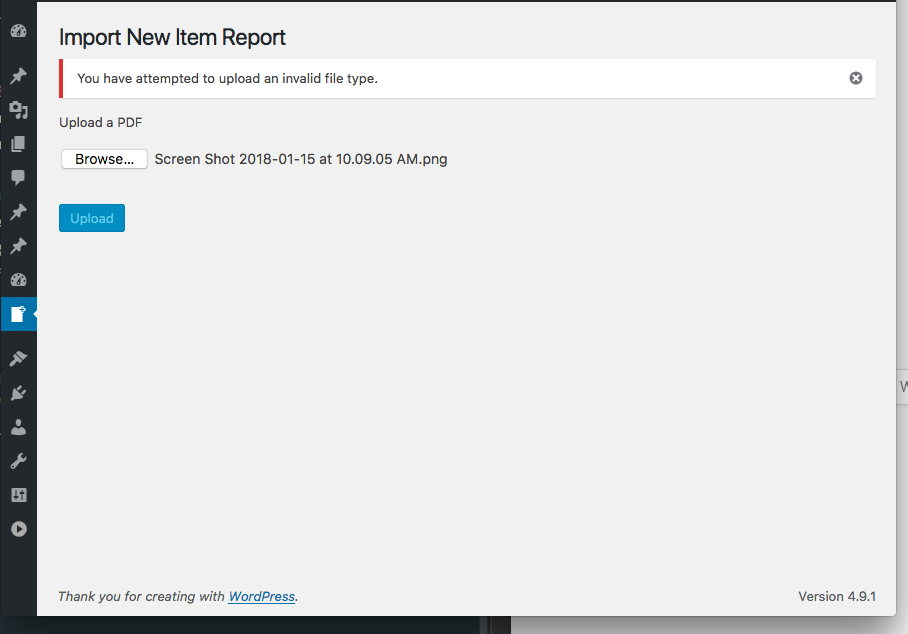
Notice that when I try to add an image that’s not a PDF, I’m given an error message, and the ‘Upload’ button is still disabled:
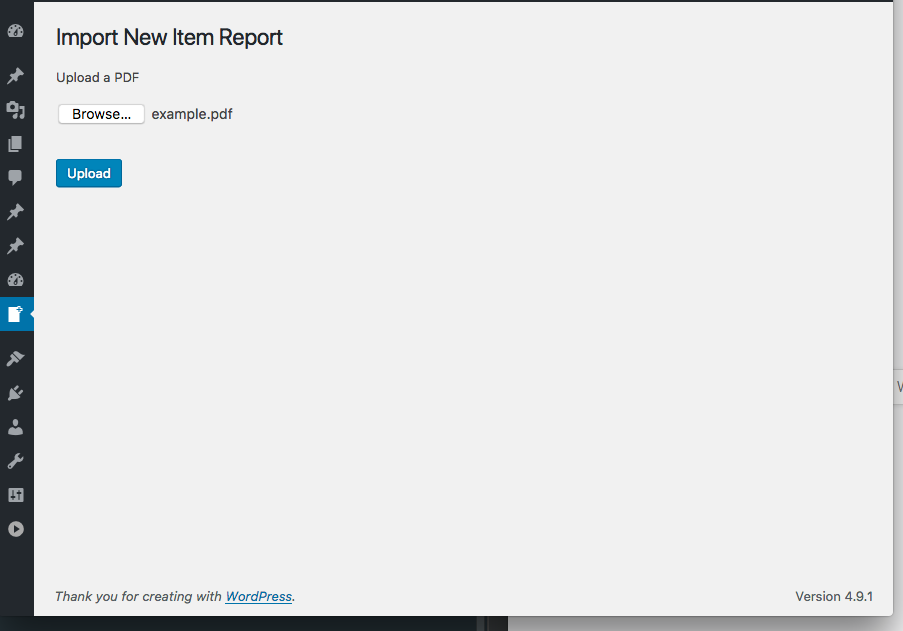
But when I add a file that’s of the expected type, the ‘Upload’ button is enabled:
This requires a few things:
- JavaScript that sniffs out the file type,
- Partials with visibility that can be dynamically toggled via JavaScript,
- And the ability to enable or disable a file input button.
An important note is that on the client side: We can only assume the file is the proper file type based on its extension. We’ll have to do more work on the server-side to ensure this is accurate.
But the point of checking on the client-side to make sure we give the best experience possible through notification messages and enabling or disabling options based on the type of file.
3. Verifying the File Type on the Client-Side
Assume for this example we have a partial that renders whenever we attempt to upload a file that isn’t a PDF. By default, the container has a style=”display:none;” attribute which we’ll manipulate via JavaScript shortly:
Notice that this partial has an ID of invalid-file-message. This is a bit generalized as you may want to prefix it with something else, but for purposes of this post, you get the idea.
To toggle the visibility of this message, you have to setup a handler in JavaScript to monitor the change in the file input element.
4. Monitoring The File Input Element
At this point, there needs to be a JavaScript file that monitors the value of the file input element’s change event so it can determine what course of action to take.
Take a look at this code:
This code will look for the value of the input field. If the file type doesn’t match pdf, then it will toggle the visibility of the error message above; otherwise, it will display the upload button.
And remember, it’s good practice the enqueue this script only in the administration area and on the page it’s required:
All of this will make sure your plugin properly registers the script on the page on which it’s needed, nowhere else, and that it properly checks to make sure that file being specified is of the right type.
But There’s More
Originally, this was going to be all one post, but the amount of content to require it all would take too much time to sift through (at least, in my opinion). So I’m trying to make it a little easier to follow by breaking it up into a couple of posts.
As mentioned previously, there’s only so much we can do on the client-side. Sure, there are steps weUplo can take to help improve the user experience, but it’s not the most secure, and there is more work to be done on the server-side.
In the second half of this series, I’ll look at the PHP required to manage the uploading of files and securely doing so.
