In the last few posts, we’ve done a lot of work to bring the code up to the point of refactoring that’s going to be covered in this article.
Specifically, we’ve covered:
- hooks,
- a Registry,
- and Subscribers.
All of these are going to play a role in what we’re going to do today.
The WordPress Widget Boilerplate: Refactoring, Part 7
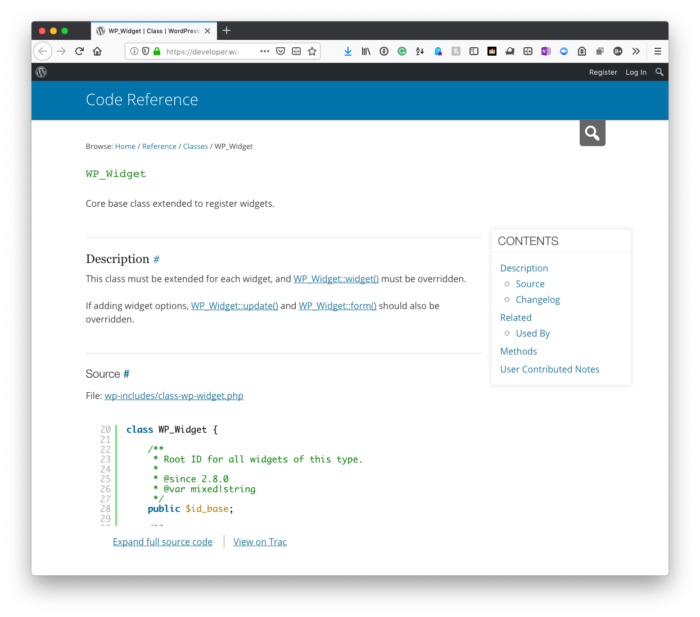
For those who are familiar with the WordPress Widgets API, then you likely know it hasn’t changed much over the past few years.
Furthermore, it really only consists of four functions (one of which is the constructor):
- The constructor is responsible for setting several properties on the widget, most commonly its name and the description of it.
- The widget function is responsible for rendering the content of the widget.
- The form function is responsible for displaying the form in the administration area of WordPress when working with the widget.
- The update function is responsible for updating the options that are saved in the database (or initialized and then saving the options that may not yet exist in the database).
The nice thing is that this particular approach is achieved by inheriting a functionality for the WP_Widget class.
The problem, though, is that it’s a lot of work for a single class to do.
[restrict paid=”true”]
Instead, we should be separating each of functions into its own area of functionality.
As with anything in programming, there are going to be ways in which some things are clear on how they can be done and then there are going to be some things that can be done multiple ways.
What I’m going to present is how I’m approaching it for now. This could change in the future, or maybe not, and others may have a different take on it.
Regardless, the implementation is going to be far more object-oriented and will give each class its own set of responsibilities.
The first question, though, is how do we split up a class with four functions and that inherits from a parent class?
Updating The Bootstrap
First, there are a few things we need to adjust in the bootstrap of the plugin. Namely, we need to do the following:
- instantiate the Registry and make it available through the project,
- update the Plugin class so that it accepts a registry and loads the subscribers,
- review the bootstrap
Here’s a look at all three of the above.
1. Instantiate the Registry
Since we’ve already covered this earlier in the series, it should be clear how to do this.
First, see the following code:
Next, note that we’re instantiating the Registry (we’ll talk about its namespace momentarily) and then we’re hooking it into a custom filter that allows us to access it throughout the plugin whenever we like.
2. Update the Plugin Class
Next, we need to update the core plugin class (that resides in the src directory) so that it references the registry and loads any registered subscribers:
Note, however, that we haven’t really set up any subscribers just yet. We started this earlier in the series and now it’s time to come back to it but we’ll do that later.
We do, however, need to add a function – even if its temporary – so that we can add classes that are not explicit event subscribers:
This will be reworked later as we’ll be turning core classes into subscribers later.
3. Review the Bootstrap
Before going any further, I think it’s important to review the bootstrap. Though your header and documentation may vary, it’s important to note that we’re doing the following things:
- namespacing the bootstrap,
- preventing the file from being accessed,
- calling the autoloader,
- setting up the registry,
- and starting the plugin.
It sounds like a lot but the code is pretty short:
At this point, though, it’s time to look at what it’s like to split up the child class from the standard Widgets API into something that fits with the model of code with which we’re working.
Splitting Up a Child Class
This part is likely going to span a few posts as there’s a bit of work to be done, but we’ll start by creating our own widget class that will inherit from the base Widget class.
First, go ahead and make an API directory in the src directory and add a file called Widget.php. This is where the basics of the widget will reside. We’ll get into administrative and public facing stylesheets and JavaScript files in the next post.
At this point, the basics of the file should look like this:
Notice that it takes a single argument. I’ve used widget-name but you can use whatever it is you’d like so long as it represents your widget.
This is to show that the class is being properly instantiated and loaded when the plugin is activated. If you don’t see this, then something isn’t right (which we’ll review momentarily).
Next, it’s important to make sure this class is added to the Registry. So add the following lines of the code in the bootstrap:
And now, when you activate the plugin, you should see the following:

If not, please make sure to review the code in the develop branch to make sure you have everything that’s outlined in this post.
[/restrict]
Implementing Subscribers
In the upcoming posts, we’re going to look at how we can implement subscribers for the public-facing side of the site (that is, where the widget content is displayed). And we’ll do the same for the administration area of the site.
Finally, we’ll turn our attention to the code responsible for securing and serializing data (read: updating our widget), and then seeing what the final version of an updated boilerplate looks like.
In this post, though, the primary strategy that we’re employing is splitting up a child class so that it can still be used with other classes using interfaces and base classes that are already defined in the code base.