If you’ve been following along with this series so far, then you know I’ve been working through a series of posts that aims to show how to integrate your own button into the WordPress post editor.
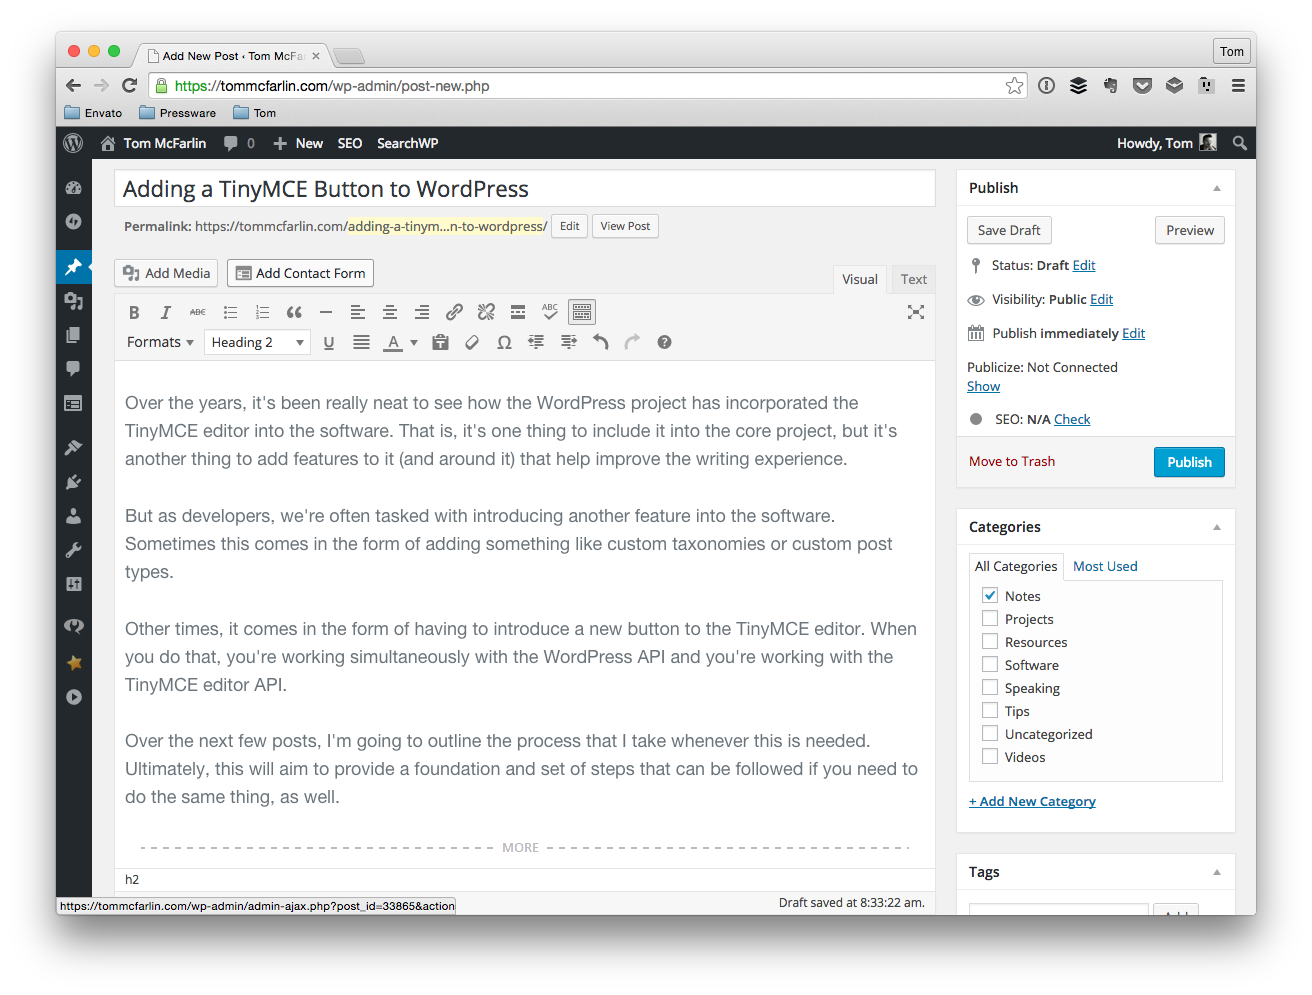
My very own copy TinyMCE Editor. So spectacular.
When doing this, we’re specifically working with both TinyMCE and WordPress. That is, we’re writing a TinyMCE plugin that is then wrapped in a WordPress plugin that will then allow the user to click on the button and add their own content (whatever that content may be).
In the next couple of articles, we’re going to take a look at how to do exactly that. First, we’ll start with simply connecting the result of clicking on the TinyMCE button with WordPress and then we’ll look at how to do some more advanced work.
Adding Content with TinyMCE and WordPress
As you’ve no doubt noticed in previous posts, the TinyMCE editor has its own set of API functions that we need to use in order to get it to do whatever it is that we like. Generally speaking, it’s a clear API that’s well-documented and easy to use (if you’re familiar with JavaScript).
It’s even a bit easier if you’re familiar with writing WordPress plugins, the post editor, and how the client-side relates all of what you see on screen and how the various components can interact with one another.
But enough about that. We’re interested in looking into how we can introduce content into the post editor using our new TinyMCE button, right?
Up to this point, we haven’t actually taken a look at the API for doing that. Luckily, TinyMCE makes this really easy.
Writing Content To The Post Editor
First it provides an API function that we can use in order to define the commands necessary to capture input and then write it out to the post editor. Next, it exposes the editor object that has a set of commands that we can use in order to populate the editor.
Here’s what the skeleton of that code looks like:
Note that if you’ve missed any of the previous posts or you’ve been following along, then make sure to check out this particular gist as it shows the JavaScript file in its entirety and gives a little more context that what’s shared above.
Next, we need to introduce the code that will render content into the post editor. Luckily, this is really simply. Check it out:
Notice that the function takes in three parameters:
- The command name to execute
- Whether or not a UI element should be present (`false` in nearly every case I’ve used)
- The content to actually add to the editor
To see it in the full context of the init function, take a look at this gist:
Straight forward enough, right? You can read more about this particular TinyMCE API function in their docs.
Up Next
Of course, it’s never fun to hard-code information into our source so that the same thing is always added to the editor, is it?
Instead, we’d rather capture input from the user or some pre-existing element and then drop that into the editor. So in the next post in this series, I’ll show to do exactly that.
Ultimately, I’d like to provide a working plugin for those of you who are interested to study and to have access to the source code for whenever you need an example so by the time the series is finished, I should have everything needed to do exactly that.

Leave a Reply
You must be logged in to post a comment.