Everyone has a different git workflow set up but for the purposes of this post, assume that you’ve got something like the following:
- A branch in which all of your assets, unbuilt, reside.
- A system of continuous integration that builds the assets and creates a new branch or perhaps a new version.
- A branch that’s created by the continuous integration system that contains the built assets.
The main component of this workflow is the continuous integration system. That is, if it fails, then the work responsible for building the assets and creating a new branch no longer work.
And when that happens, we’re left having to do it manually. It’s tedious, sure, but not difficult. If you find yourself in this position, here’s how you can go about building assets, merging git branches, and creating a versioned release.
Merging Git Branches
For this post, assume that you’ve got a build tool set up responsible for compiling your assets. This can be one of the available tools but I’m going to be using various npm to demonstrate the point.
1. Set up the Source Branch
The source branch includes all un-built assets. Essentially, these are all the raw JavaScript sources, stylesheets, and any other front-end related components that haven’t been built.
Once the code is ready, it can be built and committed to whatever branch you’re working on. For the sake of this article, we’ll refer to it as develop.
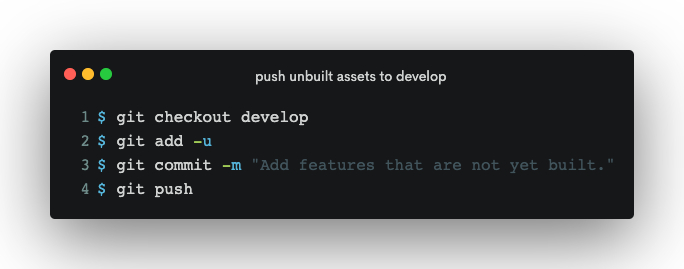
After pushing those changes, we then need to change branches to the built branch.
2. Merge the Source Branch into the Built Branch
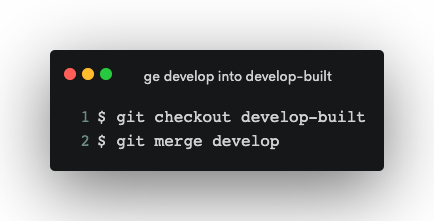
Once we’re on the built branch, we can build all of the resources (again, using whatever tool works best for you). But before doing that, we need to make sure that we bring the work into the built branch from the develop branch.
In other words, we need to merge develop into develop-built even though the code in develop-built may be – or will likely be – out of date after the merge.
Then we actually perform the necessary commands to build the assets, add, and commit them to the branch and then we push the new work:
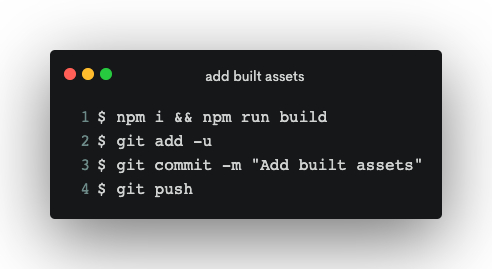
This now gives us one branch, develop with all of the raw sources and one branch, develop-built that we can use to tag our releases.
3. Tag the Built Branch
At this point, you may just want to tag develop-built as a versioned release, you may want to merge it into master or whatever the case. If, however, you want to maintain two separate tags, one for the source tag and one for the actual release tag, then you may want to do it by tagging develop and develop-built before performing any additional merging.
Specifically, you can tag develop as the versioned source:
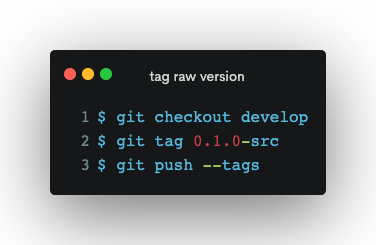
And develop-built as the tagged release:
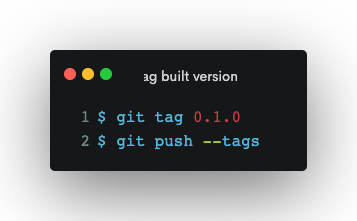
At this point, you can merge this into the master branch or whatever is the main branch you opt to maintain. If you’re using Composer, though, you’re likely going to want to be referencing versioned releases so this is where you can use the tab.
Final Note
Note that your workflow may – and likely does – vary. Maybe you use branches, maybe you use tags, maybe you use a combination of the two like above.
The point isn’t to say how you should be doing it but, ultimately, how to go about merging git branches so that your source branch can make their way into the built branch so you can built the assets and version them as needed.