As mentioned in the first post in this series, I’m going to be talking about a few of the different Google Maps APIs and how we can integrate them into our WordPress projects.
Rather than actually build a plugin that covers this material, I’m going to be creating a template to demonstrate some of this functionality. Though I’m a strong advocate for separating functionality and presentation, the work required to get a plugin up and running requires a lot of boilerplate code.
That isn’t inherently a bad thing, but I thought it’d be a chance of pace to simply introduce a template and then begin adding the necessary code from there (and making any changes to functions.php from there).
At the end of the series, we can then take a look and see how to abstract all of the work that we’ve done into a child theme to use.
Google Maps in WordPress
The goal of this particular post is the following:
- Prepare and create the template
- Setup the necessary credentials so that we can query the Google Maps API
- Include the Google Maps JavaScript API into the template and verify we’ve done so correctly
This all sounds pretty straightforward – and it is – but there are also some hiccups that can come when including the Google Maps JavaScript library into a template, so we need to make sure that we do this the right way.
And when you’re used to doing things “the WordPress way,” this can sometimes cause problems. To that end, I hope to head off any problems that we may experience.
With that said, let’s go ahead and get started. For this particular tutorial, I’m assuming that you’re running:
- WordPress 4.2.2
- Twentyfifteen
That’s it. Other than that, we’ll be creating everything else from the ground up. To that end, let’s get started.
The Template
Creating and preparing a template for something like this is arguably the easiest step. Sure, we could get pretty involved with displaying a variety of different content, but in order to keep this as simple as possible, let’s simply define a template that includes the requirements:
- The template tag (in PHPDoc format
- A call to `get_header()`
- A call to `get_footer()`
I’m not going to worry about adding any content since the focus all of this is to display a map and to add more detail to it.
So here’s what my template looks like:
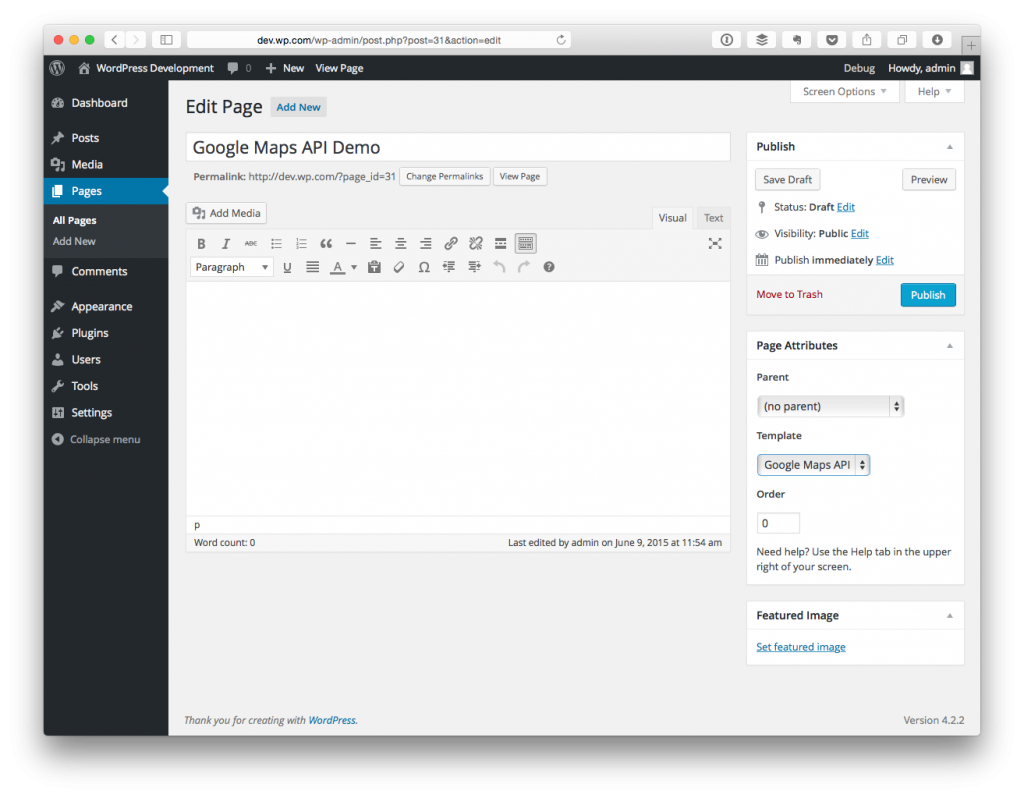
Save this file in the root of the twentyfifteen directory and name is template-maps.php. Assuming you see everything right, you should be able to locate the template when you attempt to add a new page and apply a new template:
At this point, we’re going to hop out of WordPress and into the Google APIs in order to get our credentials.
Getting API Credentials
First, head to the Google Maps API homepage and then navigate to the JavaScript API page.
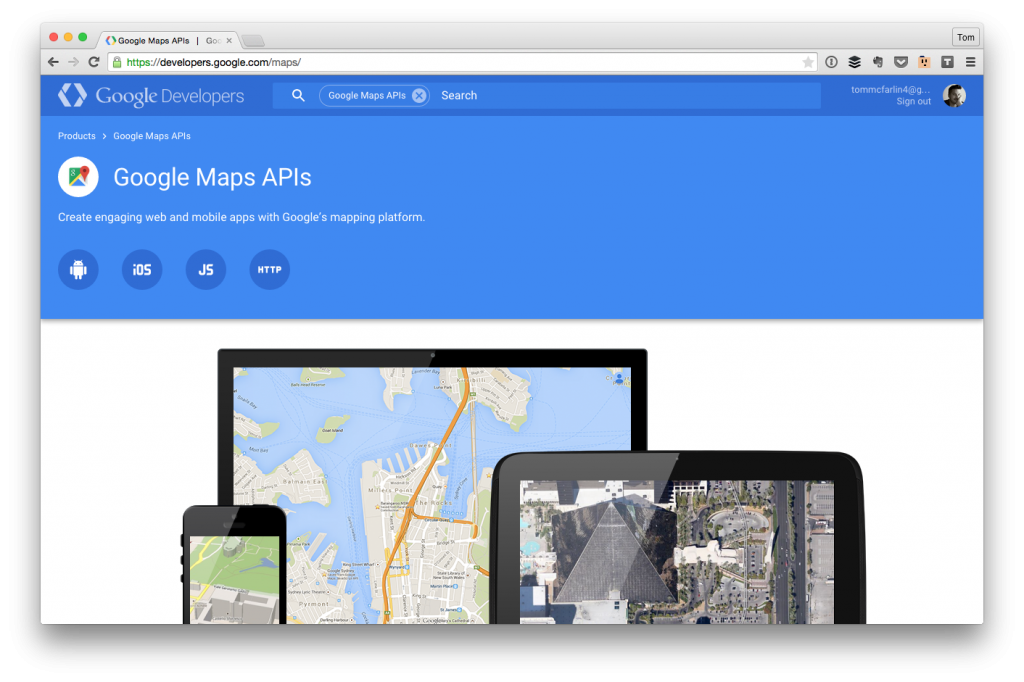
This is important to note because there are four different APIs (including the JavaScript API):
From there, click on the link that reads “Get Started with the JavaScript API Key” and then click on the link that reads “Obtaining an API Key.”
The directions on this page are relatively self-explanatory but the key thing to notice is that you need to visit the Google Developer’s Console, activate the Google Maps JavaScript API, and then get your API key from the API Access page.
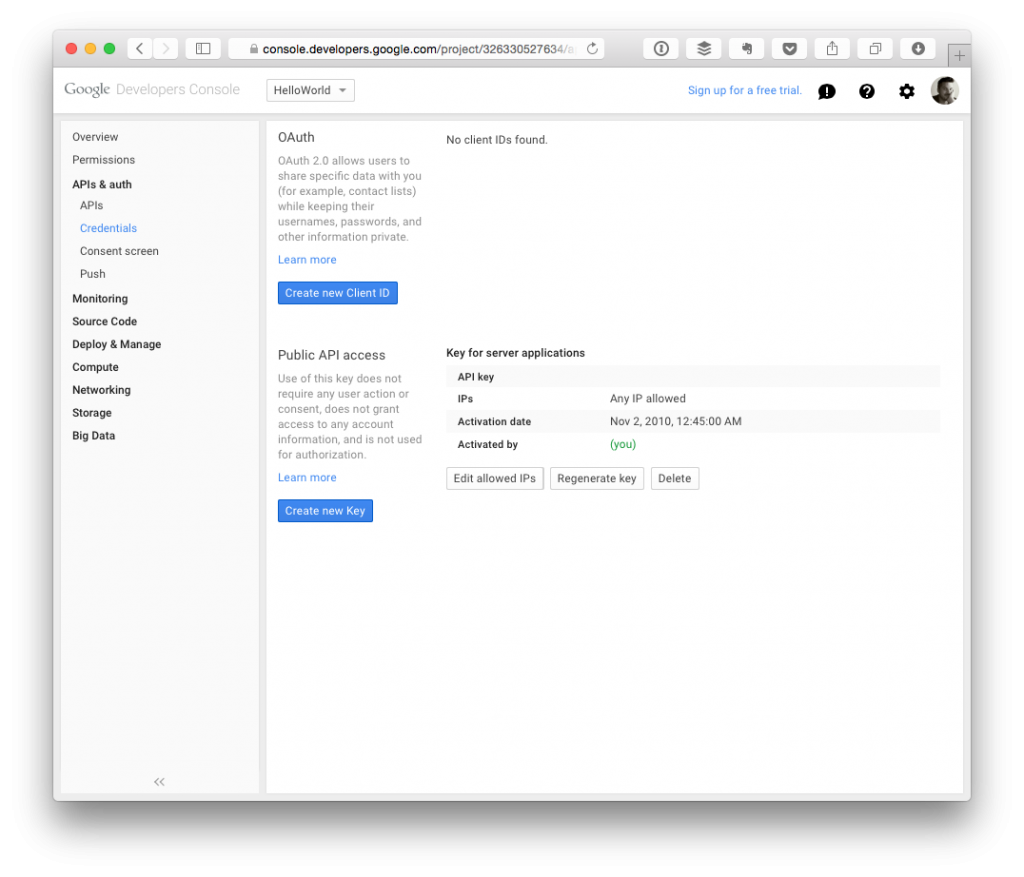
Once it’s activated, you’ll be able to copy it from the page to which the console directs you.
When you have this string, keep the browser tab open, save the API key to a file to which you can reference later, or place it in a code comment somewhere in your project as it will be needed in order to begin making requests to Google.
Include The API
Next, we need to include the actual library so that we can begin making requests. Since the file is a JavaScript library, we’d normally be doing this via wp_enqueue_script; however, there are some potential gotchas that I’ll cover in just in a little bit.
In the meantime, the library will be included using a standard script tag.
At this point, return to WordPress, create a new page, and apply the template that we’ve created thus far. Assuming all went well, then a blank page – save for the header and footer – should load and you shouldn’t have any errors in the console.
As far as the wp_enqueue_script call, I’ll revisit this in a future post.
Potential Hiccups
The primary hiccup that you may experience with using the JavaScript library is that another plugin, extension, or feature built into the theme that you’re using is already including it.
If this is the case, then the console will actually provide a message that says the library has already been included. For the purposes of this series of articles, we’re assuming that no third-party plugins or features are included that already include this script.
If you encounter this error in the console, let me know in the comments and perhaps we can figure it out.
Up Next
If you’ve gotten this far without any problems, then things are going well. If you have experienced any problems, let me know in the comments and we’ll go from there.
Anyway, in the next post, we’ll look at what’s needed in order to actually begin rendering a Google Map. It’ll be significantly shorter than the content of the first two posts in this series, so it should be a bit easier to follow and less time-consuming to do so.
Up until this point, there was a lot of initial material to cover. Now that we’ve reached this point, it should be easier to look at each point in more detail without so many requirements to get up and running.
So I’ll continue with all of that with the next post in the series.

Leave a Reply
You must be logged in to post a comment.