TL;DR: For how much this post may sound like a paid or promoted review, it’s not. The short of it is that I’ve been hosting this site on Kinsta for a few years now and I’ve been happy, and continually impressed at their offering so when they announced their DevKinsta application, I was just as interested to try it out as I have been with Local, Valet, MAMP, and others.
In short, DevKinsta bills itself as a way to:
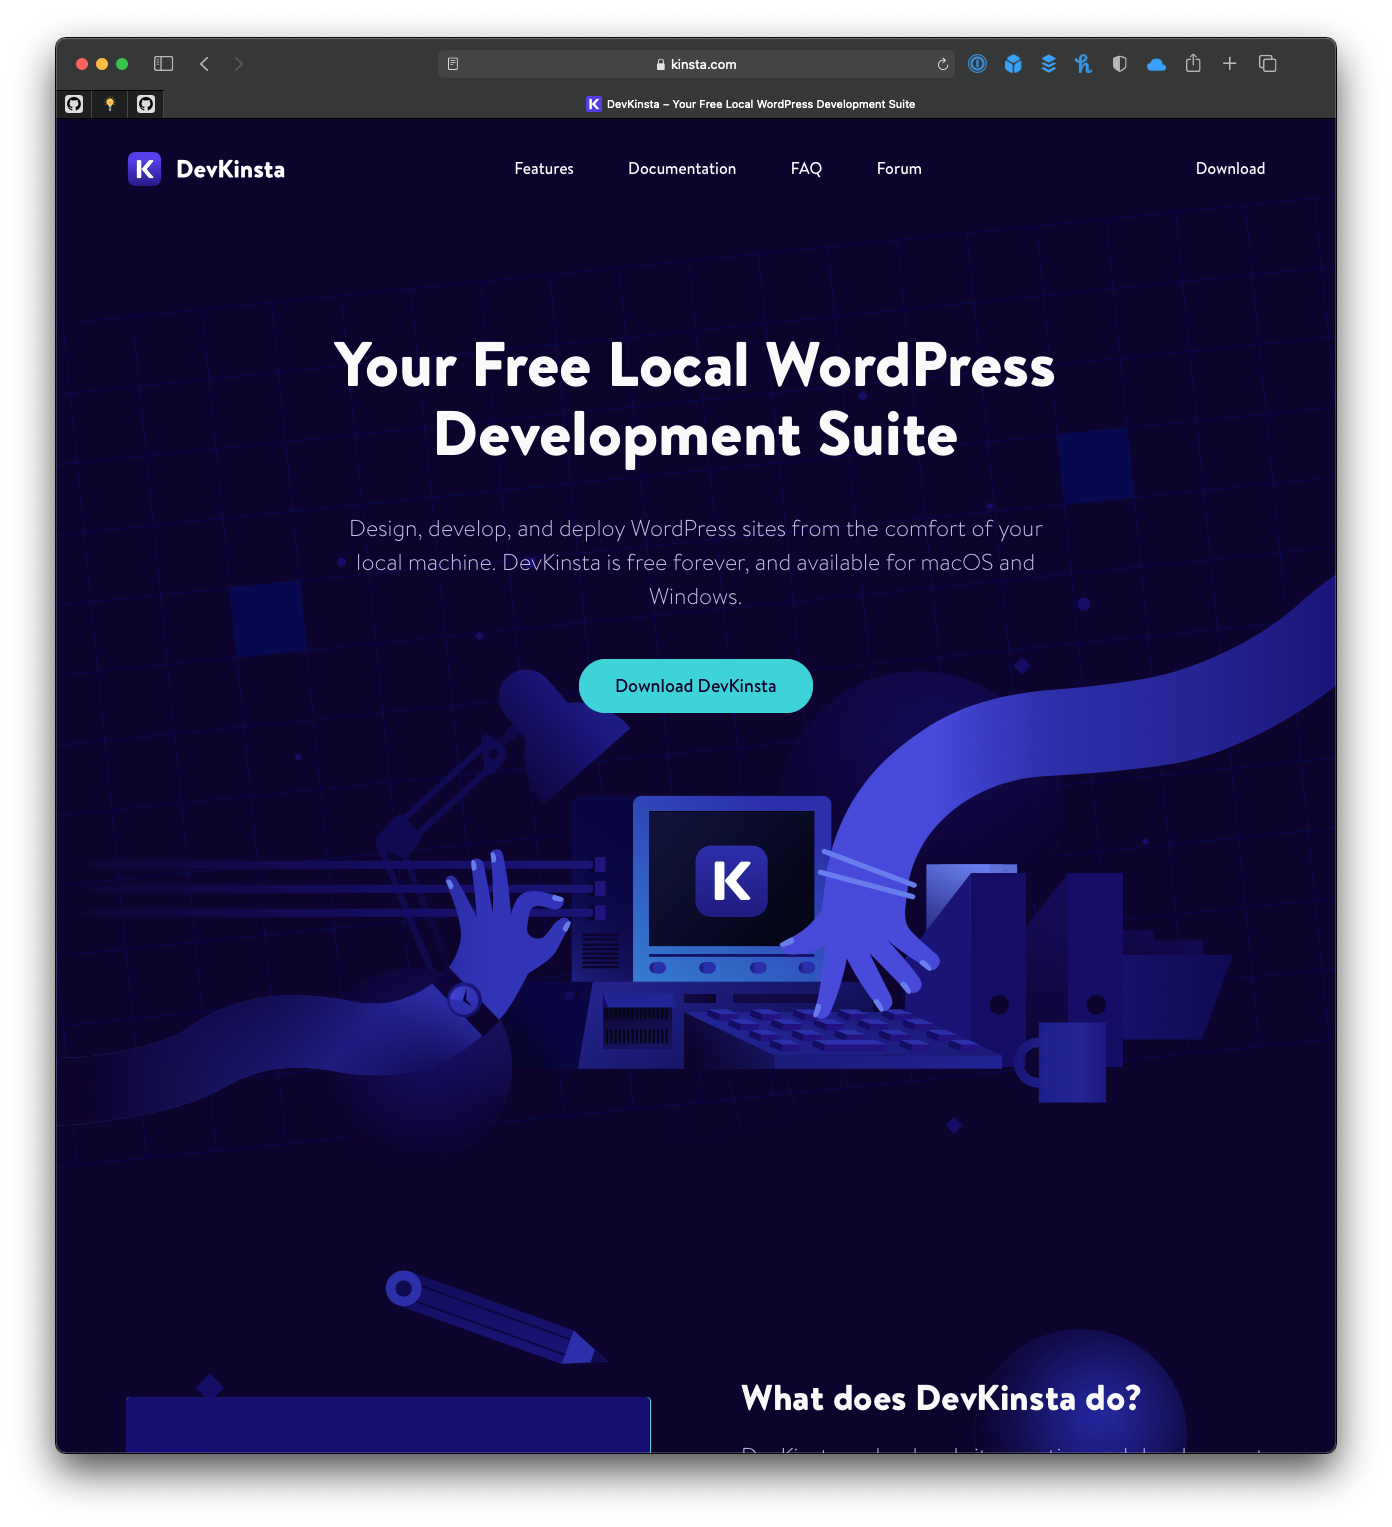
Design, develop, and deploy WordPress sites from the comfort of your local machine. DevKinsta is free forever, and available for macOS and Windows.
Kinsta
But rather than walk through whatever videos and other collateral the site has to offer, I thought I’d go through the process of setting it up from download to site setup, from creating a site, to loading it in a browser, and taking a look at how everything is set up within the file structure.
DevKinsta: From Download to Site Setup
For those who are curious, I’m installing DevKinsta on 2018 Mac Mini (so, yes, it’s Intel based).
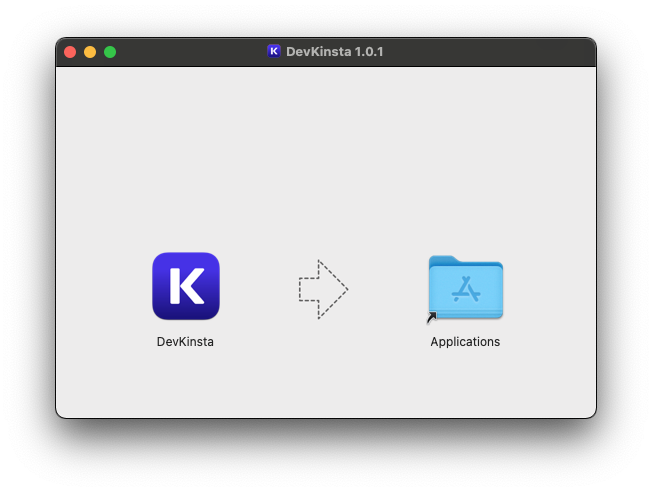
Installation and Launch
After following the typical steps for downloading and installing a Mac application:
I then launch it [using spotlight] and was greeted with the following image:
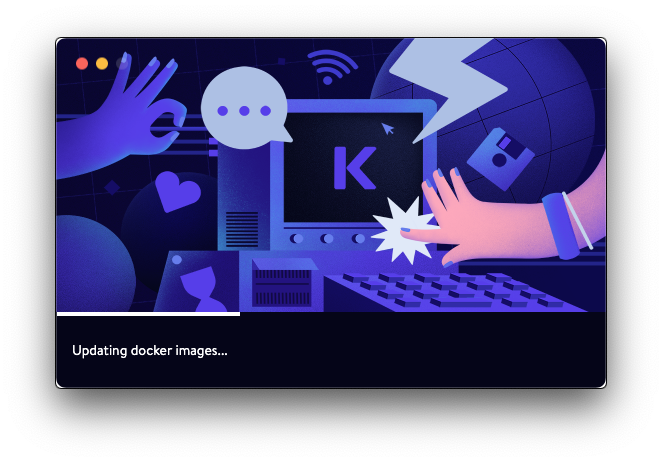
The first thing that caught my attention was that it was installing Docker images. I’ve used Docker in various incarnations for years now. I get all of the advantages – that is, I don’t need to be convinced of its benefits – but I’m generally not a fan of it. It has its shortcomings, but this isn’t the post for that.
Anyway, when I see this during the installation, it gives me pause especially given that software such as Local Lightning – which is clearly going to be a natural piece of competition for this – is using native hardware.
The Main Dashboard
That said, the main dashboard looks like this:
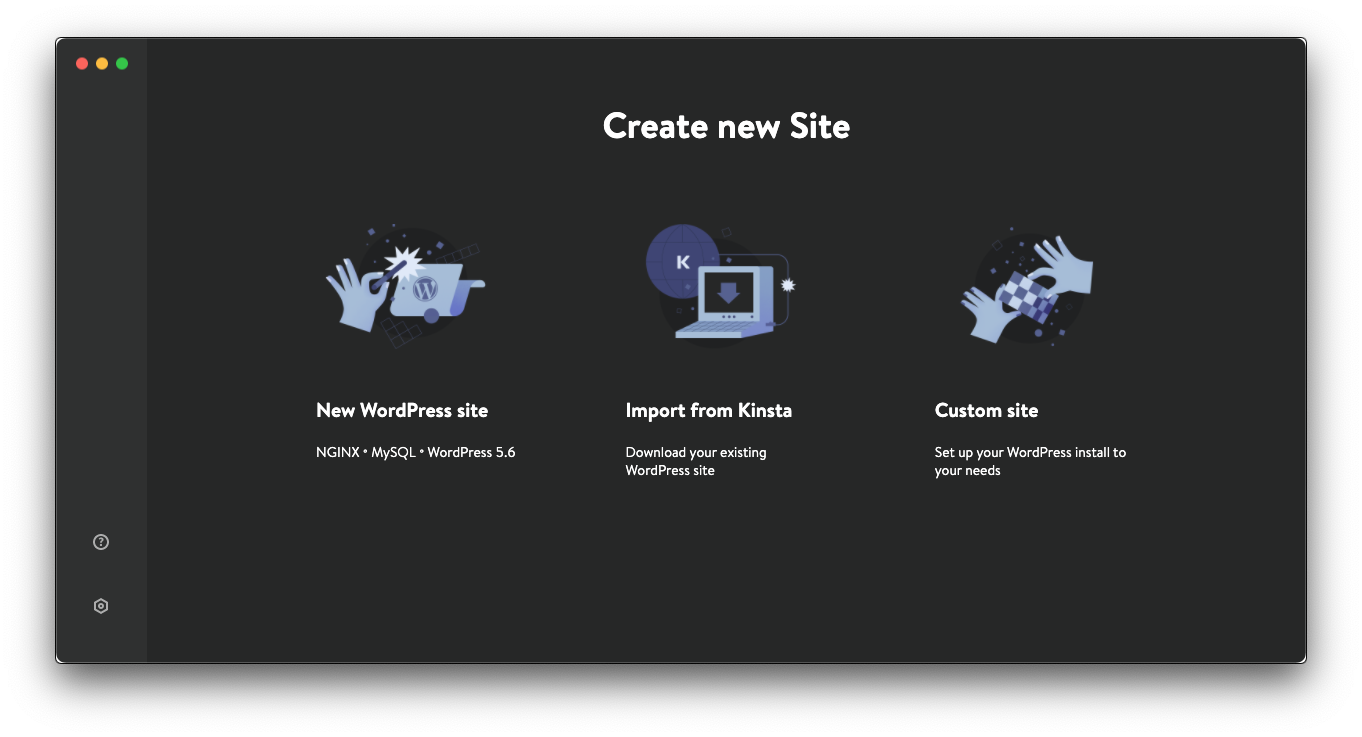
I like that it offers the ability to set up a new site, import a site you already have running on Kinsta (which is something I’d be surprised not to see, actually), or to set up a site with custom configuration.
A Custom Site Setup
For the sake of this article, I’m going to set up a custom site to take a peek at what the options look like.
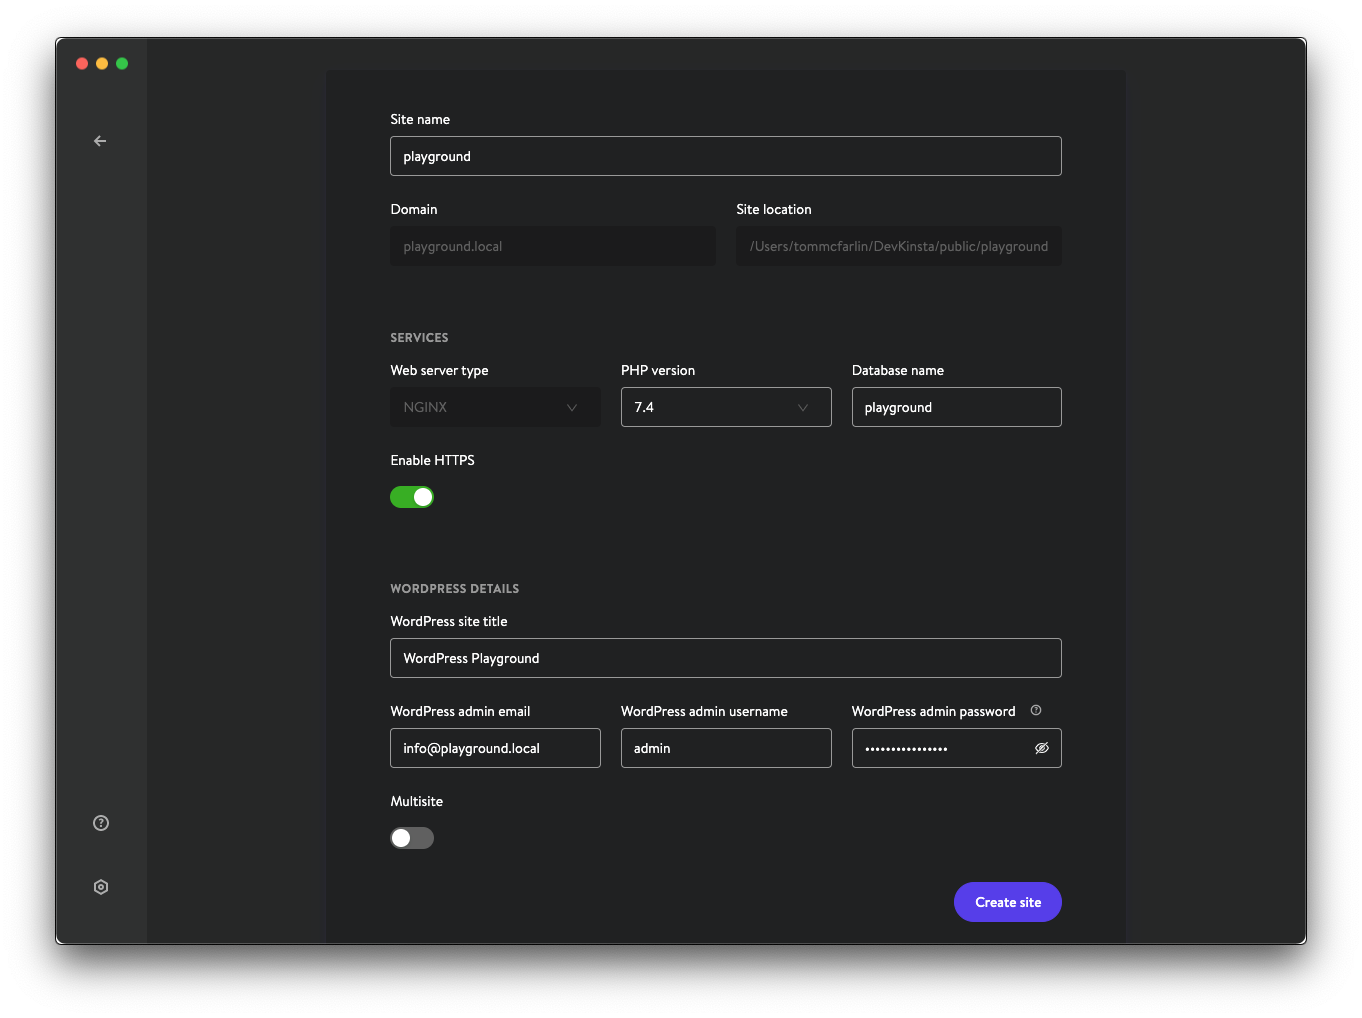
In the screen above, I’ve added the following:
- Site Name: playground
- Domain:
playground.local - Site Location:
/Users/tommcfarlin/DevKinsta/public/playground - Web Server Type: Nginx (though this was the only option)
- PHP Version: 7.4 (though 7.2, 7.3, and 8.0 are all available)
- Database Name: playground
- Enable HTTPS: Yes
- WordPress Site Title: WordPress Playground
- WordPress Admin Email:
info@playground.local
I then provided it with a username and went with the password that was generated for me. At this point during the set up, I don’t know if the credentials for logging in will be stored anywhere, so I copied the login and password to my password manager just in case.
After this, I was prompted to enter my system administration credentials for both updating the hosts files and for adding an SSL certificate (both of which are actions I’d expect to see) while DevKinsta configured the software.
Next, the I was given the home screen for the project which looks like the following:
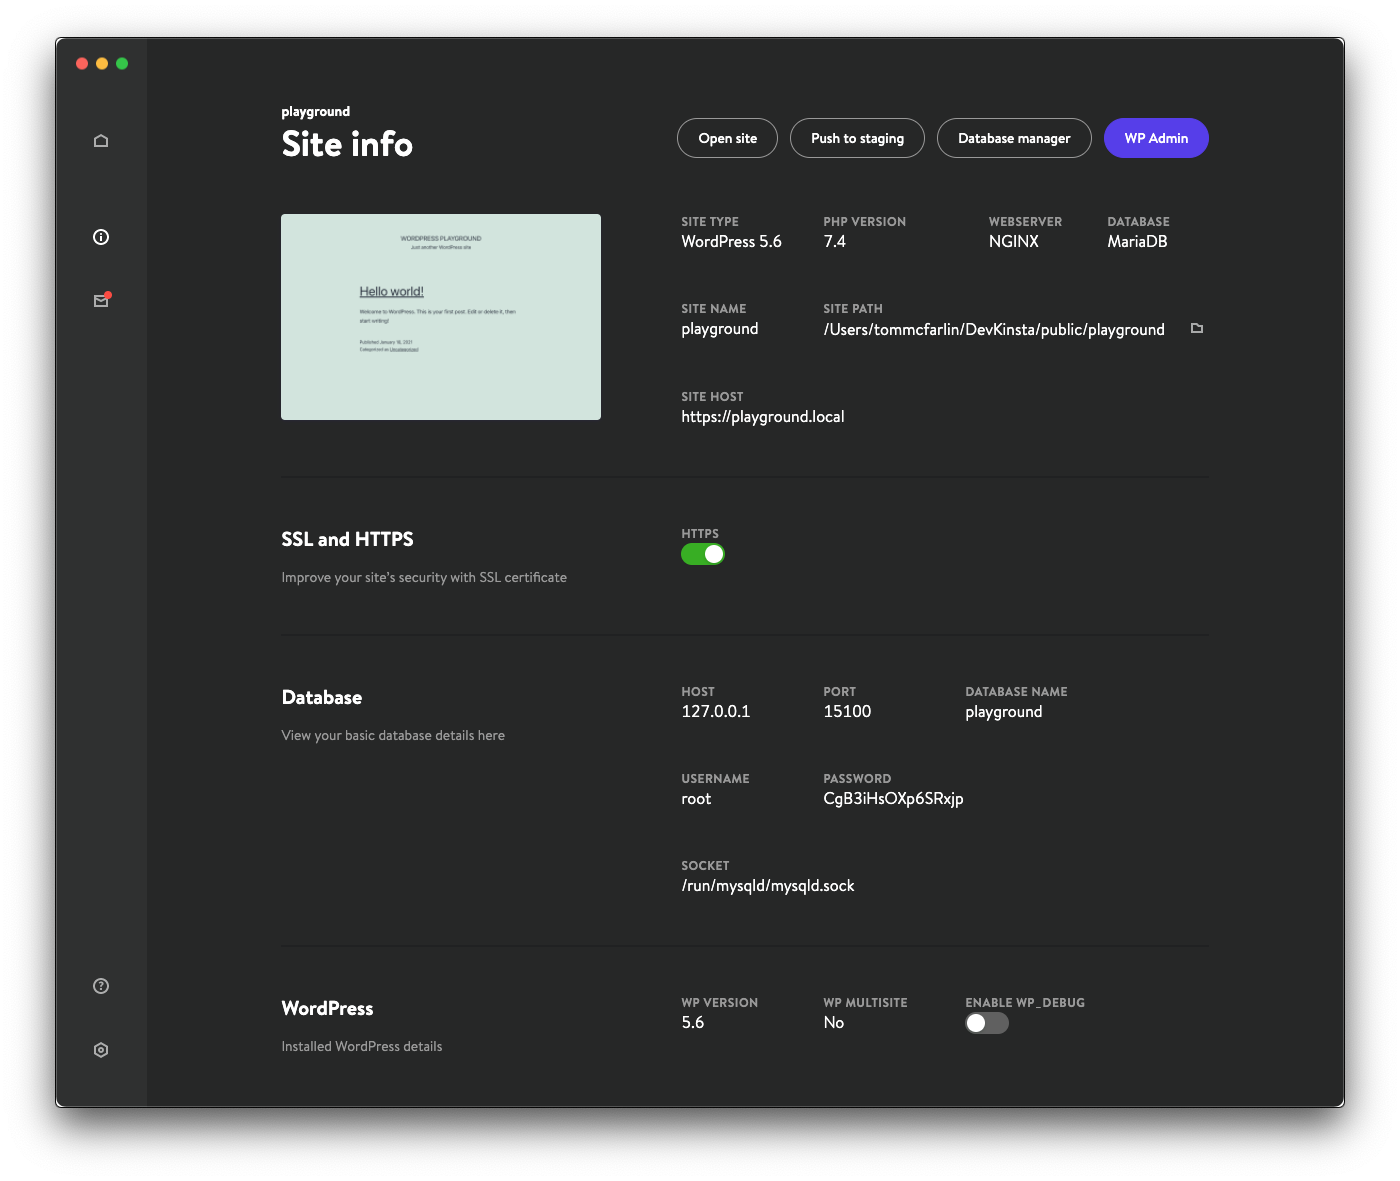
This is not unlike other similar tools. I do like the ability to toggle WP_DEBUG easily from the dashboard. In development environments, I think it’s a good idea to always have it on but depending on what your needs are or what you’re working on, maybe it’s not necessarily something you need.
I like that all of the information is available on a single screen especially the database information so I can use my preferred tool to access the database. The built-in application is a customized version of Adminer.
Before loading the site and seeing how the administration area looks, I’m also curious to see what the directory structure looks like in comparison to other utilities that are similar to this.
A Look Behind the Scenes
So from the Site Path location of the dashboard, I opted to load the directory in Finder:
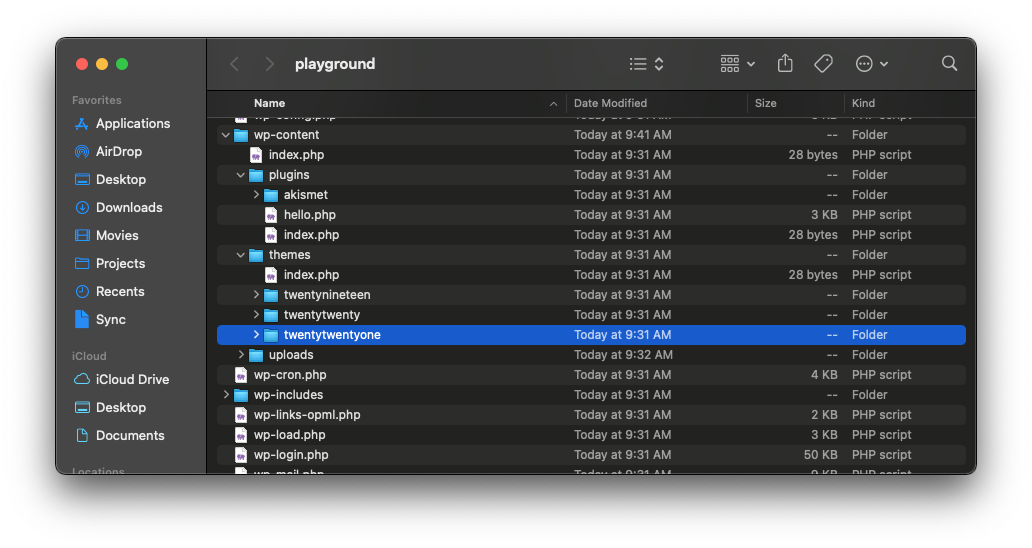
This took me directly to the WordPress installation directory complete with the latest version of the twentytwentyone theme.
That said, I was was curious as to how other aspects of the site were set up (such as the list of sites, the database, and so on). So I poked around the DevKinsta directory and saw the following:
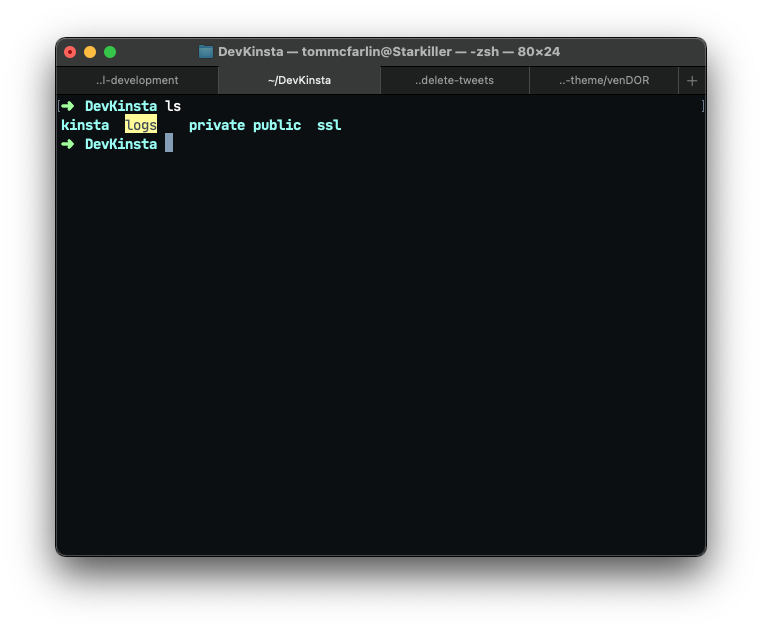
- The
kinstadirectory contains a single file that lists all of the sites maintained by the software. This is found insites.iniwhich I’ll show more momentarily. - The
logsdirectory shows information related to anything related to PHP as well site errors (prefixed with the name of the site such asplayground_access.log). - At the time of this post, the
privatedirectory is empty. - The
publicdirectory contains theplaygrounddirectory which will also include other installations of WordPress that may be maintained by DevKinsta.
As mentioned earlier, a look at the sites.ini file shows that it contains directives for each site the software maintains. For this particular demo, it includes the following:
[playground]
domain=playground.local
php_version=7.4
is_multisite_subdir=1
Based on what I see here, I expect to see slightly multiple and slightly different values based on the local domain, PHP version, and the multisite configuration I select when setting up the site. If there’s more, I’ve yet to see and if I continue to use this and it comes in handy, then I’ll be sure to reference it here.
Loading the Site
At this point, I’m ready to take a look at the site on the front-end and in the administration area.
- By clicking Open Site, I’m able to view the site as if I was a visitor. That is, I can see the site’s front-end and I can also access it using the
https://playground.localaddress that’s configured upon set up. - By clicking WP Admin, I’m taking to the administration area. And this it’s good that I saved the password during set up because it does require that I enter it here. This isn’t unexpected, but there’s no other way to access it [that I was able to find] beyond resetting password and accessing the email from the email manager in DevKinsta.
Finally, there’s an option to Push to staging that I’ve not tried as I don’t have a staging account associated with the particular project set up for this post. I imagine this will be handy for anyone who’s set up a fresh Kinsta account or who happens to pull down one of their existing sites (like this blog).
A Quick View of Memory Use
I’ve nothing to comment on here other than sharing what Activity Monitor happens to show when loading DevKinsta:
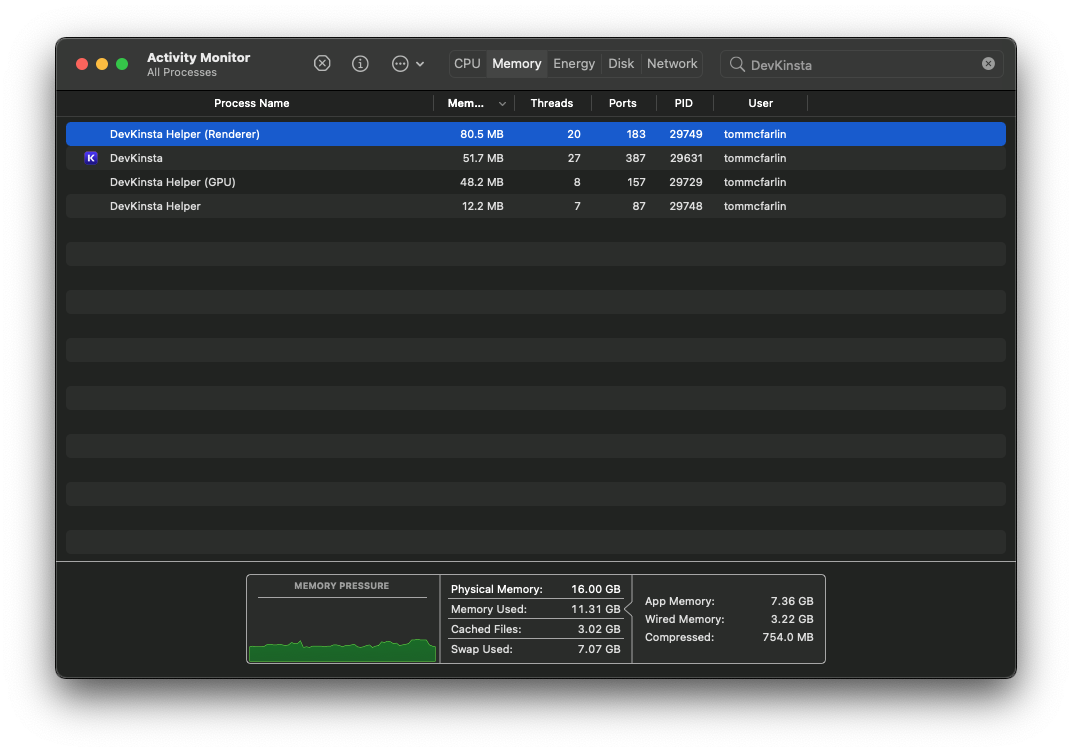
So make of that what you will for your use case.
Final Thoughts
Overall, I’m – in a word – content with DevKinsta. It doesn’t bring anything new to the table but it does what it promises to do and does so in a way that’s both accessible to WordPress implementers and developers alike.
If you’ve used other similar tools, you’ll be right at home. And if not, it’s easy to get started. I think this version lays out a strong foundation and a lot of potential for additional, great features to be developed.
If I could ask for two things, it would be:
- Use native architecture instead of Docker (though I understand the reason for using the latter),
- Store the login credentials and mask them for the development environment so that users can easily login to their site by copying the password from the DevKinsta dashboard.
And if there was a bonus, I think building your own add-ons or extensions would be nice to have, too. But, again, this is the first version. And for that, it’s polished and does exactly what it says it’s going to do. And there’s something to be said for no surprises.
Other than that, there’s nothing more to say. I’m happy with it, I’ll likely use it for an upcoming project I’m considering, but if you’re happy with your current set up and you’re not on Kinsta, then you’ll be fine with said set up, as well.