When sharing my WordPress Developer Toolbox, I mentioned that GitBox is my Git client of choice. As with most software that offers a command line variant, I occasionally end up using a Terminal session to manage some of my Git repositories.
Depending on what other applications you have installed on your system, you may not actually have command line access to Git. If that’s the case and you’d rather not install the full Xcode development suite (because it does include the command line utility), there is an alternative.
Install Git on Mac OS X
1. Download Git OS X Installer
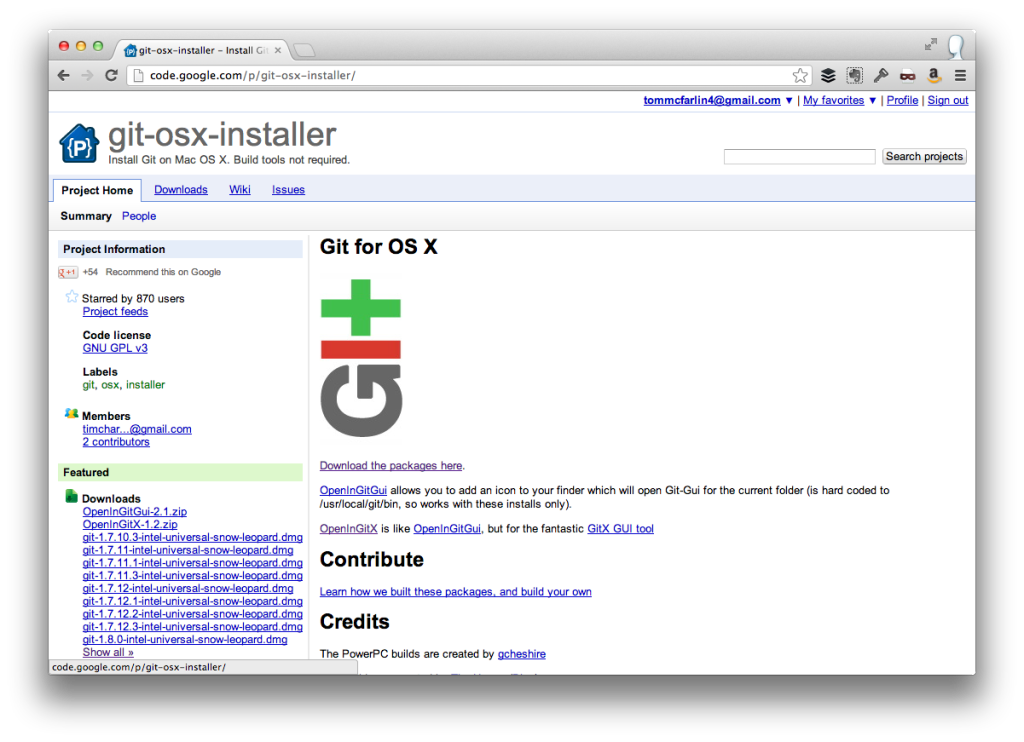
The Git OS X Installer is an open source project hosted on Google Code that makes it incredibly easy to install Git without interfering with any of your front end applications and without needing to install larger development tools.
All of the versions are accessible via the downloads page and all mention Snow Leopard, but are compatible with all Intel processors. Note that the latest version is at the top of the list.
The most recent version at the time of this post is 1.8.0 and fully works with Mountain Lion.
2. Install Git on Mac OS X
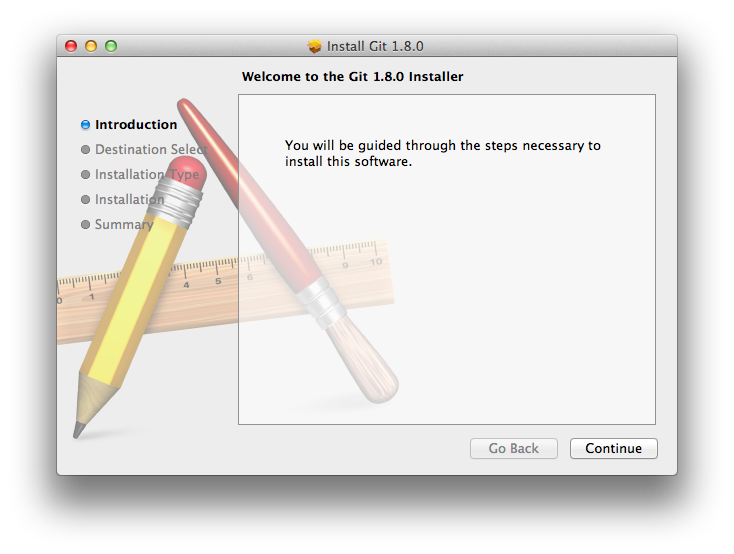
The Git OS X Installer is a typical OS X setup program, so simply walk through the steps that the installer provides.
Note that since the files are being installed in /usr/local you will need root access – that is, you’ll need to enter the administrator’s password during the setup procedure.
Once setup is completed, you should be good to go.
3. Test The Installation
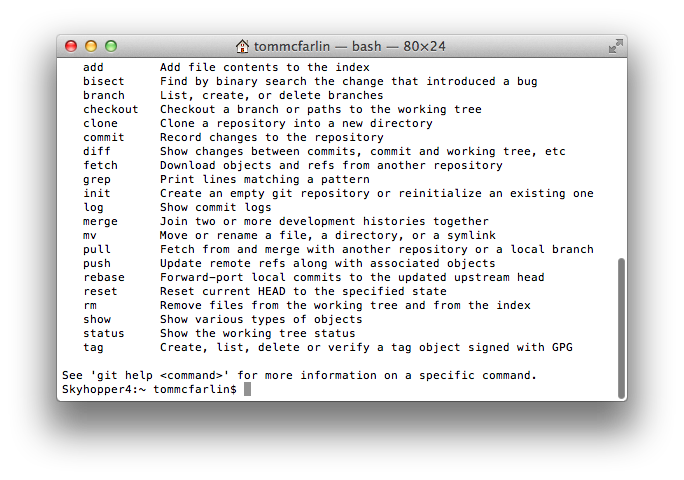
Once the installation is complete, you’ll need to close all active Terminal sessions. Open a new session and issue the git command. Permitting all is well, you should see a screen similar to what’s above.
And that’s it. Easy enough, right?
Now you can continue to use whatever front end application you like while also being able to issue commands from the command line.

Leave a Reply
You must be logged in to post a comment.